Integrate TileDB-BioImaging with the napari Plugin
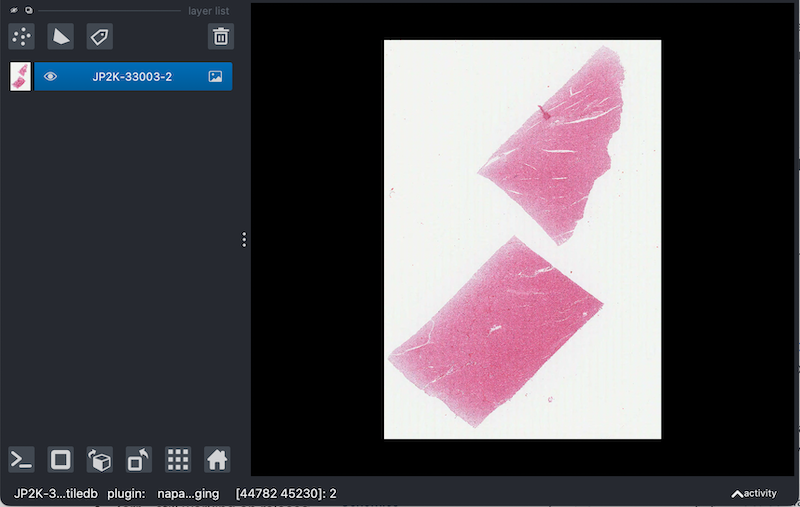
This tutorial explores the integration of TileDB-BioImaging with the napari viewer, achieved through the dedicated plugin, napari-tiledb-bioimg.
By combining TileDB’s efficient storage and access capabilities for large bioimaging datasets with napari’s intuitive visualization and analysis tools, researchers can unlock new levels of productivity and insight. This tutorial will guide you through the process of loading, visualizing, and interacting with your TileDB-stored bioimages within the napari environment, showing the power of this combined solution.
Setup
To use the napari viewer, you need to first install all the dependencies in an environment:
mamba create -n napari-env
mamba activate napari-env
mamba install -c conda-forge napari pyqt
pip install napari-tiledb-bioimg ‘tiledb-bioimg[full]’conda/mamba
View TileDB bioimages in napari
You can view TileDB bioimages in the napari viewer by using either the command-line interface (CLI) or the graphical user interface (GUI).
CLI
napari --plugin napari-tiledb-bioimg /path/to/your/tiledb/imageGUI
- Launch napari.
- From the Plugins menu, select TileDB (napari TileDB bioimaging).
- In the plugin interface, navigate to and select your TileDB image.
The napari-tiledb-bioimg plugin supports loading images from local files, S3 paths, and TileDB URIs.
Access images from cloud storage
You can directly view images stored on TileDB or Amazon S3.
To access images from S3, ensure you have configured your S3 credentials on your local system. For TileDB, ensure your TILEDB_API_TOKEN key is correctly set in the $HOME/.tiledb/cloud.json file.