Groups
Groups in TileDB work like folders in your local filesystem but have the following advantages that filesystems lack:
- The group hierarchy is logical. This means that you can add assets that are physically stored in separate places to the same group, without any physical movement that could cause a high performance overhead.
- Any asset can exist in multiple groups, without necessitating any duplication. That means that the asset will exist only once, while being potentially included in more than one group.
For more details on how to programmatically manage groups with TileDB, visit the Array Tutorials: Groups section (it is included in arrays, as groups are a fundamental primitive included in the TileDB core array library).
Create group
Groups in TileDB have a physical representation in the underlying storage. Their creation is similar to arrays, in that you can add a group to the TileDB catalog in two ways:
- Create and register in one step: TileDB offers you a UI method and programmatic APIs to physically create and register your groups in a single step.
- Create first, register after: Alternatively, you may first physically create a group in your object store, without necessitating cataloging it with TileDB as well. At any point in time, you can register an existing group with TileDB using the UI or an API command.
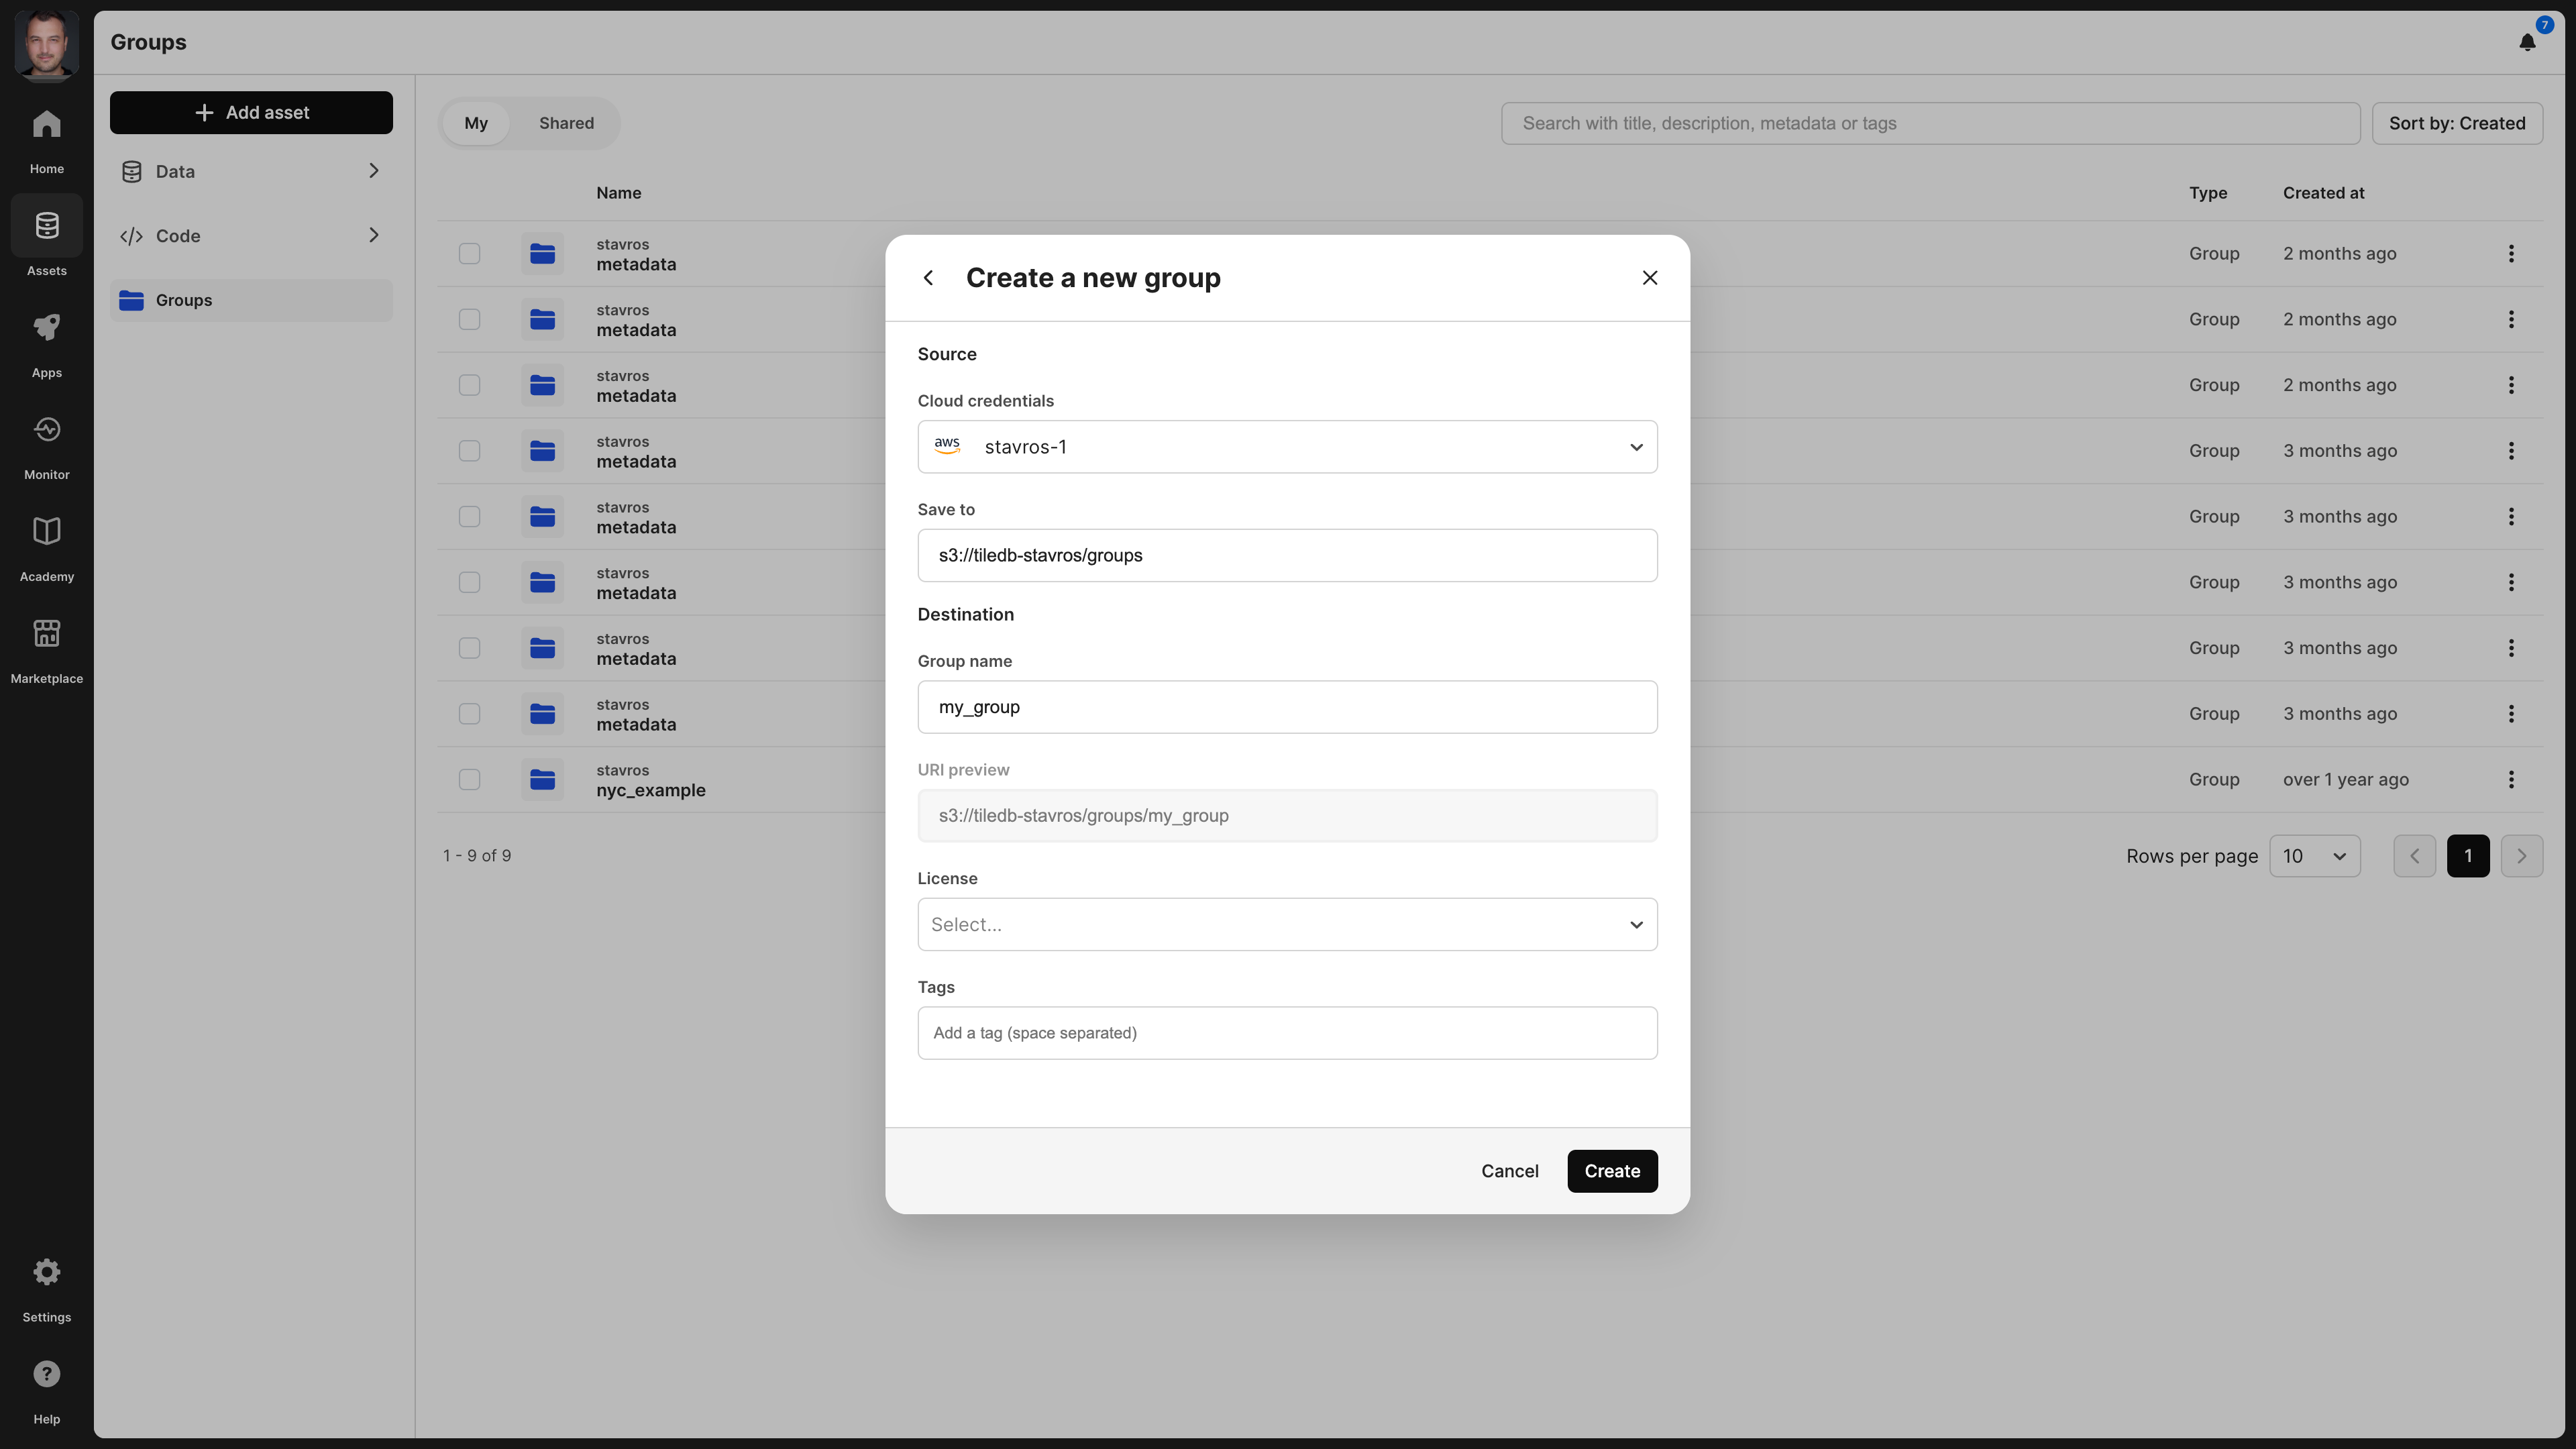
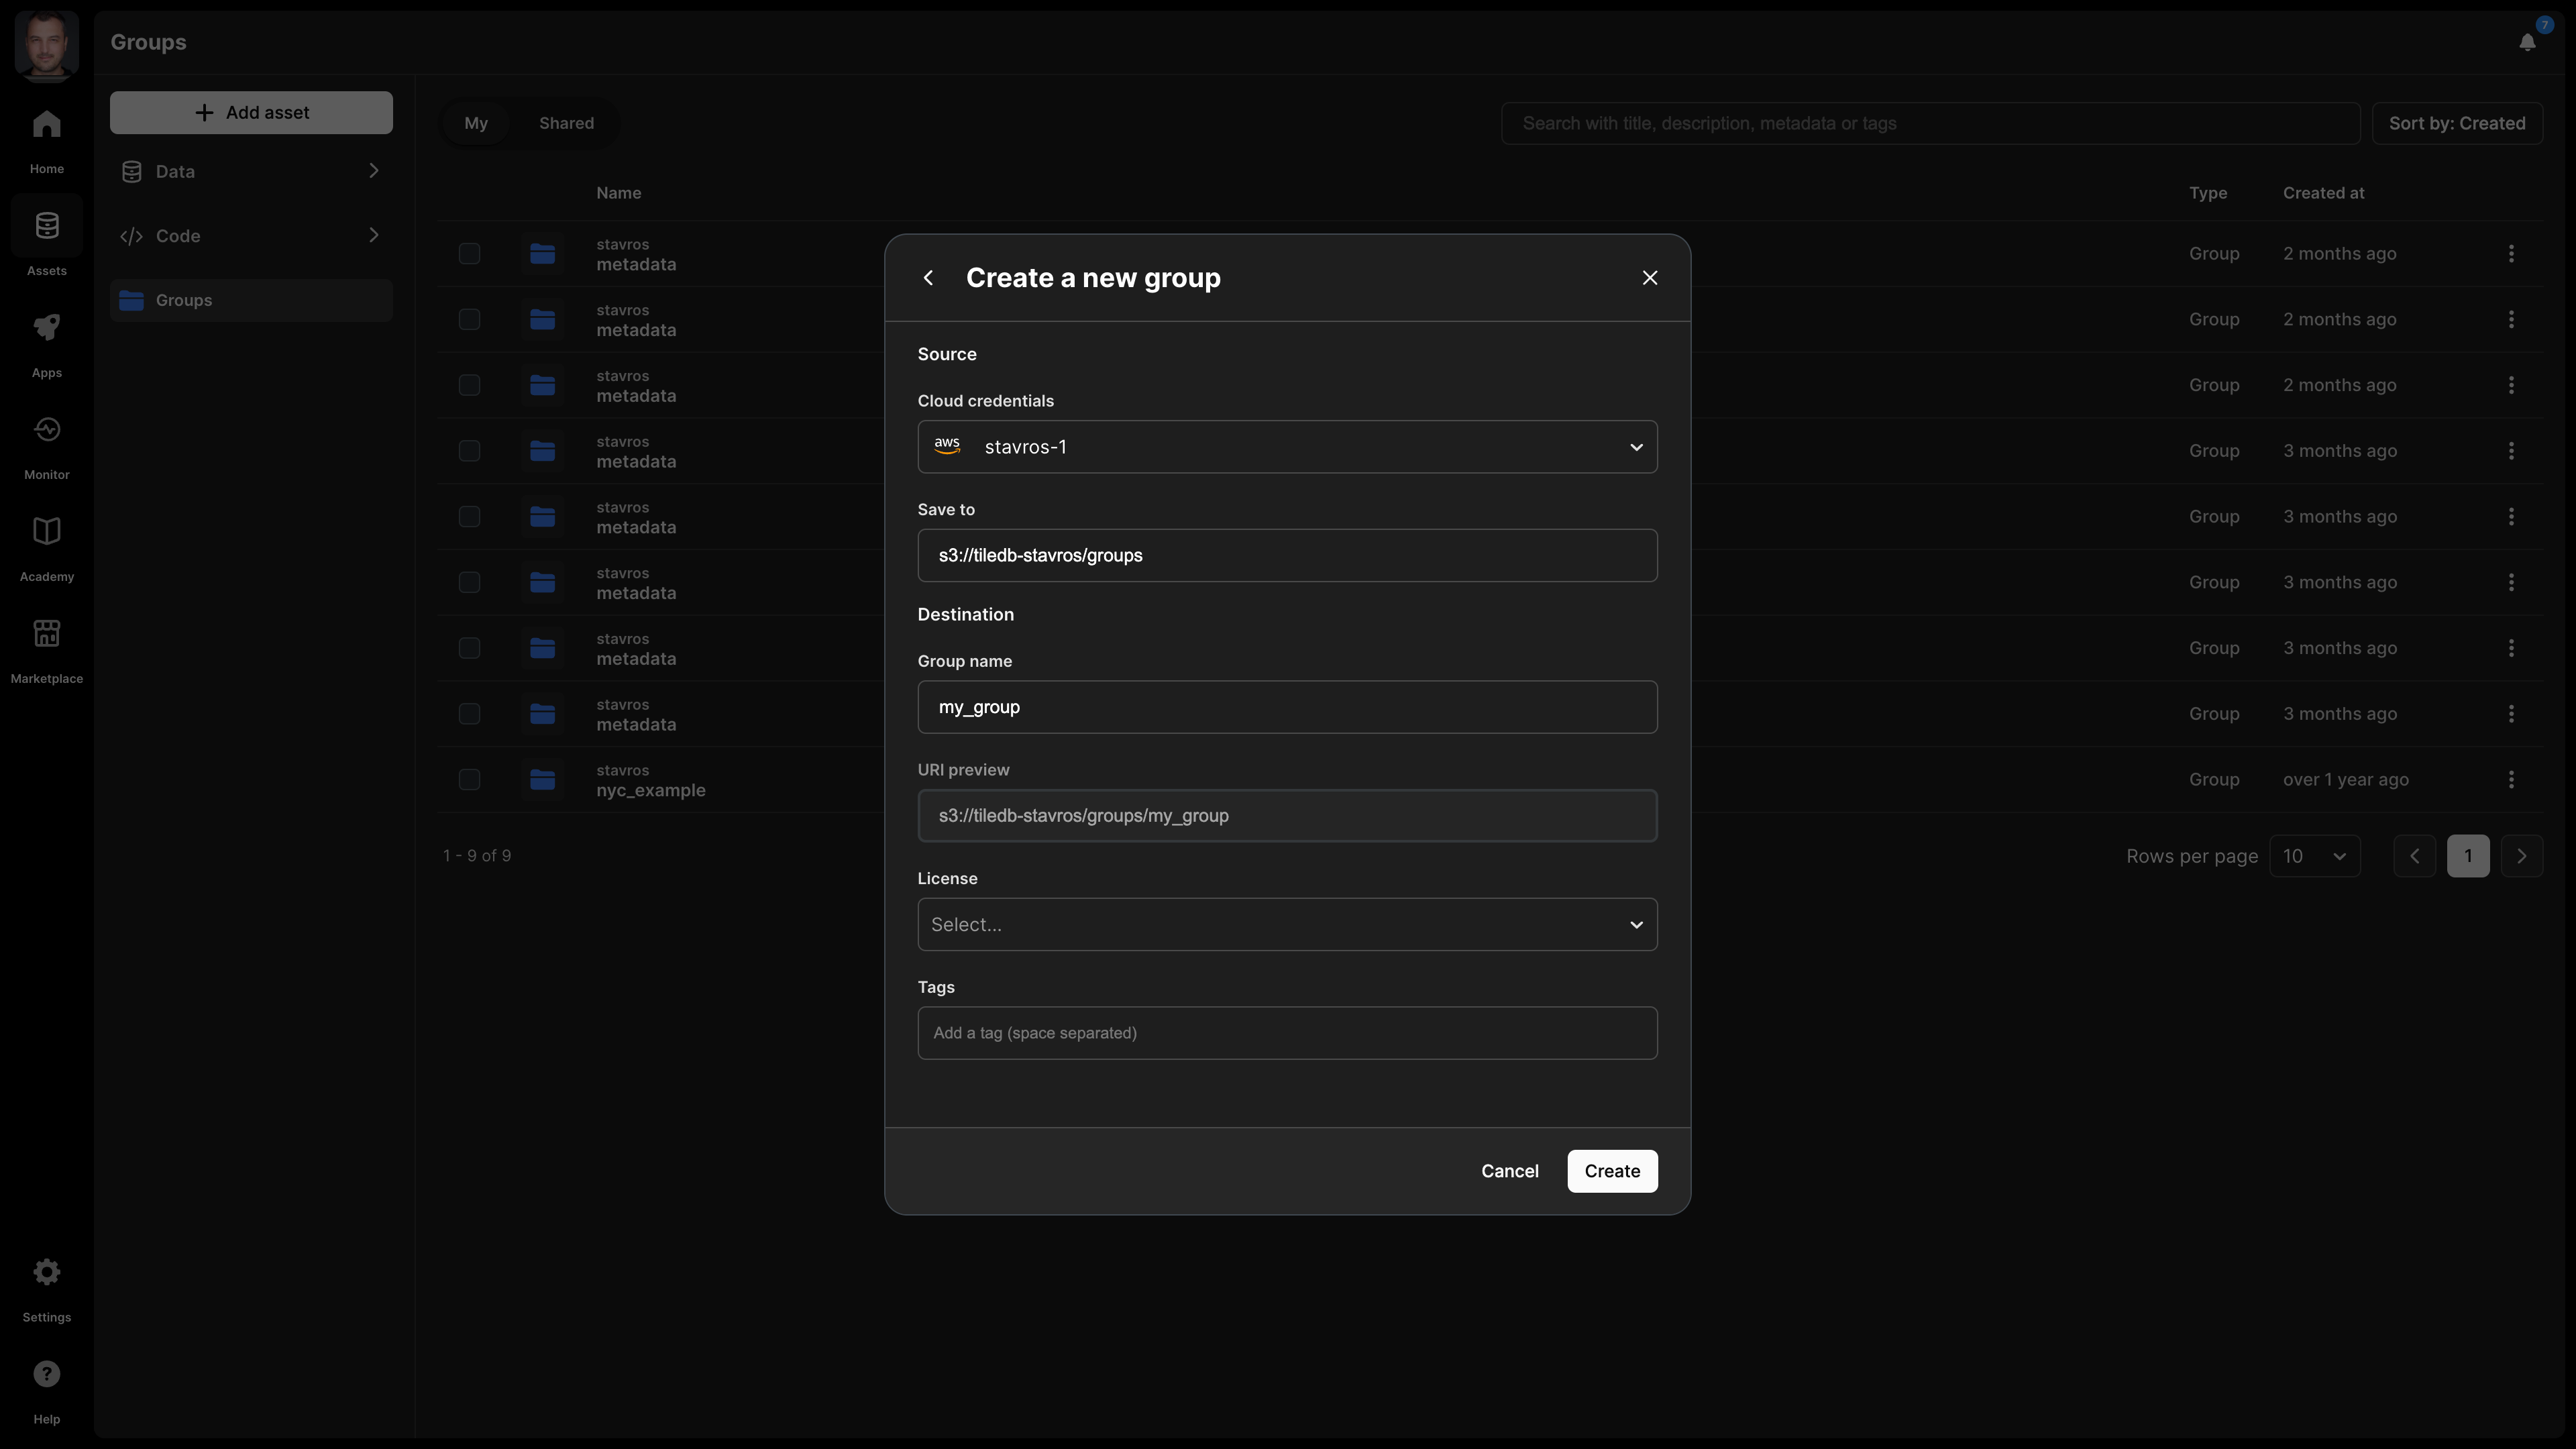
Create and register in one step
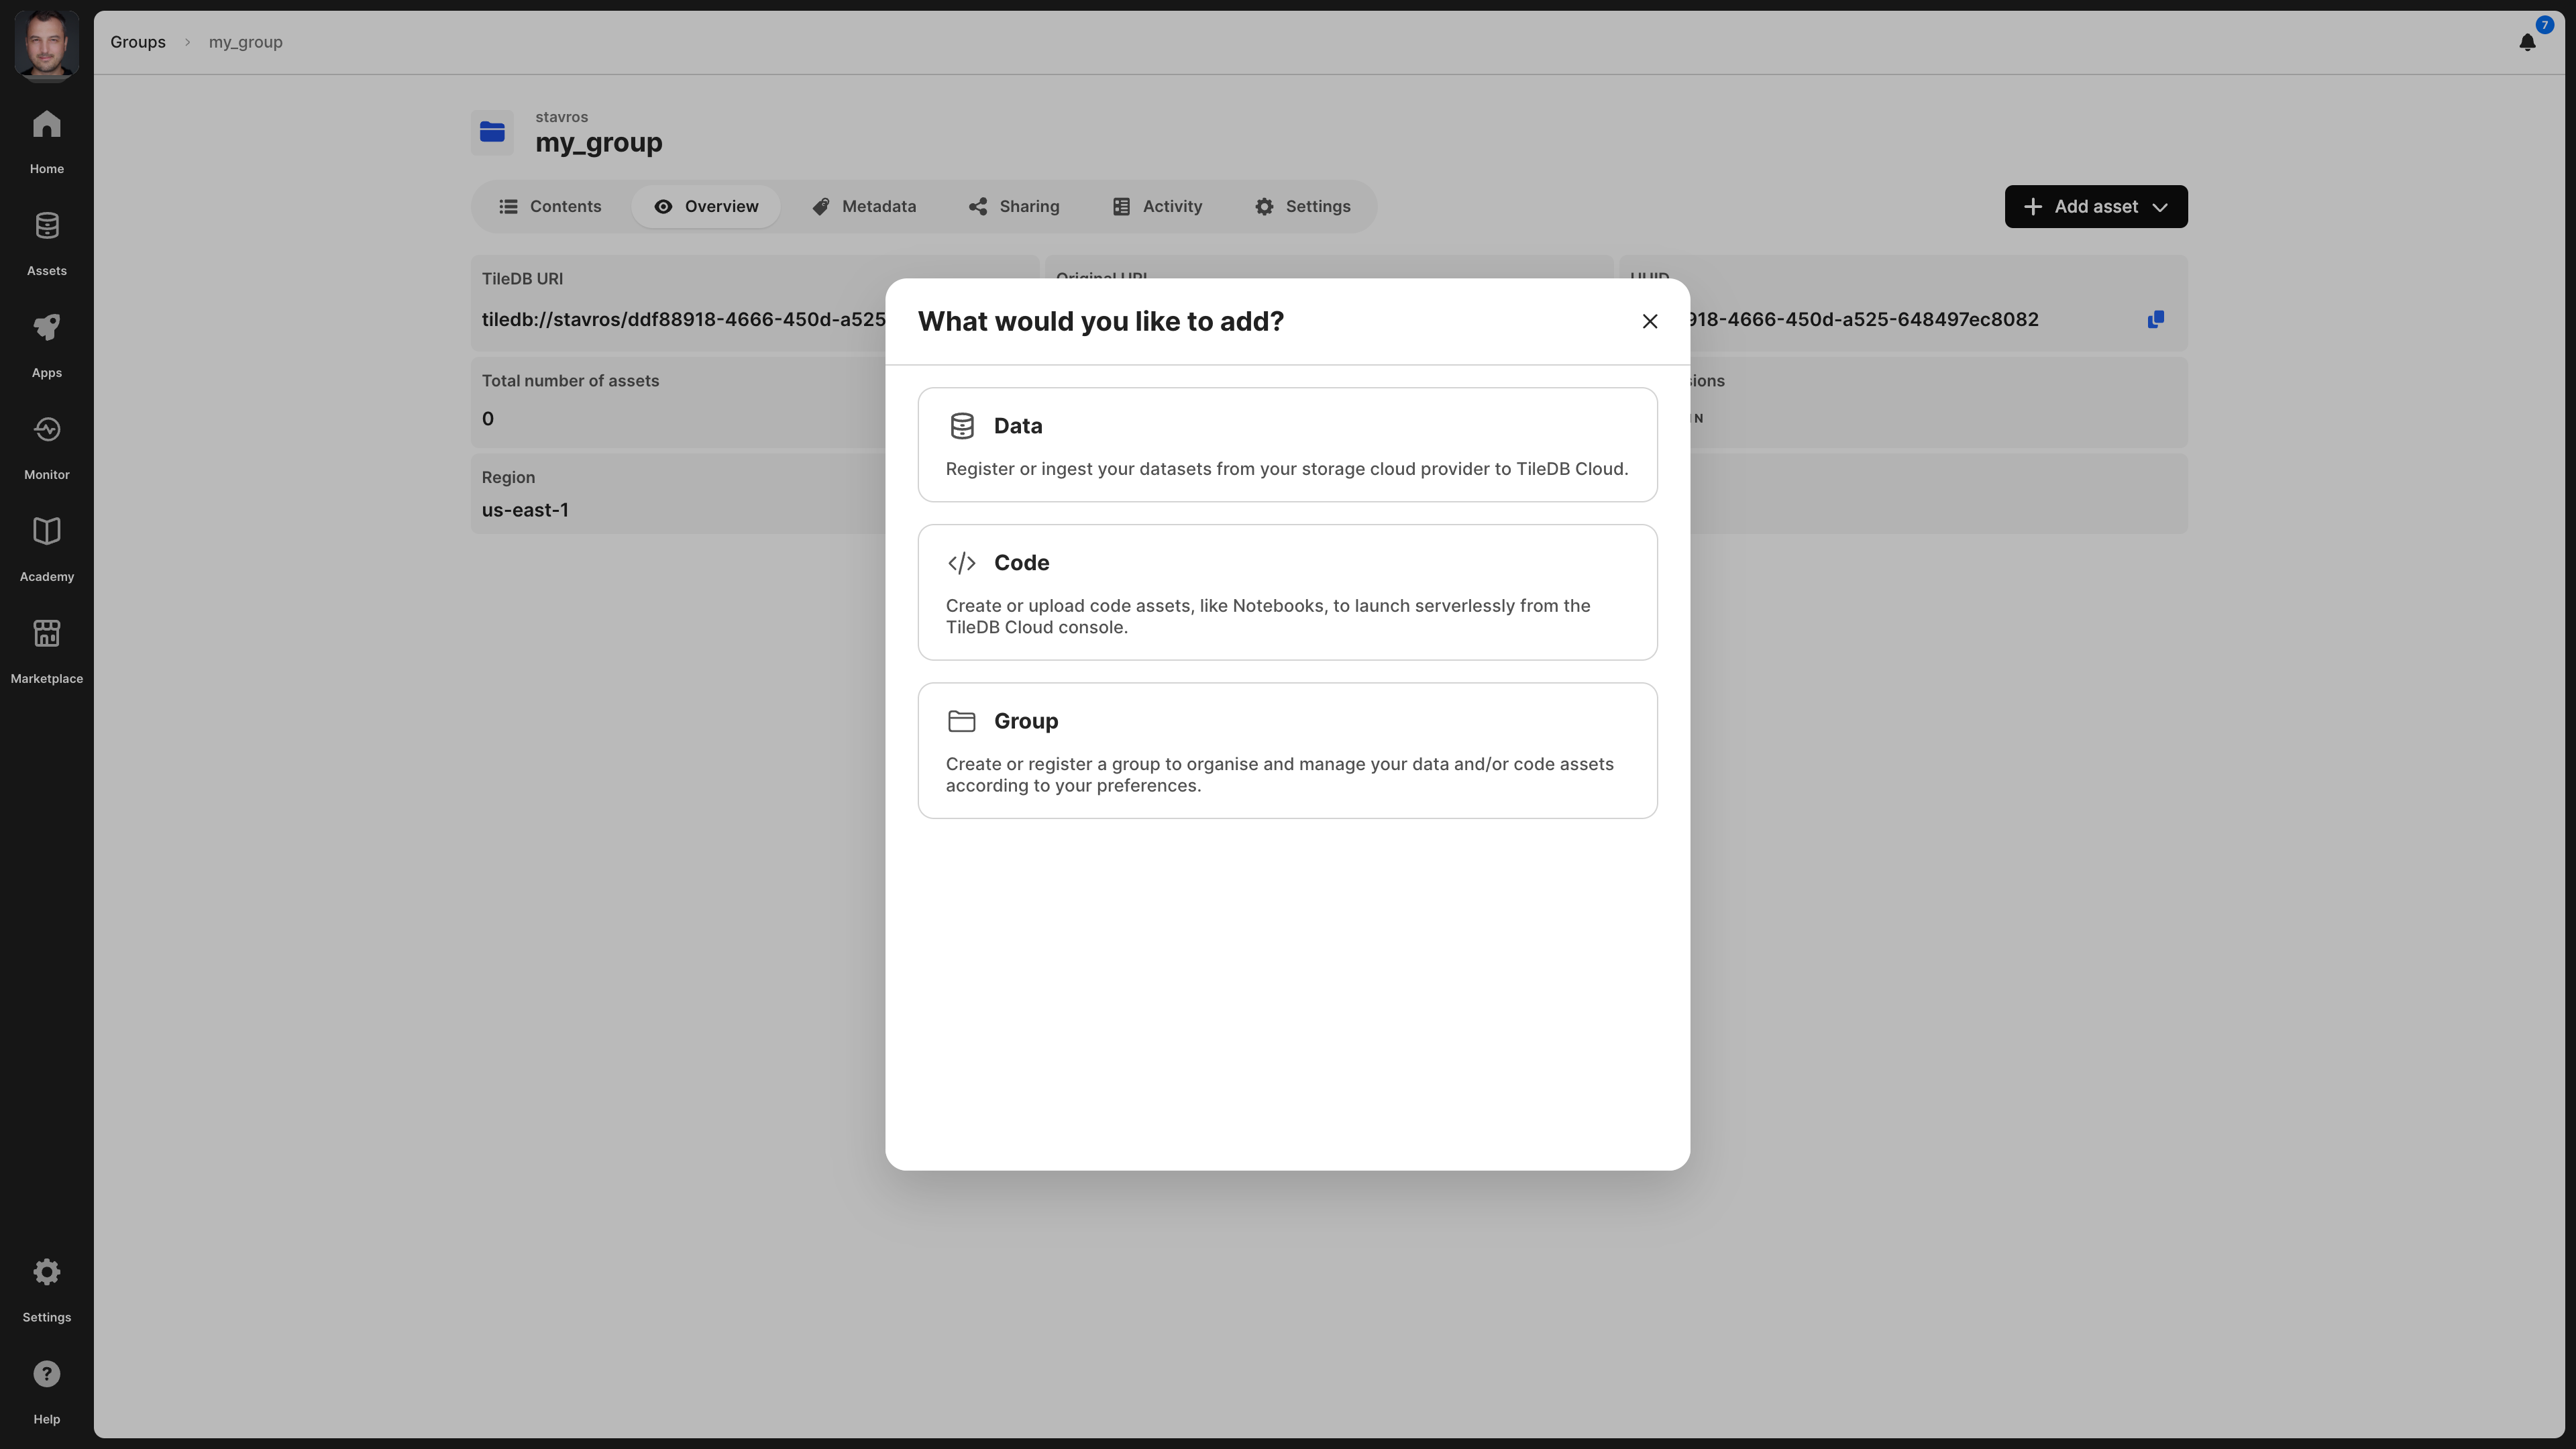
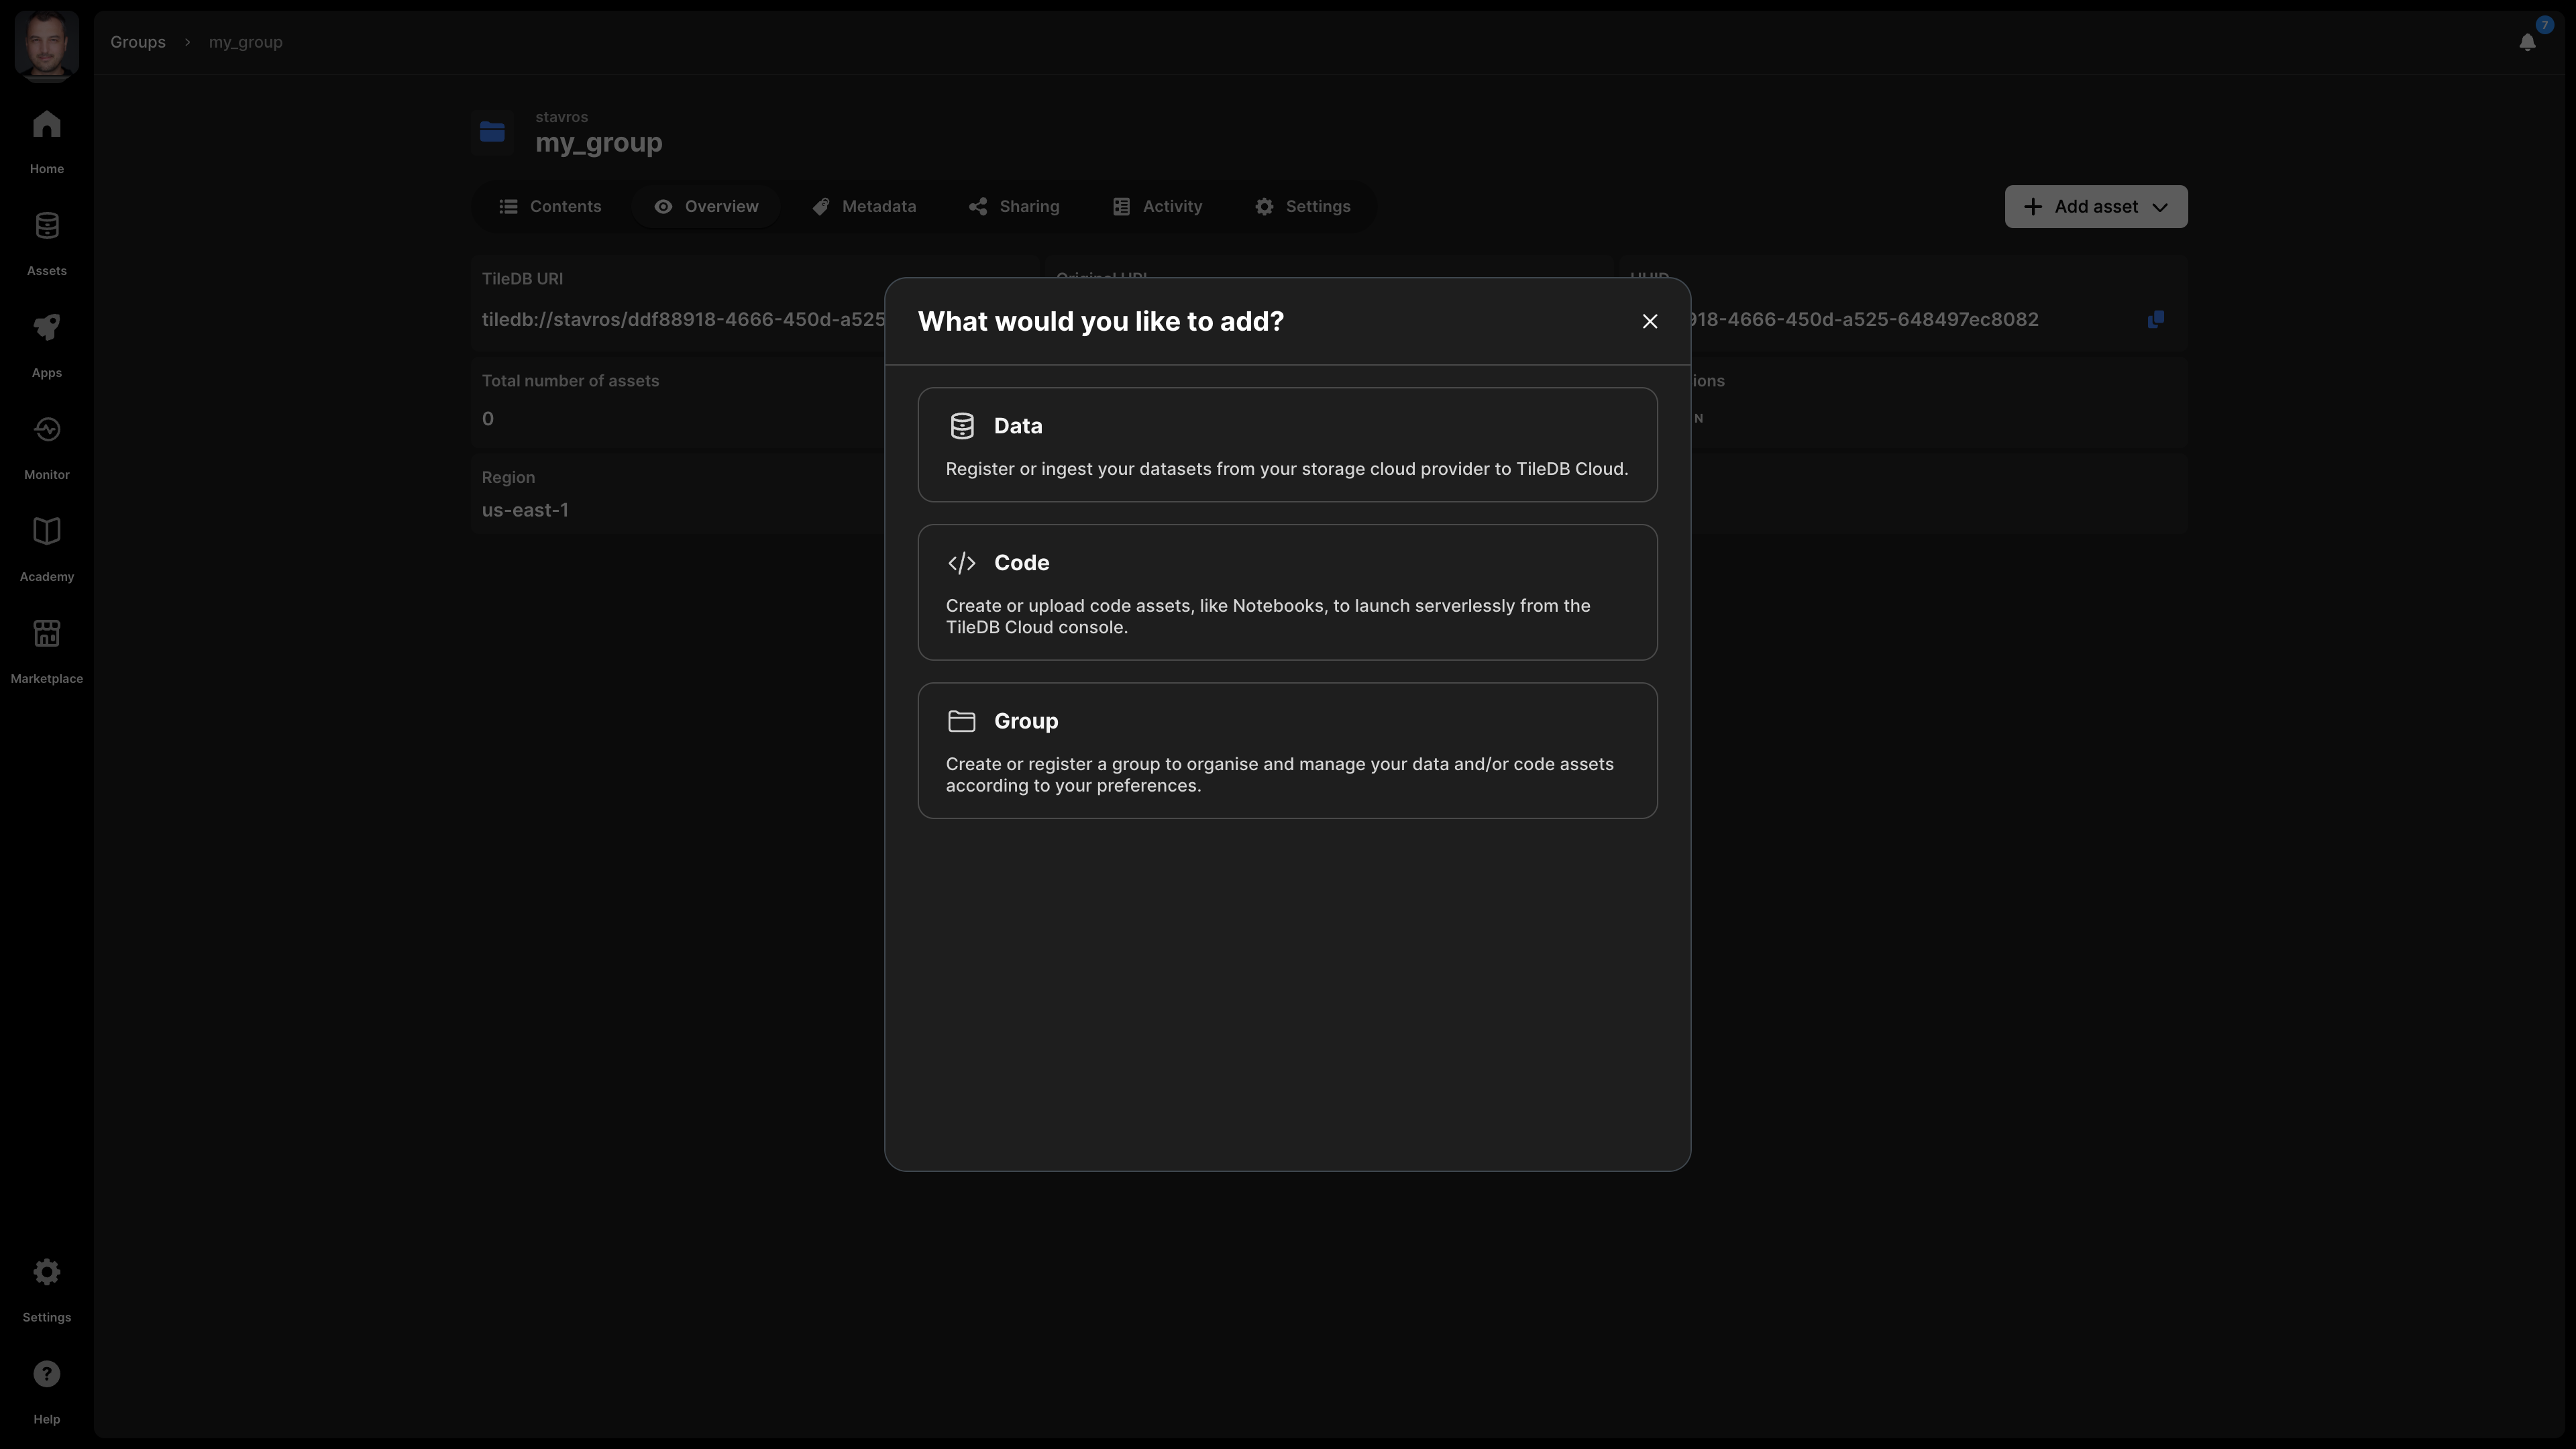
The quickest way to create a group is by selecting the Add Asset button under Assets, and then Create group. In the emerging window, you must provide the physical storage path where the group will be stored, the cloud credentials that with write permissions to this path, and the name of the group.
You can also create a group programmatically with the following command:
tiledb.Group.create("tiledb://<account>/s3://<bucket>/<group_name>")In the above example, the group will be physically stored in path s3://<bucket>/<group_name>, but it will appear and be referenced by tiledb://<account>/<group_name> in the TileDB catalog after creation.
Create first, register later
Suppose you have already created a TileDB group on Amazon S3, which is covered in detail in section Array Tutorials: Groups. You can register this group in two ways, either from the TileDB UI console, or programmatically.
From the UI, follow these steps:
- Select Assets from the left navigation menu.
- Select the Add Asset button.
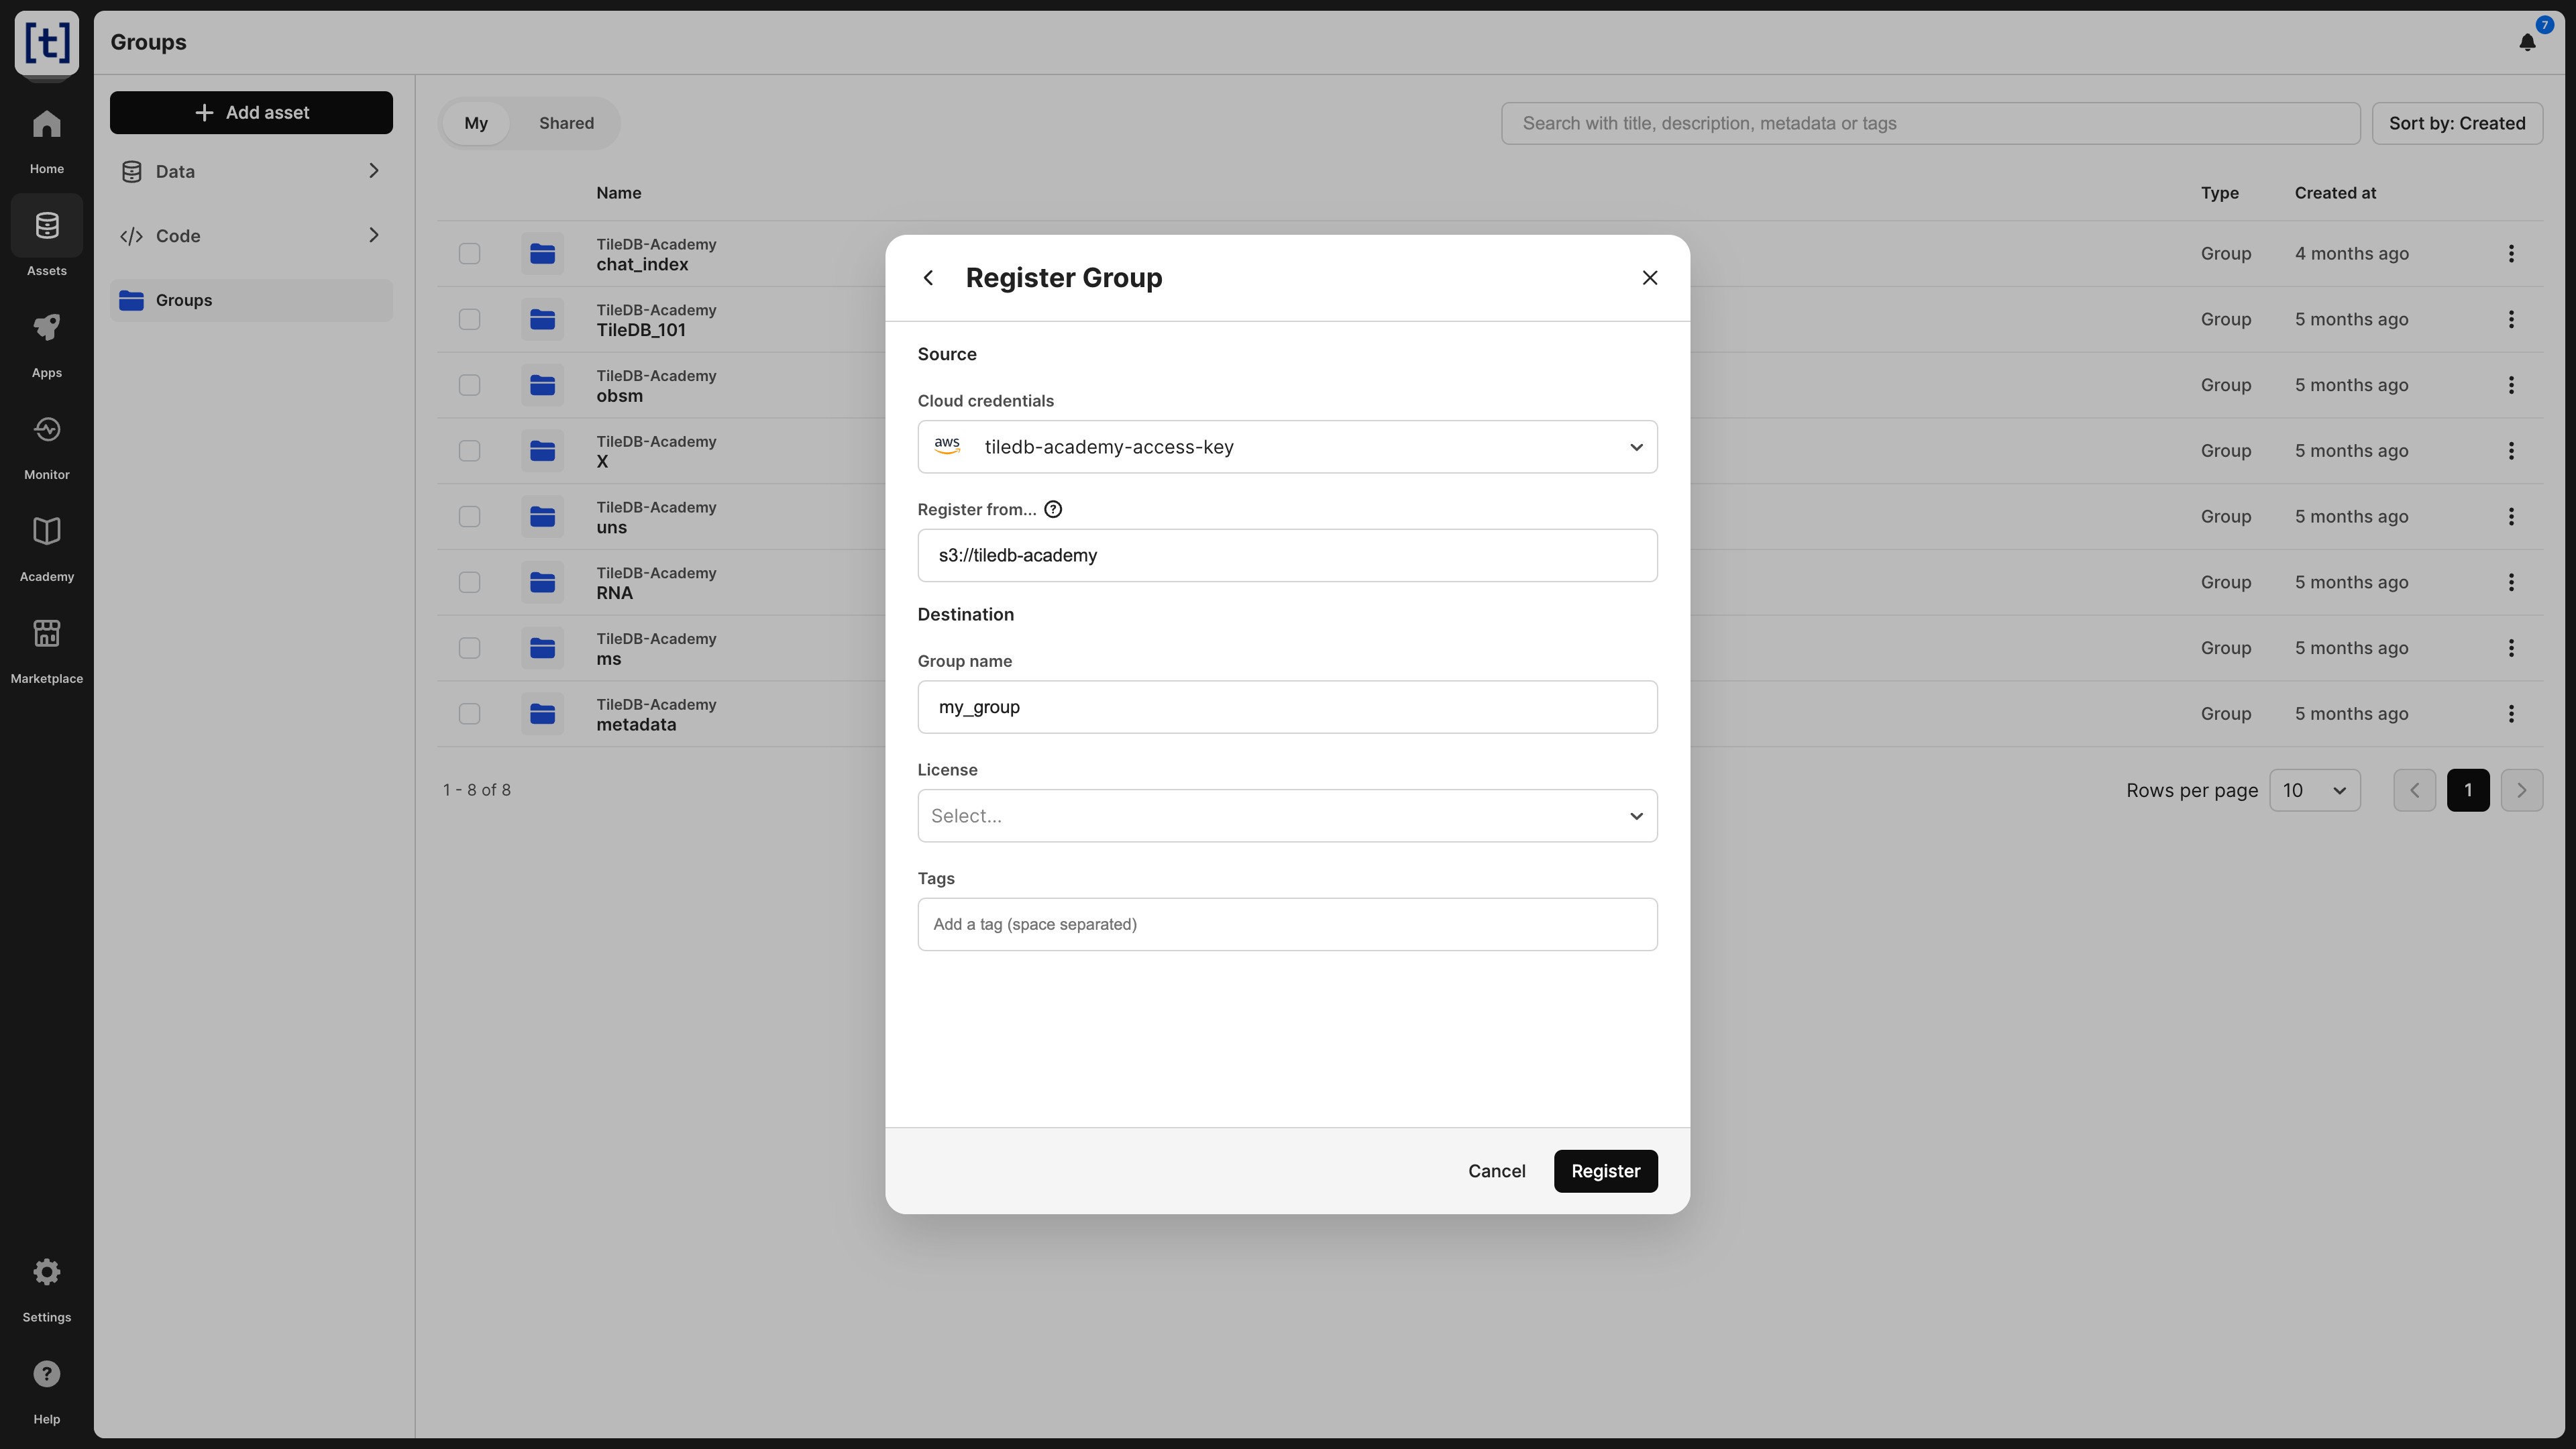
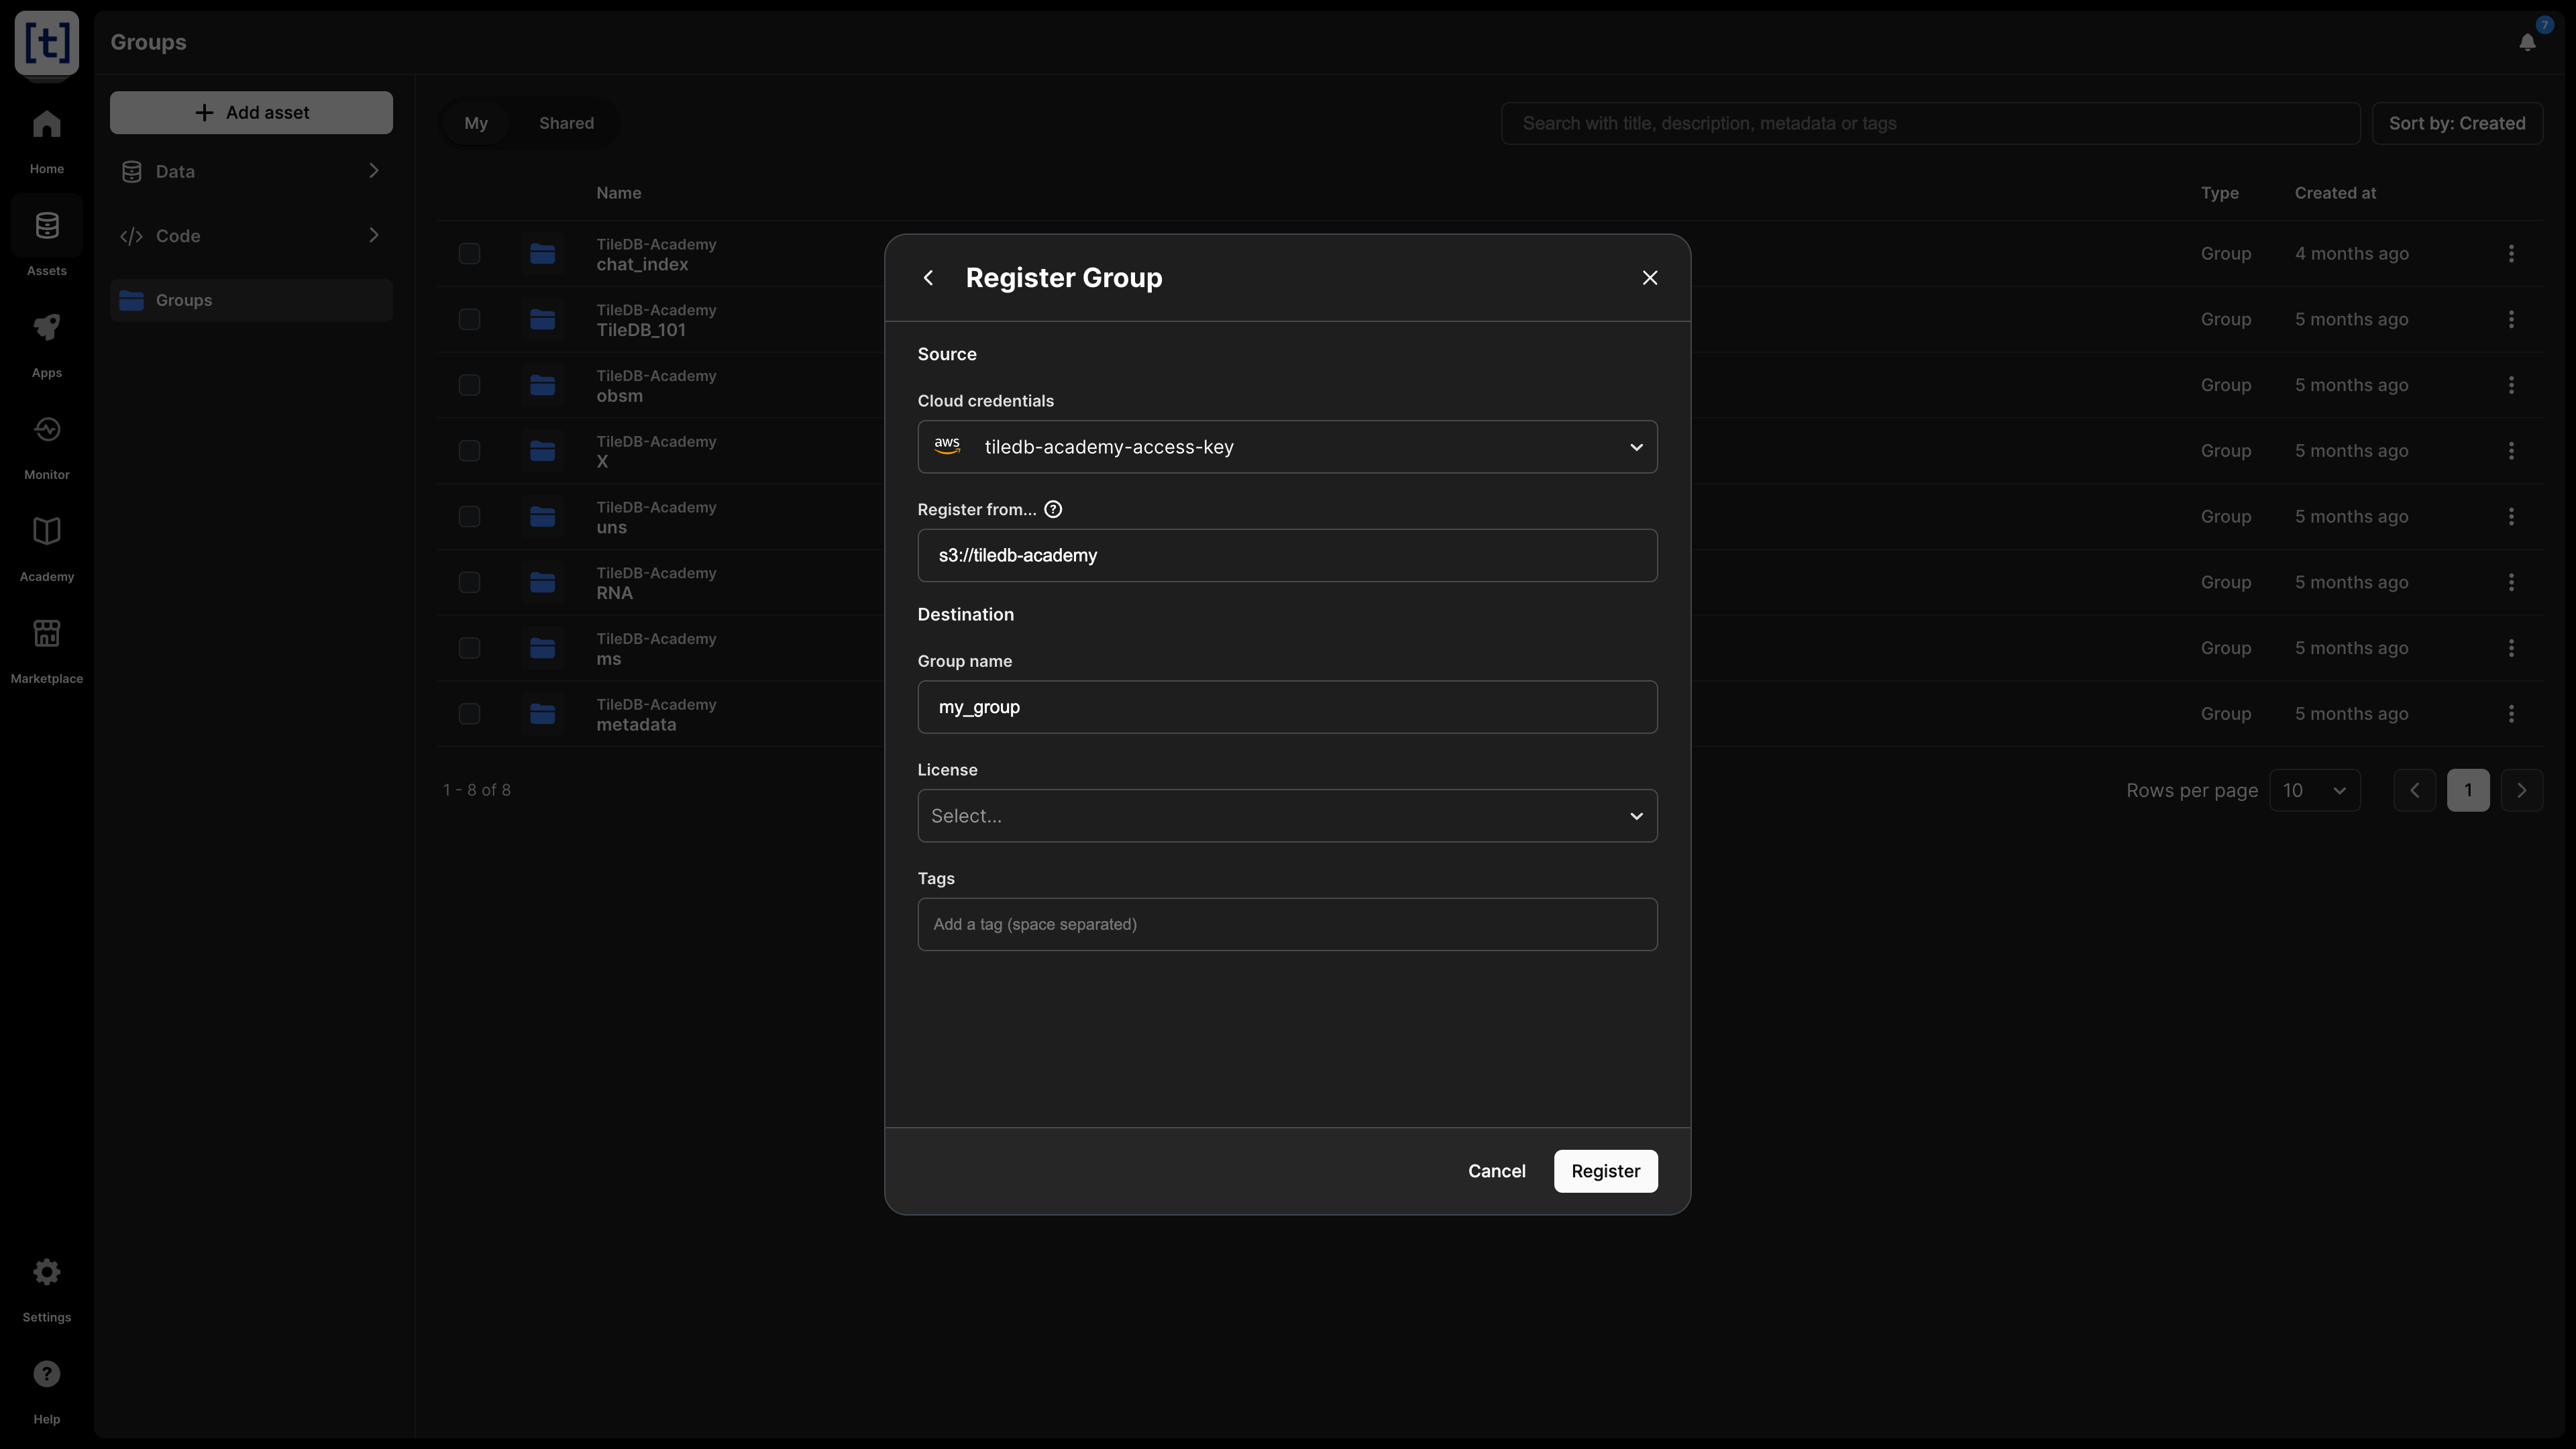
- Choose Group on the emerging window, and then Register group.
- On the emerging modal, provide the following:
- Cloud credentials - (required) The credentials used to access the existing group on cloud storage. You must have already set these up in your account settings.
- Register from - (required) This is the full URI path of the physical group on Amazon S3.
- Group name - (required) The name you will give to the group that will be listed in your catalog. This name can be different from the physical group name.
- License - (optional) The license under which it will be available this group. It is strongly recommended to use a license when you make an asset publicly available.
- Tags - (optional) You may want to apply tags on the group, which are useful for catalog search later.
- Select Register to complete the process.
Programmatically, you can register an existing group with the following command:
tiledb.cloud.groups.register(
    storage_uri="s3://<bucket>/<group_name>",
    namespace="<account>",  # Optional, you may register it under your username, or one of your organizations
    name="<group_name>",  # Could be different from the physical group name
    description=None,  # Optional, this will appear under Overview
    credentials_name="<credentials>",  # Required, which AWS credentials from your account can access the group.
    # You must have already added your AWS credentials in your account settings
)
A registered group will appear under Assets -> Data -> Groups in the TileDB catalog.
Add assets
You can add any asset to a group, including other groups to create arbitrary asset hierarchies, similar to what you do with your folders and files in your local filesystem.
From the UI, you can select Add asset from inside your group, and then choose either to add an existing asset, or a new asset. To add a new asset, select Add asset -> Add new asset, and a modal will pop up to guide you. The process you will follow is similar to adding any of the assets described in the Catalog section.
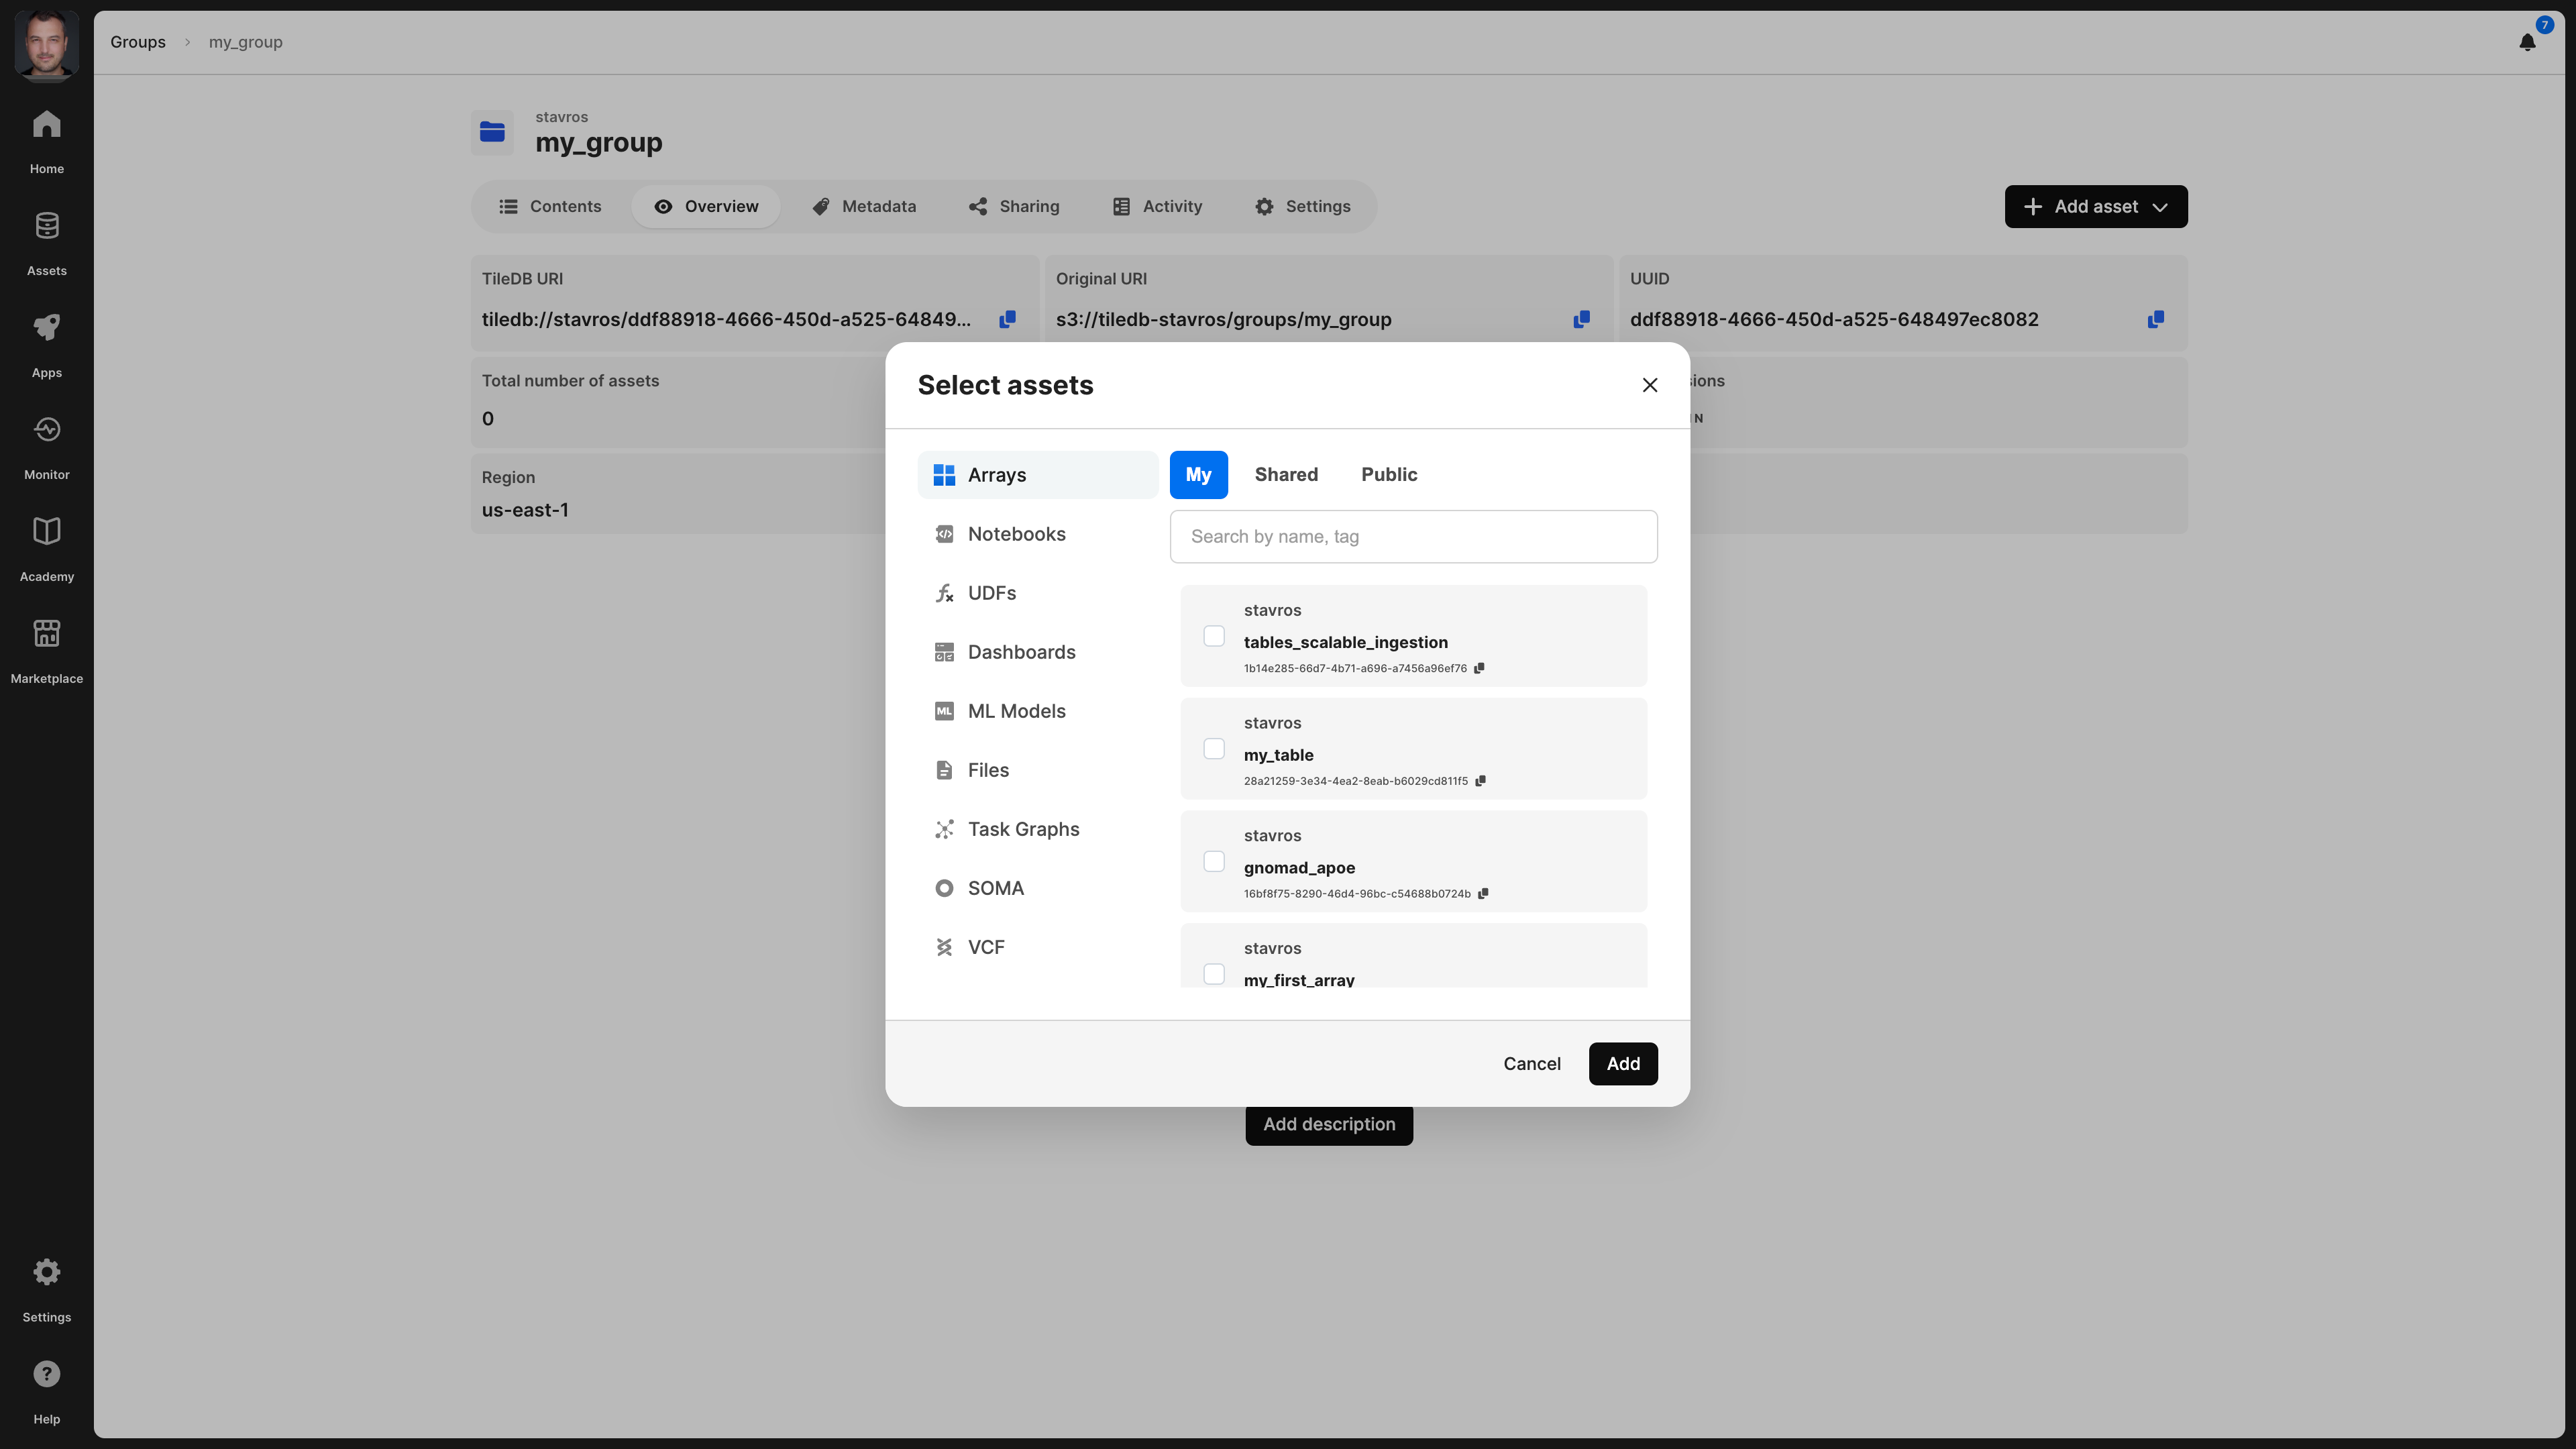
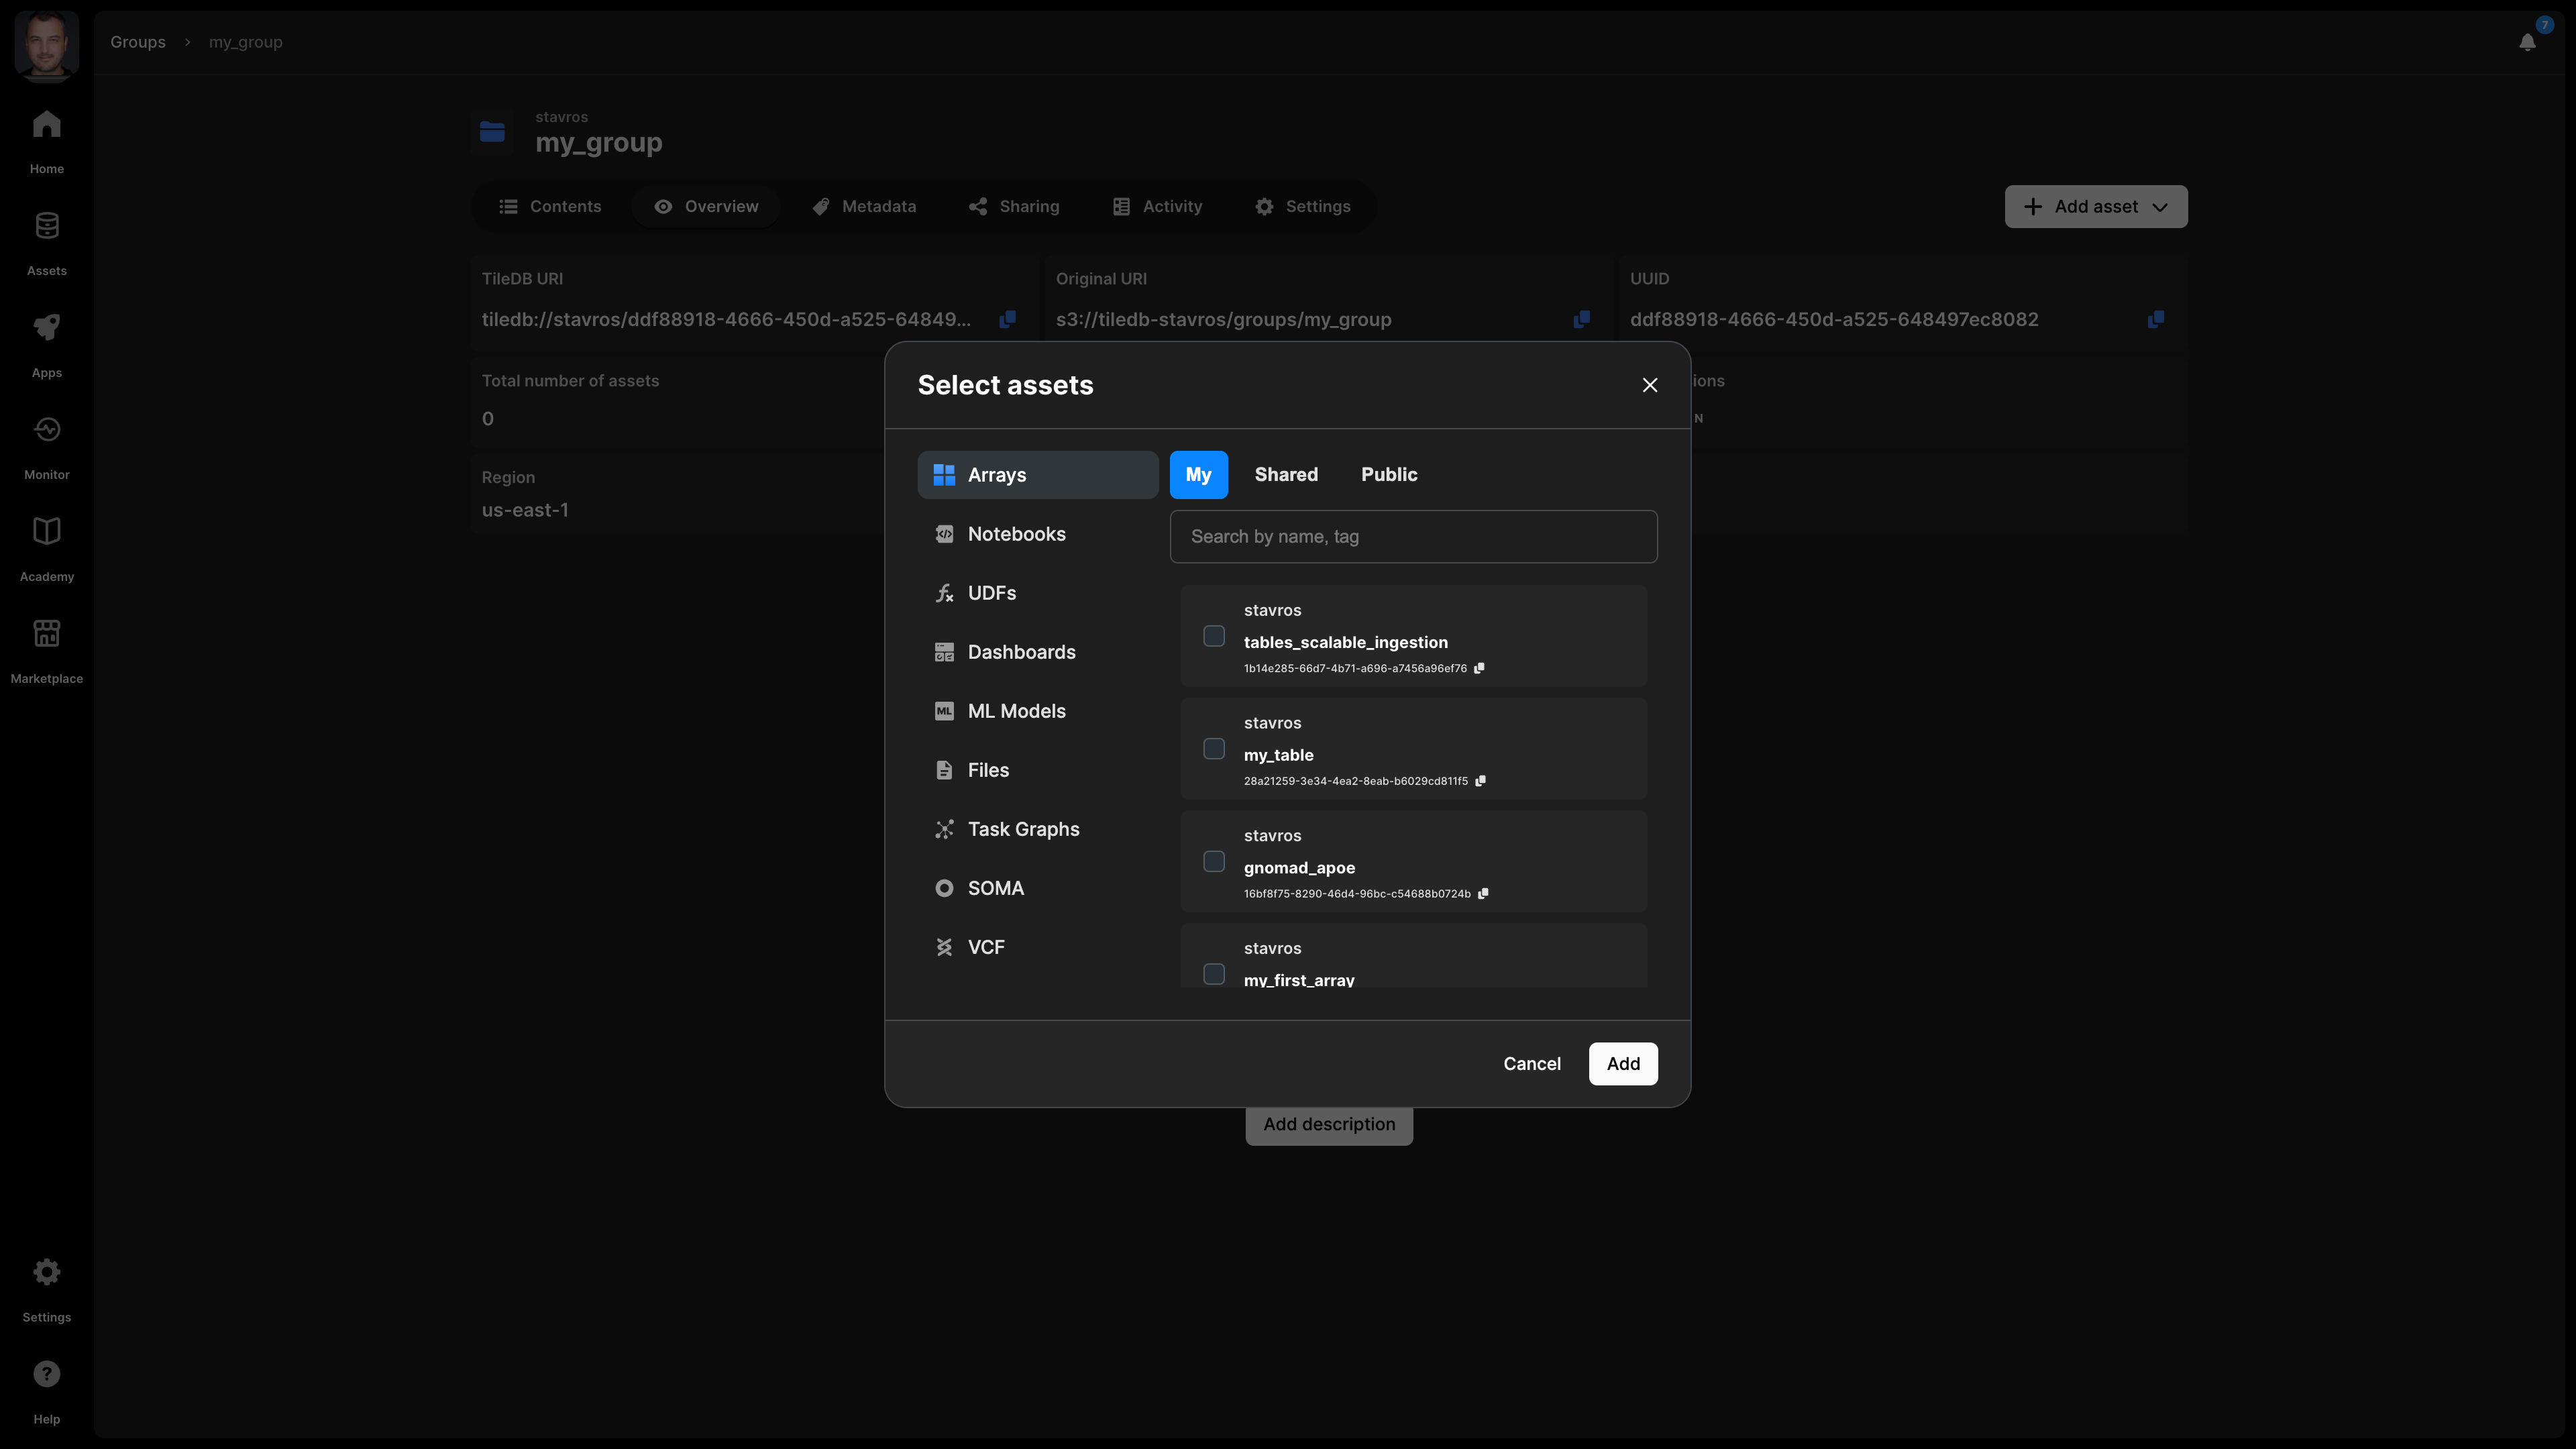
To add an existing asset to your group from the UI, select Add asset -> Add existing asset.... The emerging window lets you browse all your existing assets and choose the asset you wish to add to your group.
Programmatically, you can add assets to a group as described in detail in the Array Tutorials: Groups section. As long as you use a tiledb:// URI with the APIs, the assets will be automatically registered to the TileDB catalog.
Contents
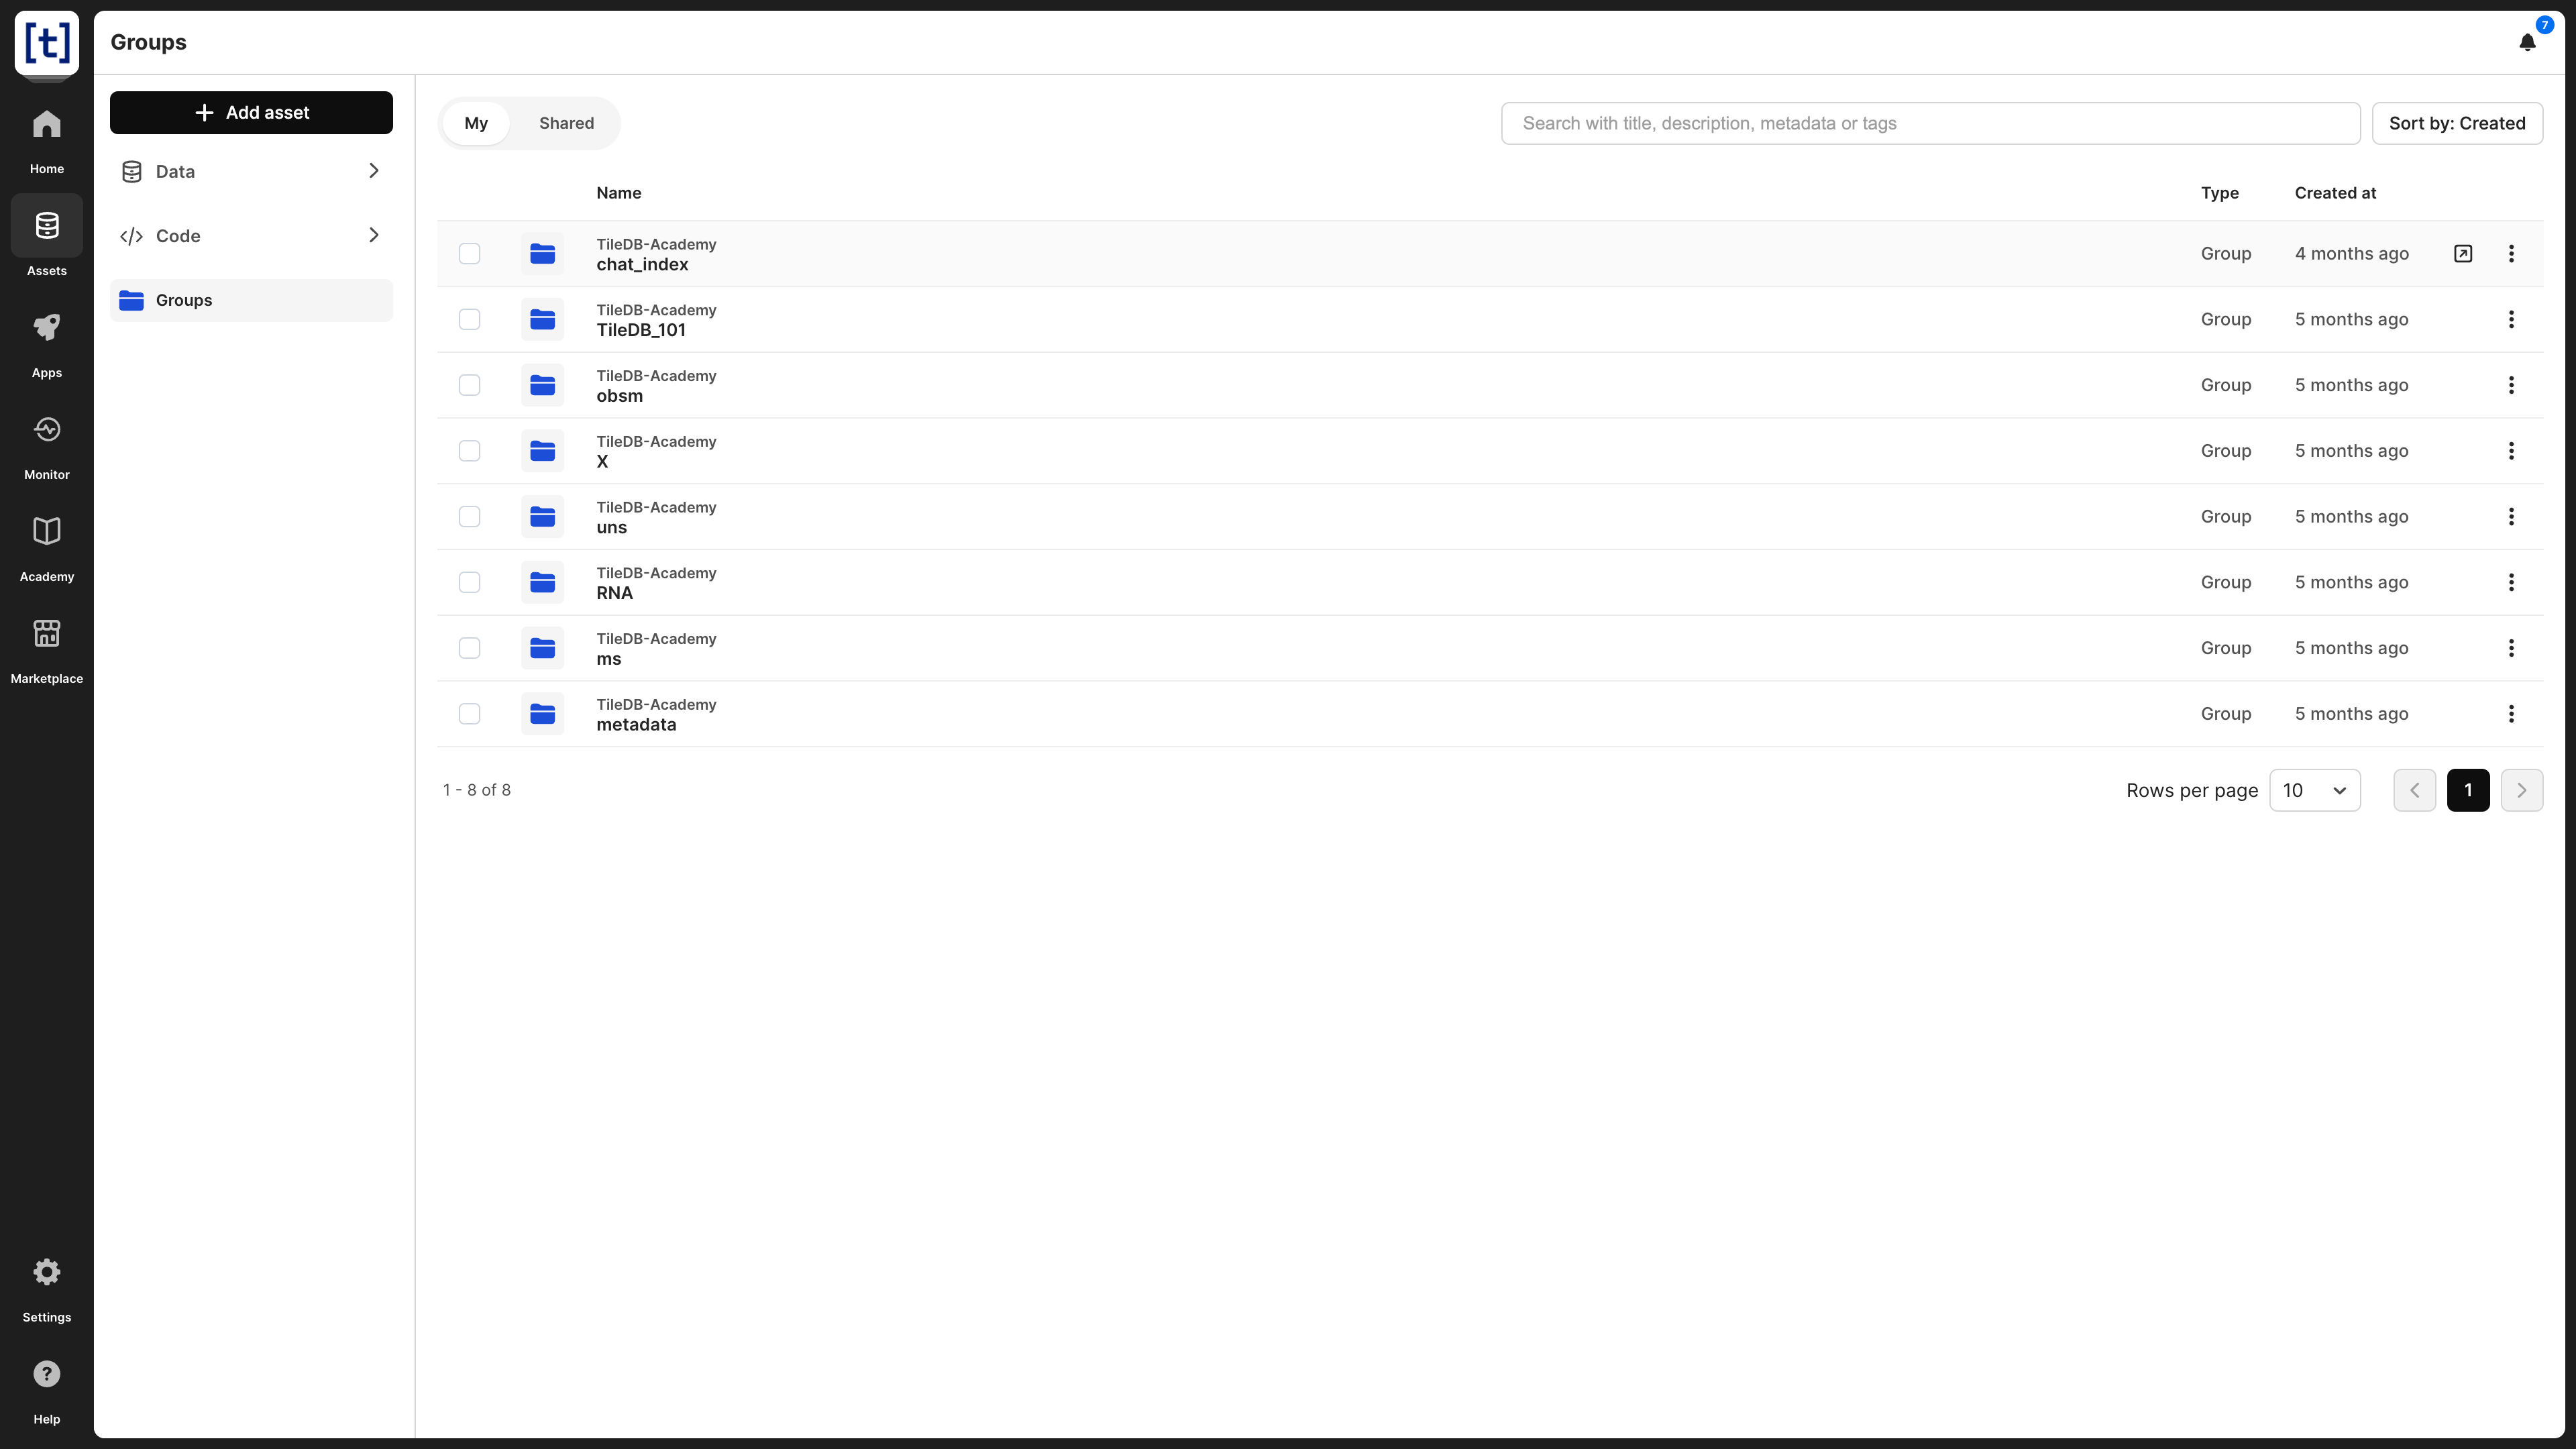
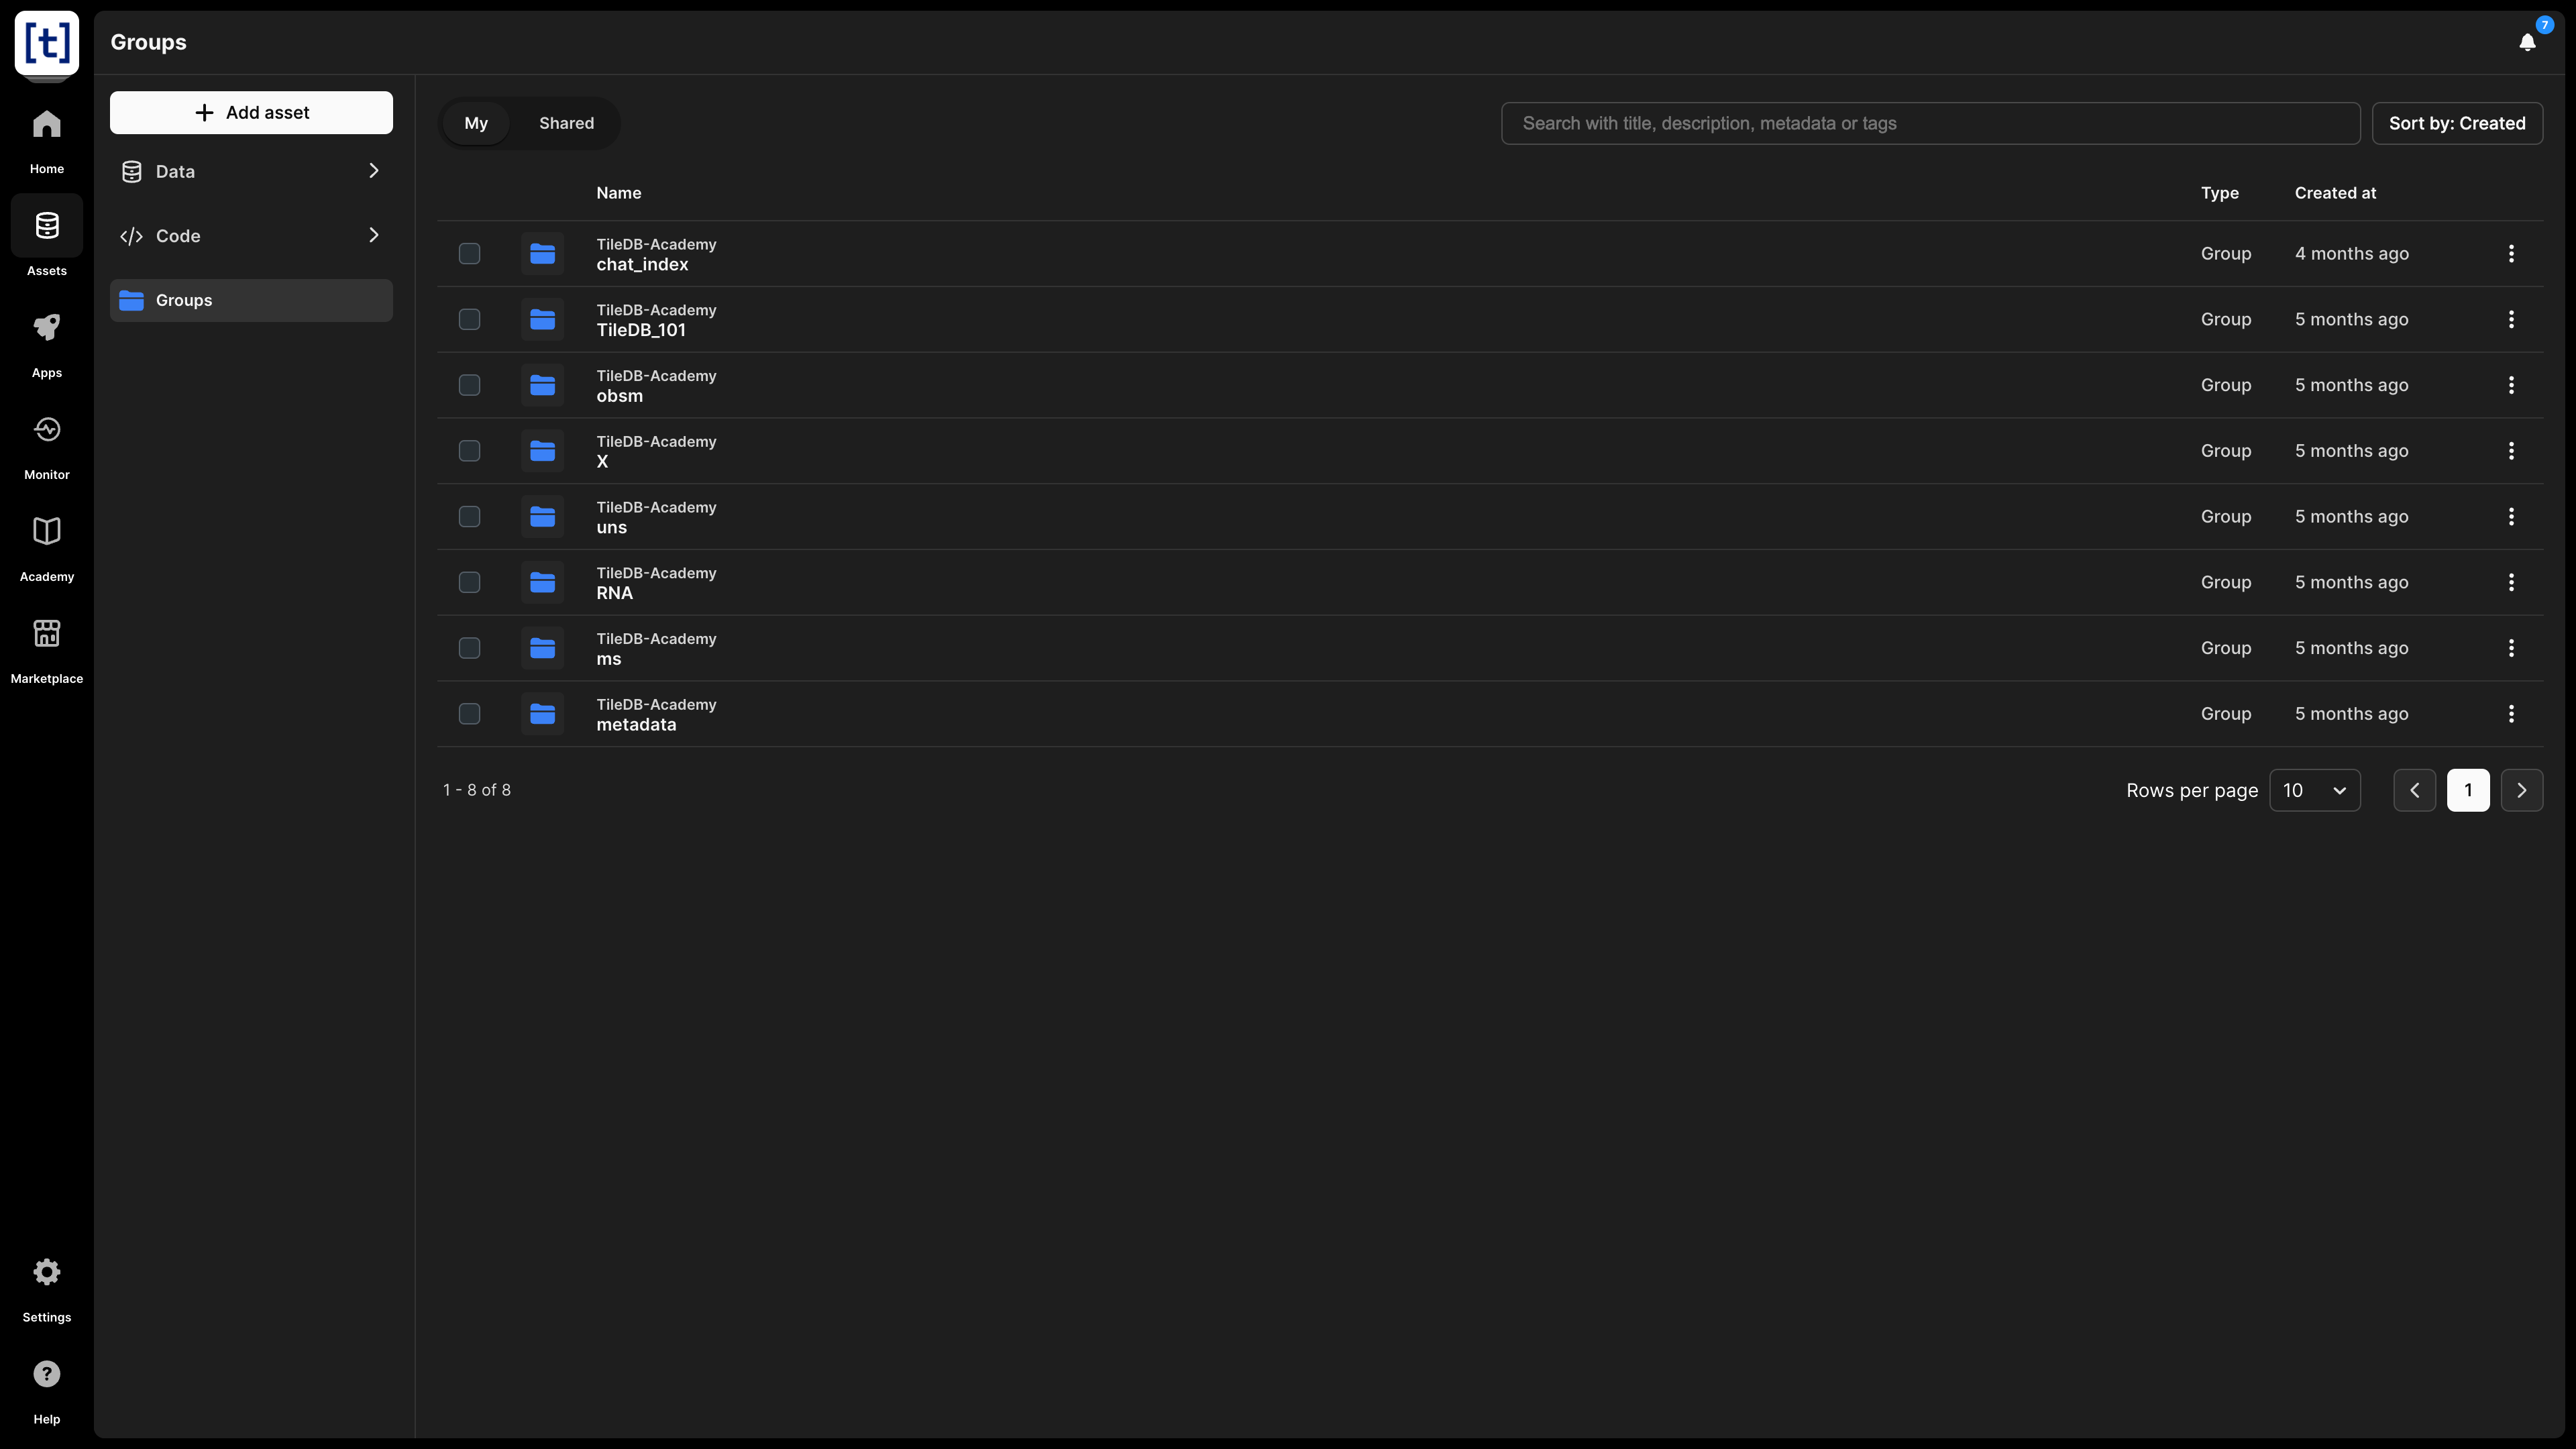
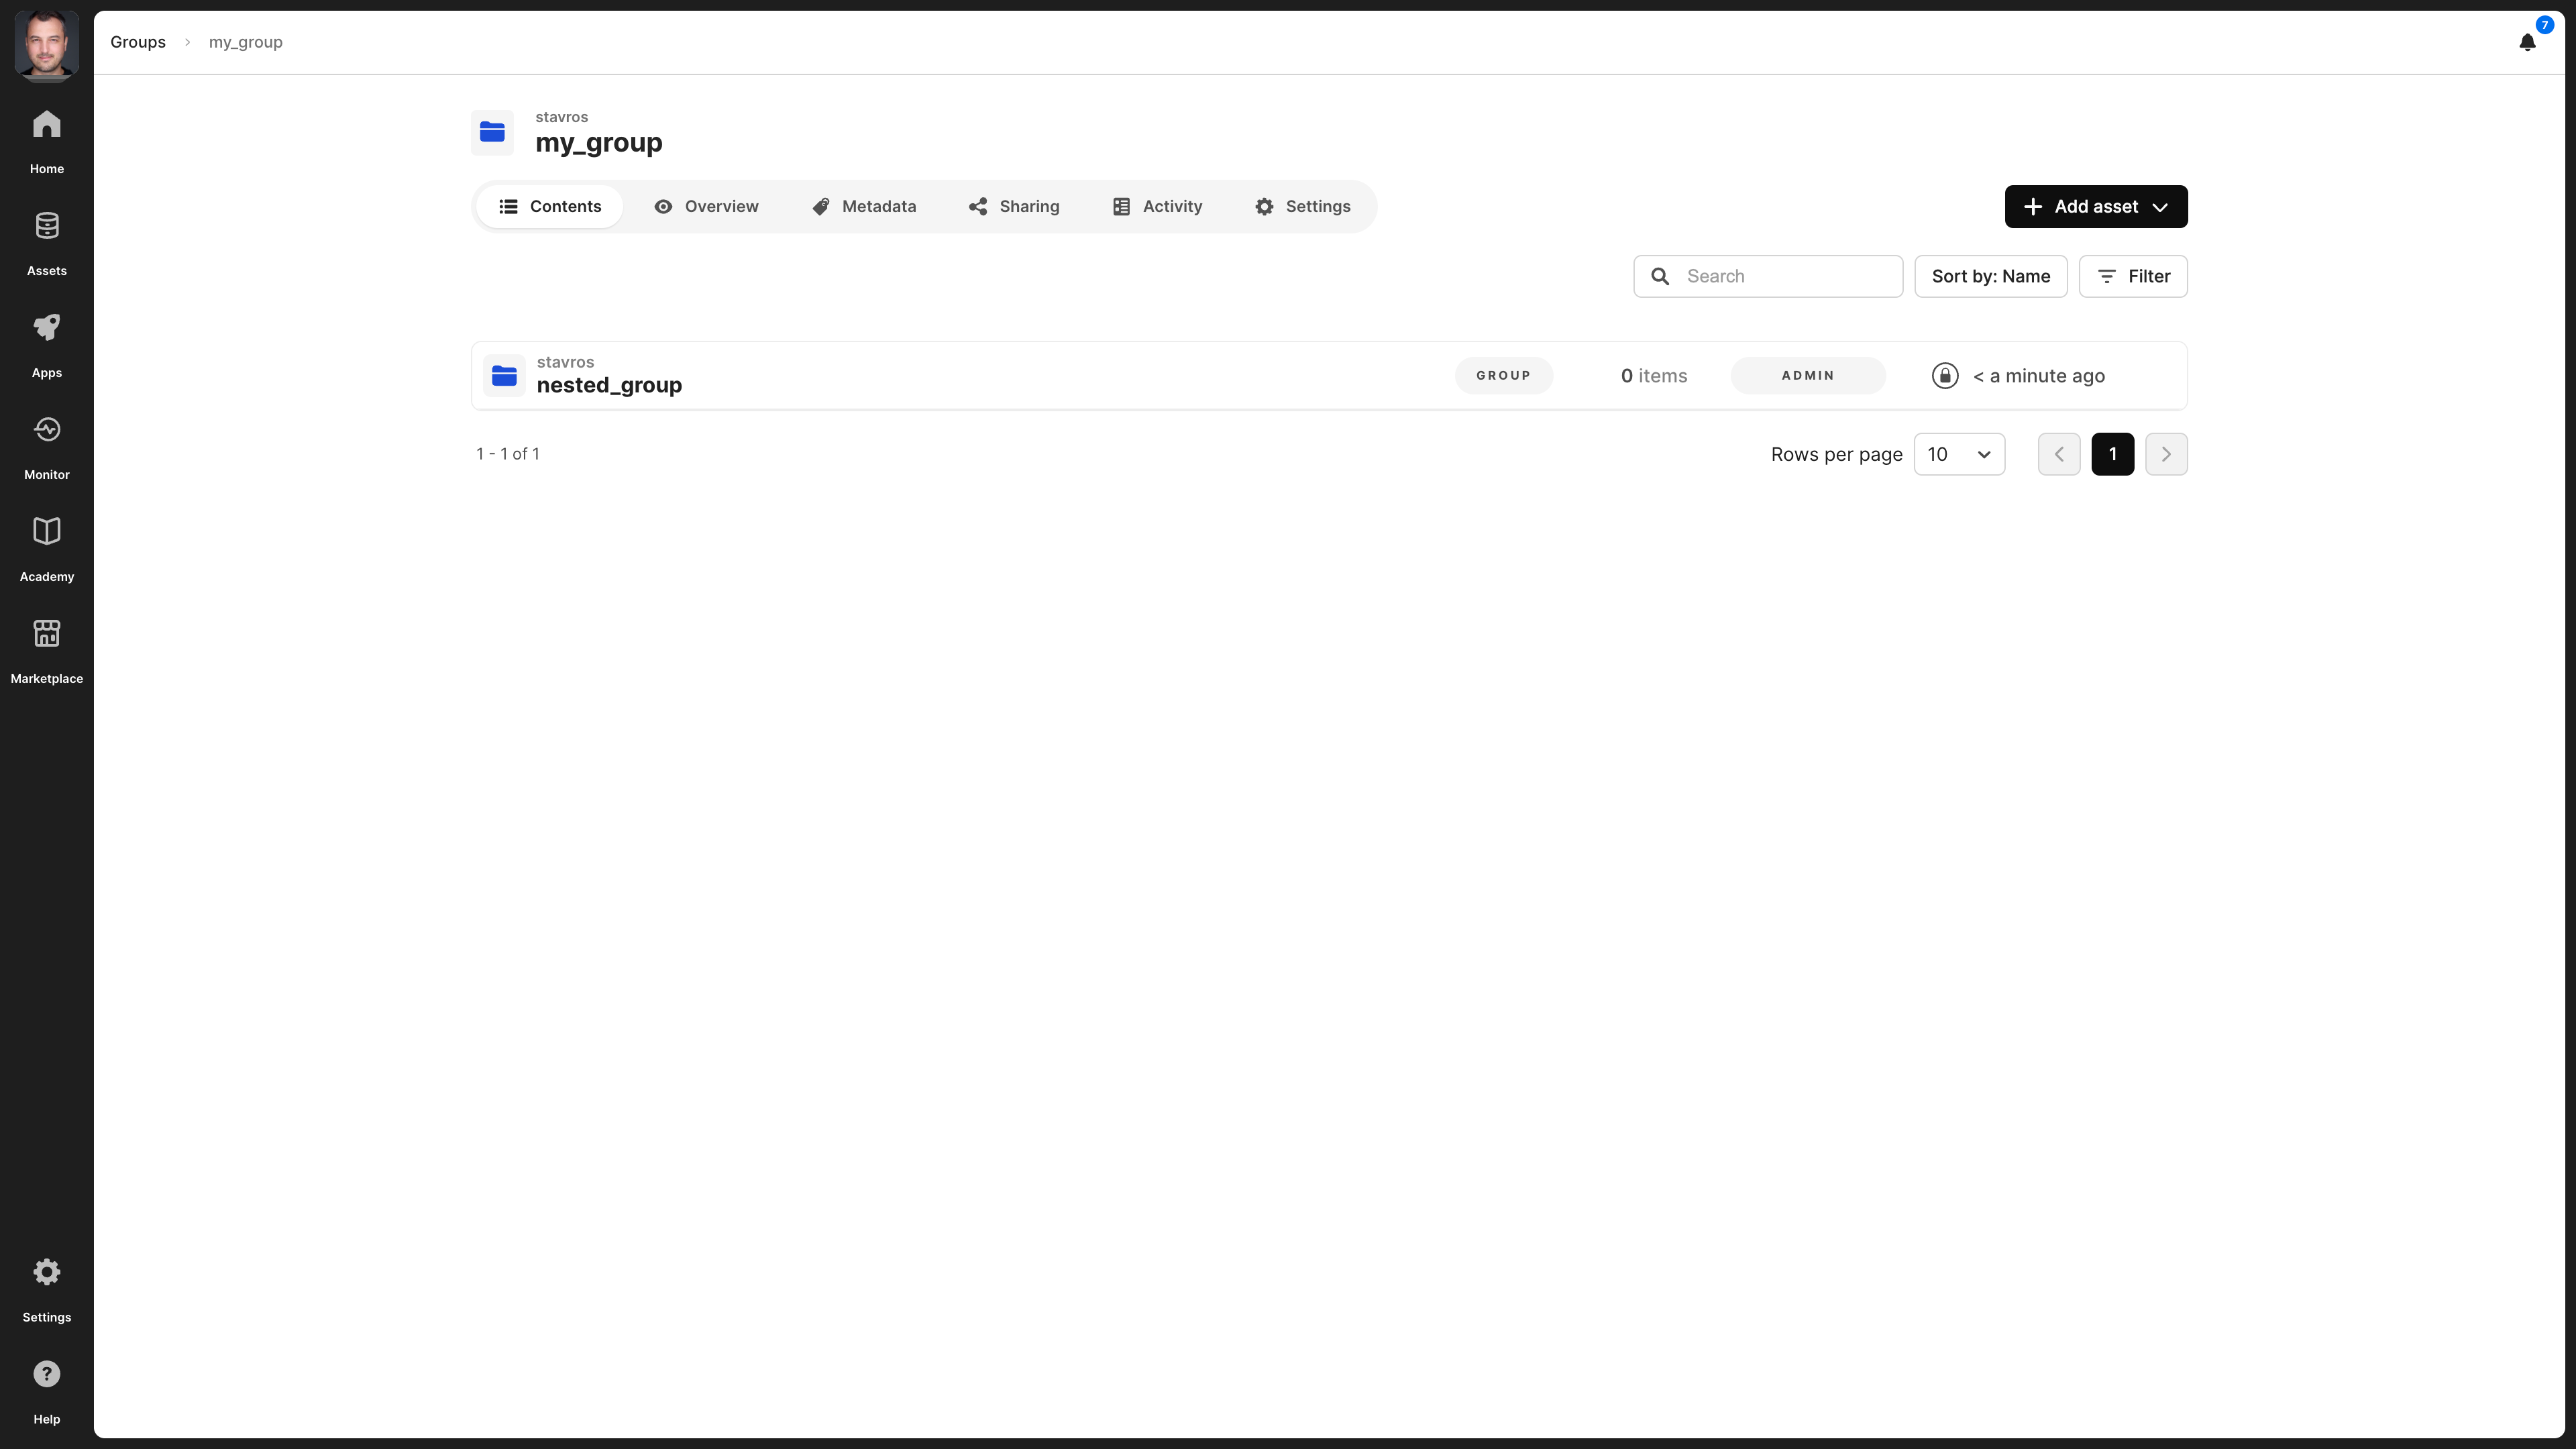
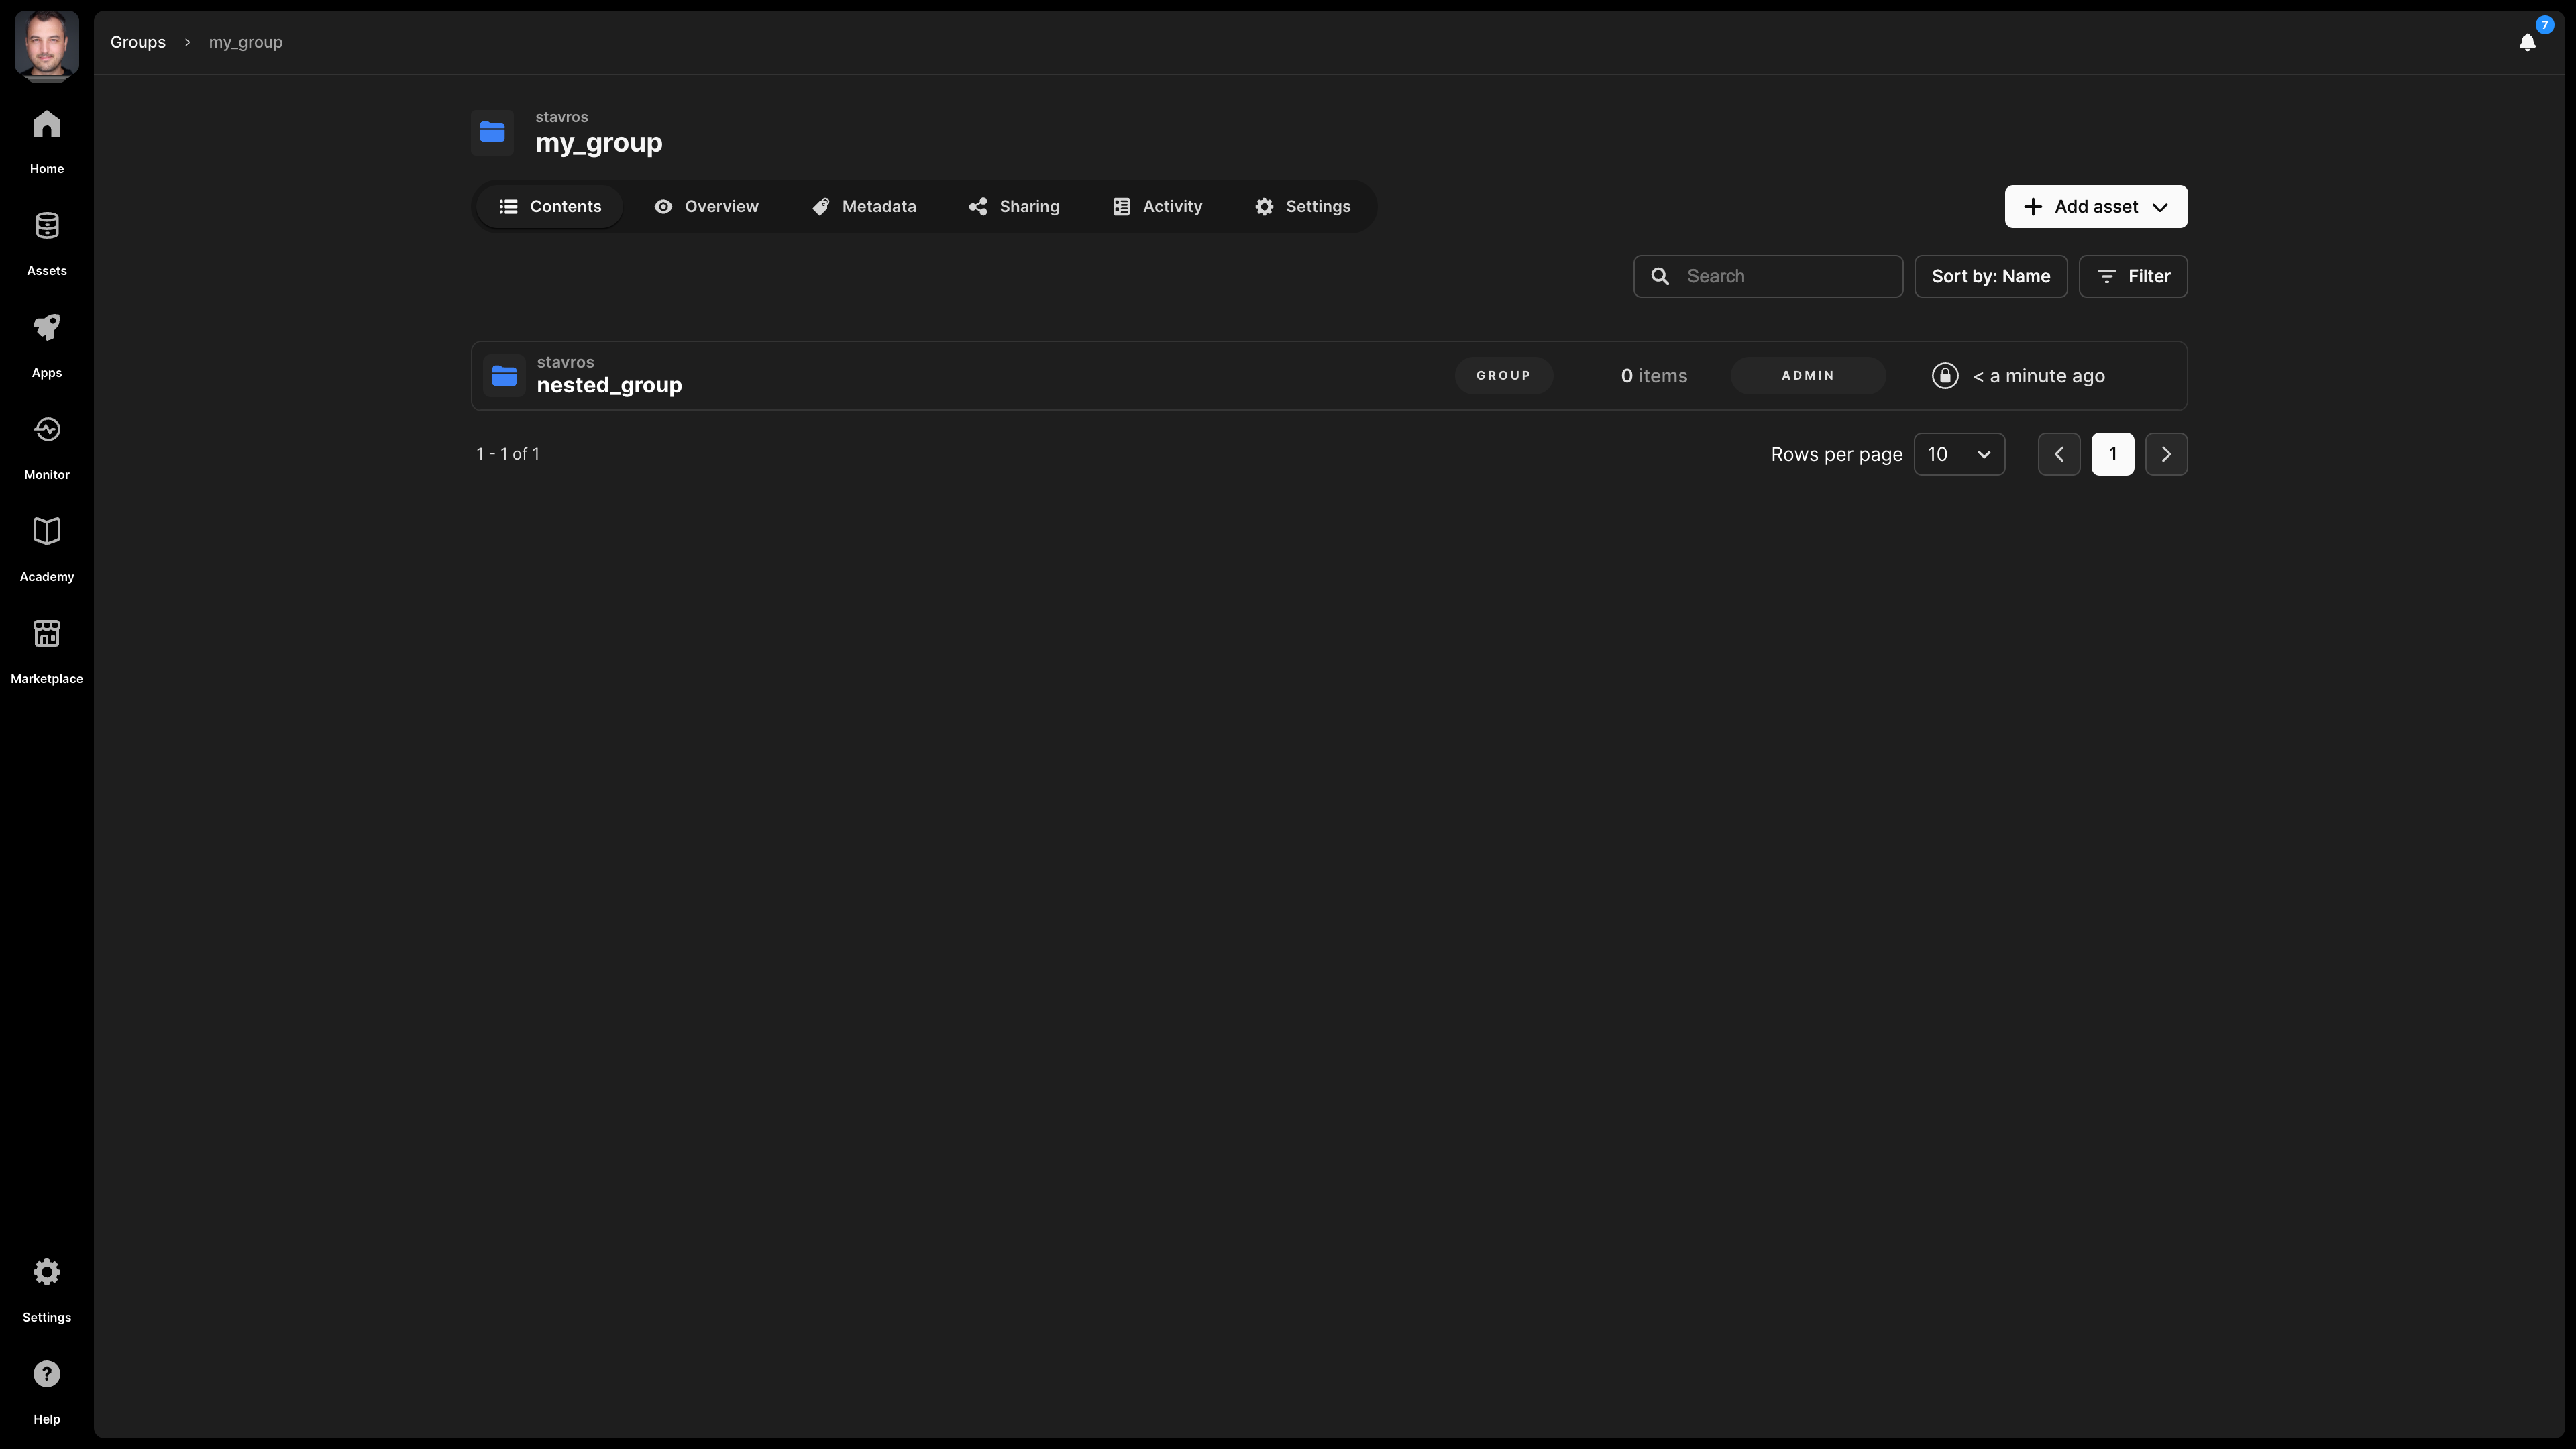
Once you add assets to your group, you will be able to see its contents and browse the hierarchies you create in the Contents tab.
Overview
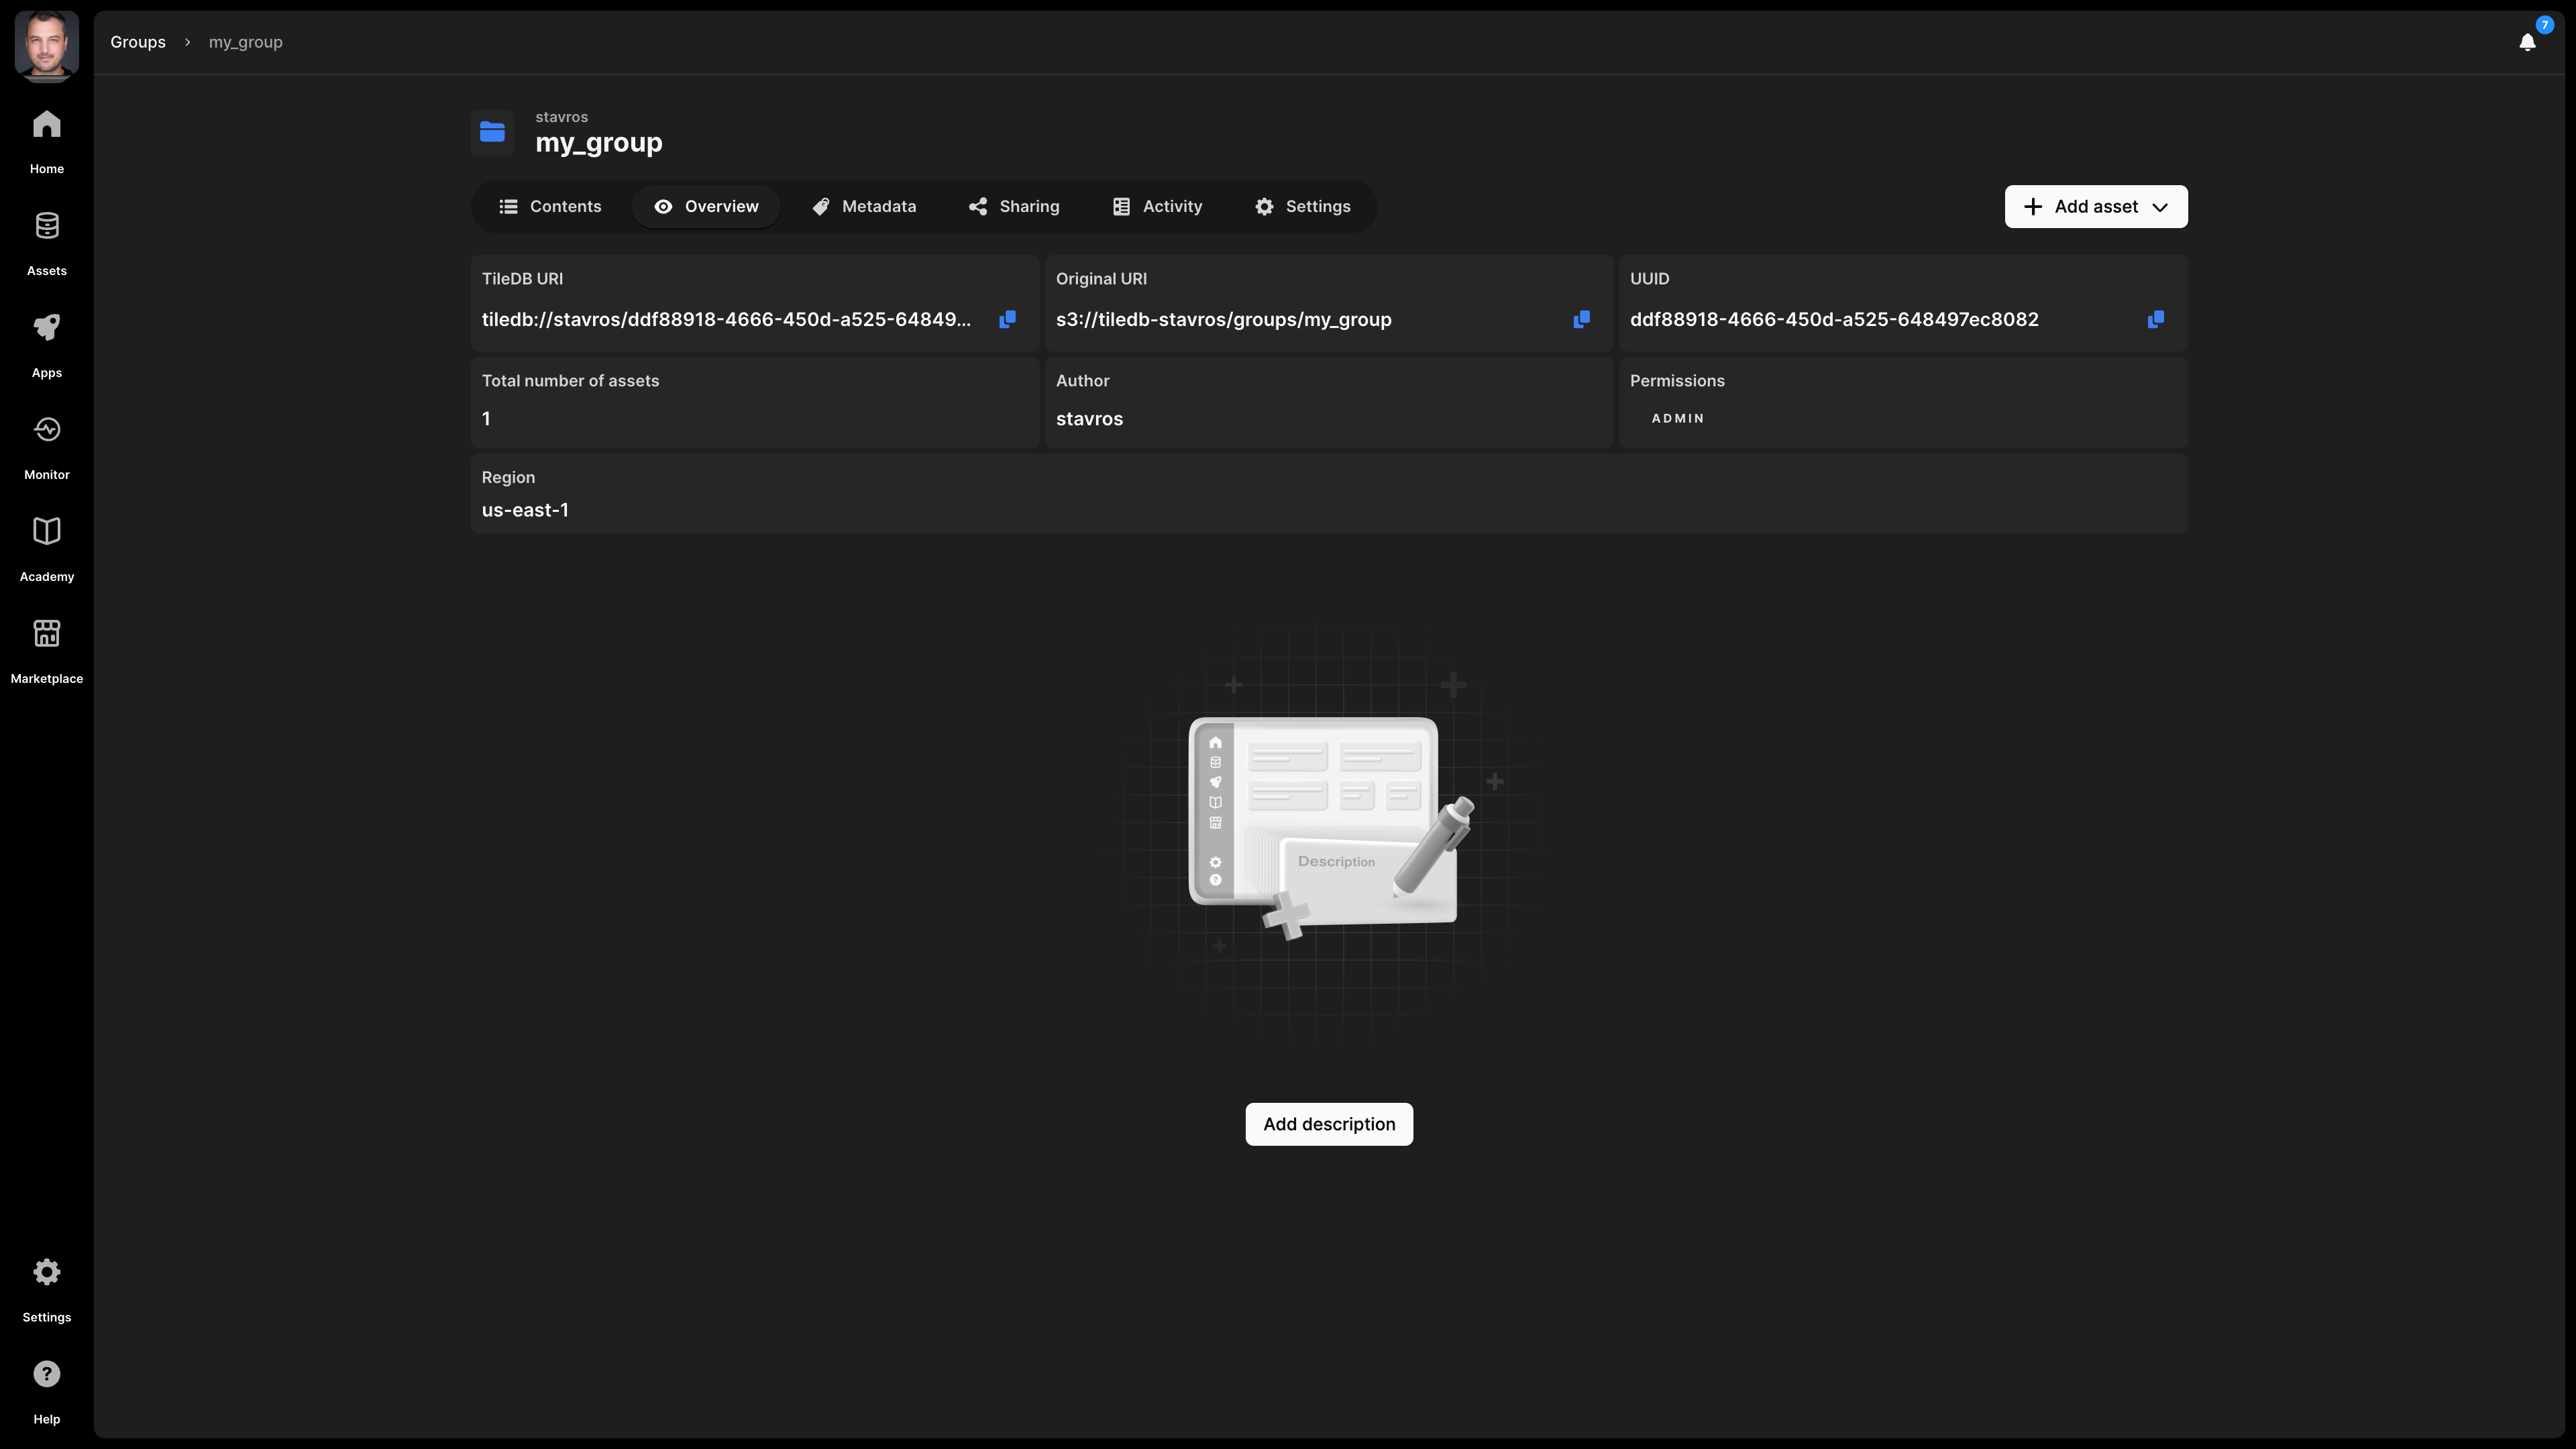
You can see basic information about your group in the Overview tab:
- Group name - This appears at the very top of the screen, and consists of the account name and the name you provided to the group when registering it.
- Description - If you provided a description to the group (programmatically or in
Settings), it is visible here. The description is indexed and searchable in the catalog. Therefore, it’s recommended to add a meaningful description for all your assets. - License - The type of license for the group, especially if you are making this publicly available.
- Tags - These can be used for efficient search in the catalog.
- UUID - The unique identifier for the group.
- Original URI - The location on cloud storage where the group is physically stored.
- TileDB URI - The unique resource identifier for TileDB, based on which you can call the group when coding. It comprises the namespace identifier and the UUID of the group.
- Permissions - What rights the current user has on this group. Possible values are
READandADMIN.
It is important to understand how to refer to your group programmatically. You can do it in two ways:
- Using the TileDB URI format
tiledb://<account>/<group_name>. This is the most user-friendly way, but TileDB allows duplicated group names, and if you have a group with a non-unique name, this will throw an error. - Using the TileDB URI from the asset’s Overview tab (that is, the URI with format
tiledb://<account>/<UUID>). TileDB URIs referencing the asset’s UUID are unique. Thus, this method will always work.

Metadata
Each group can be associated with metadata, which is in the form of key-value pairs. For more information on how to attach metadata to groups programmatically, read the Array Tutorials: Groups section. Note that the group metadata is indexed by TileDB catalog and, therefore, is fully searchable.
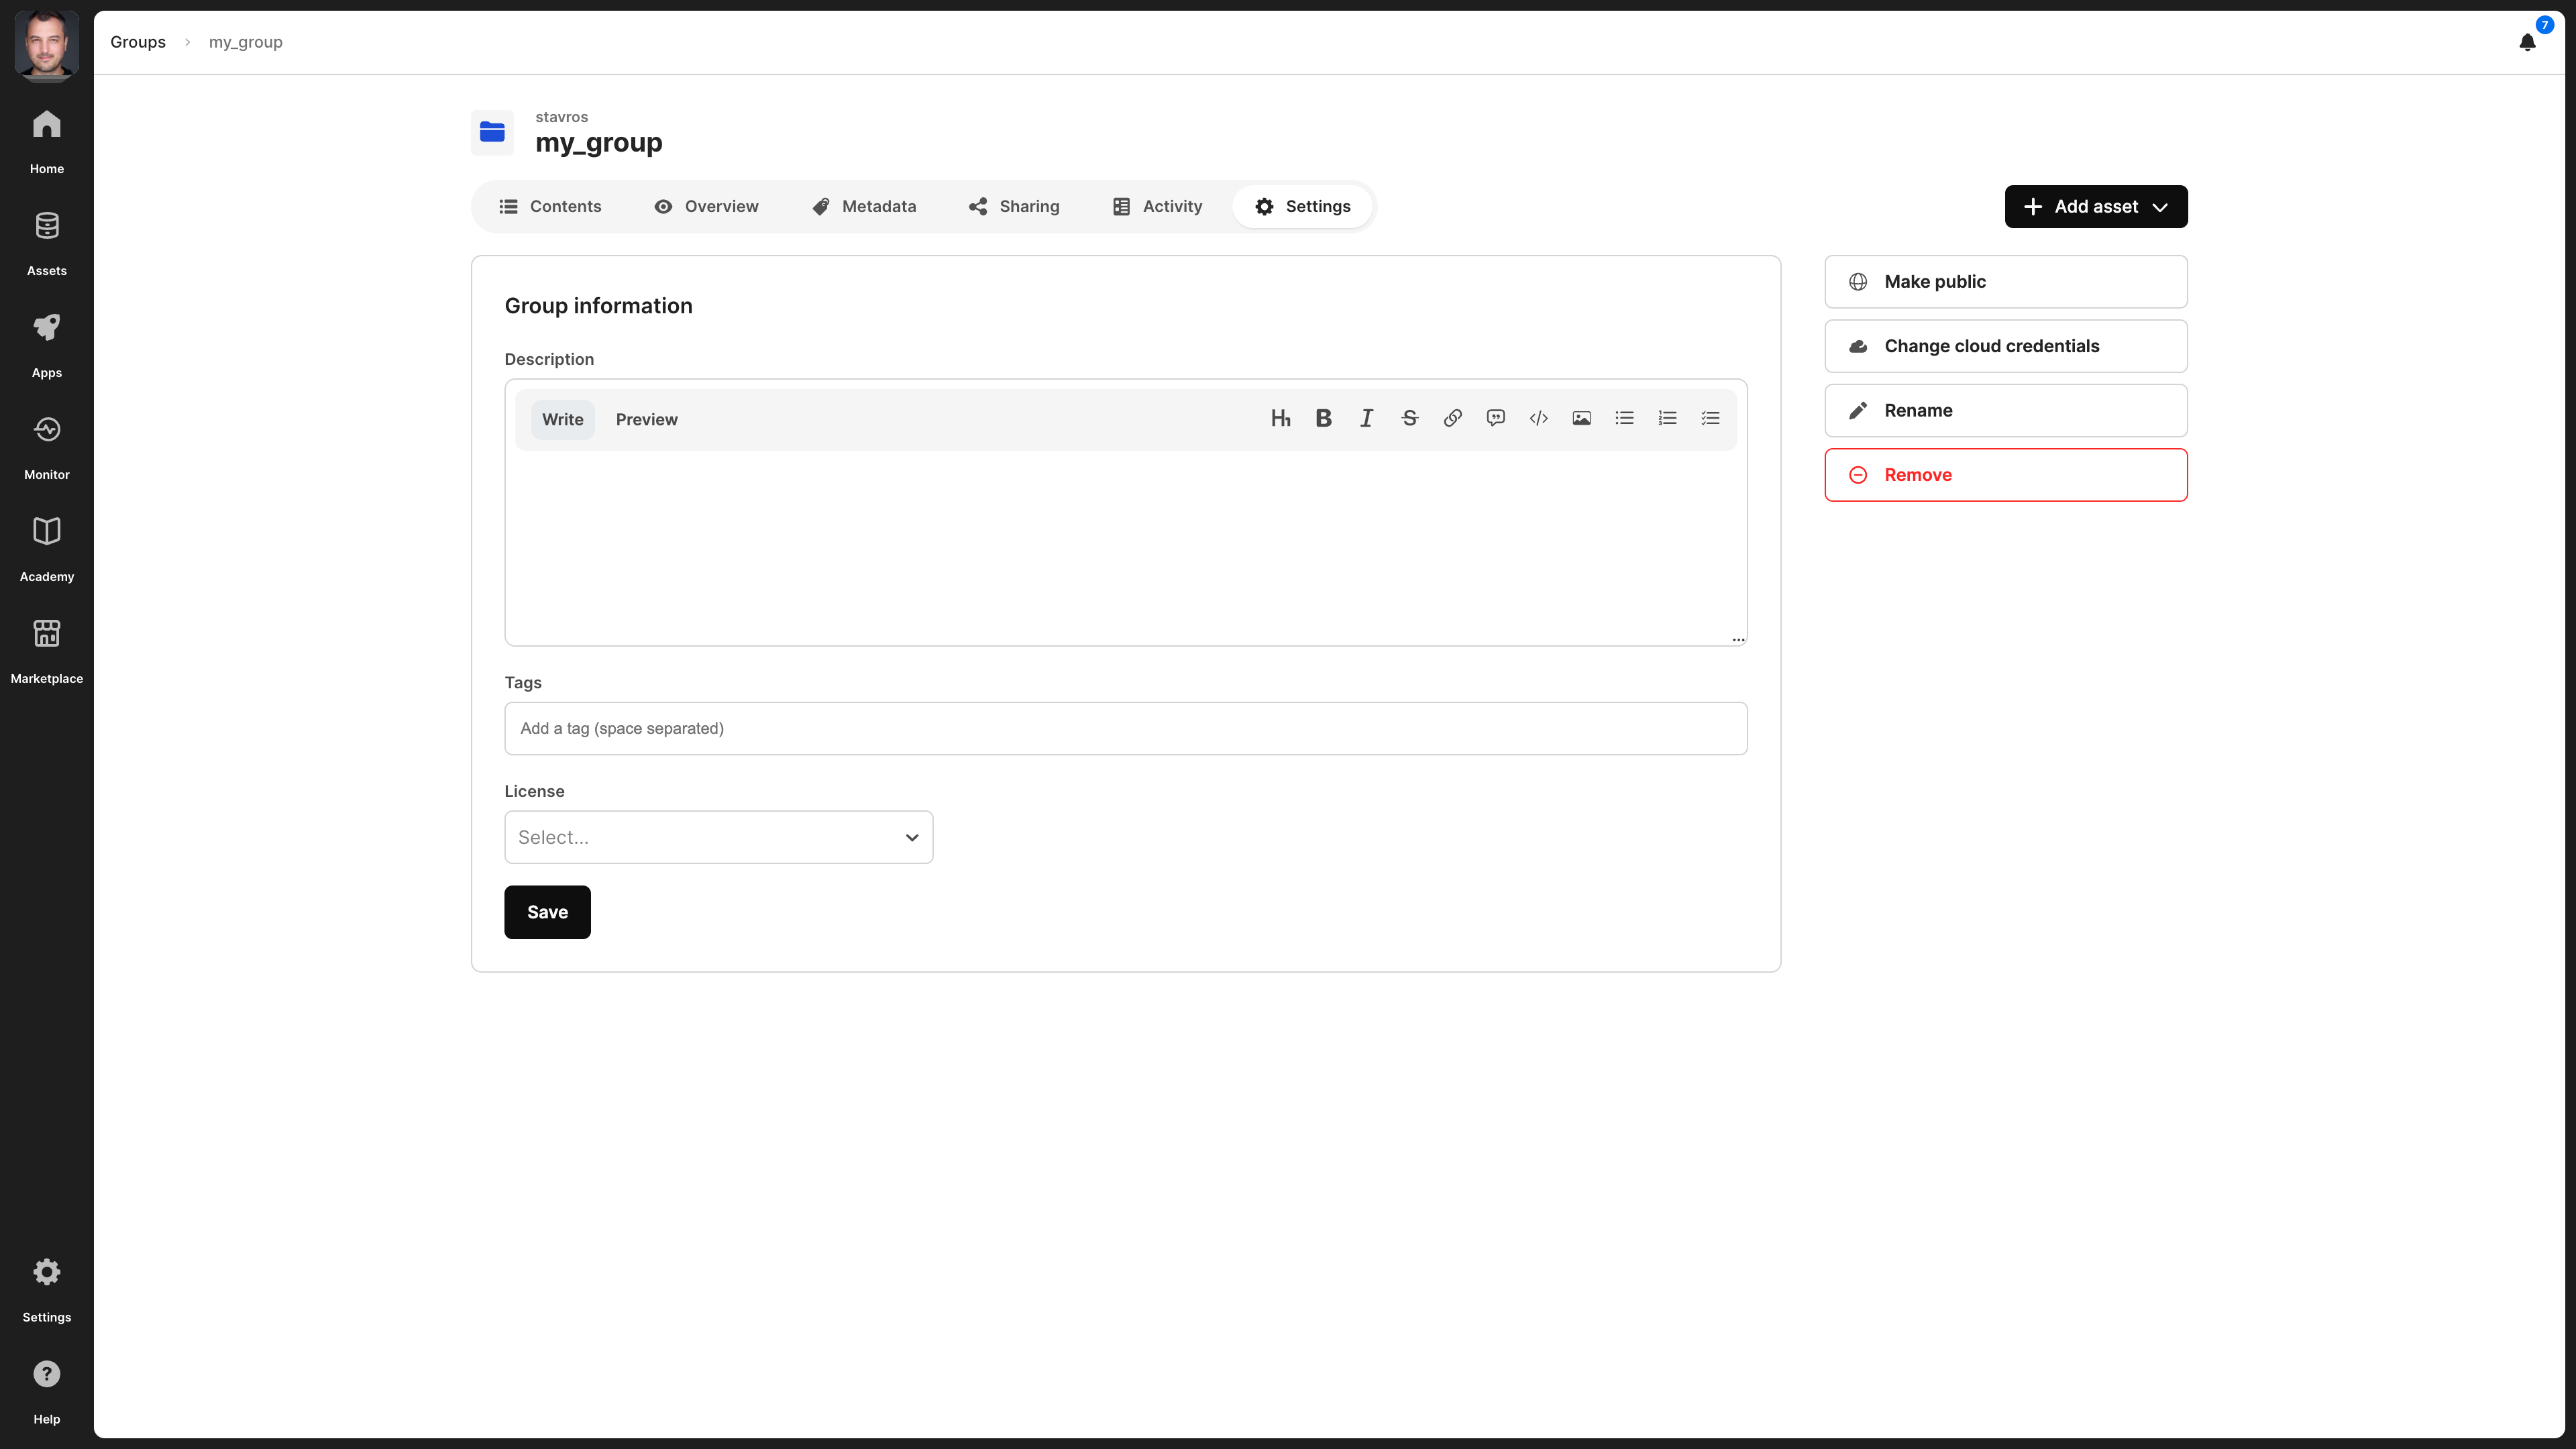
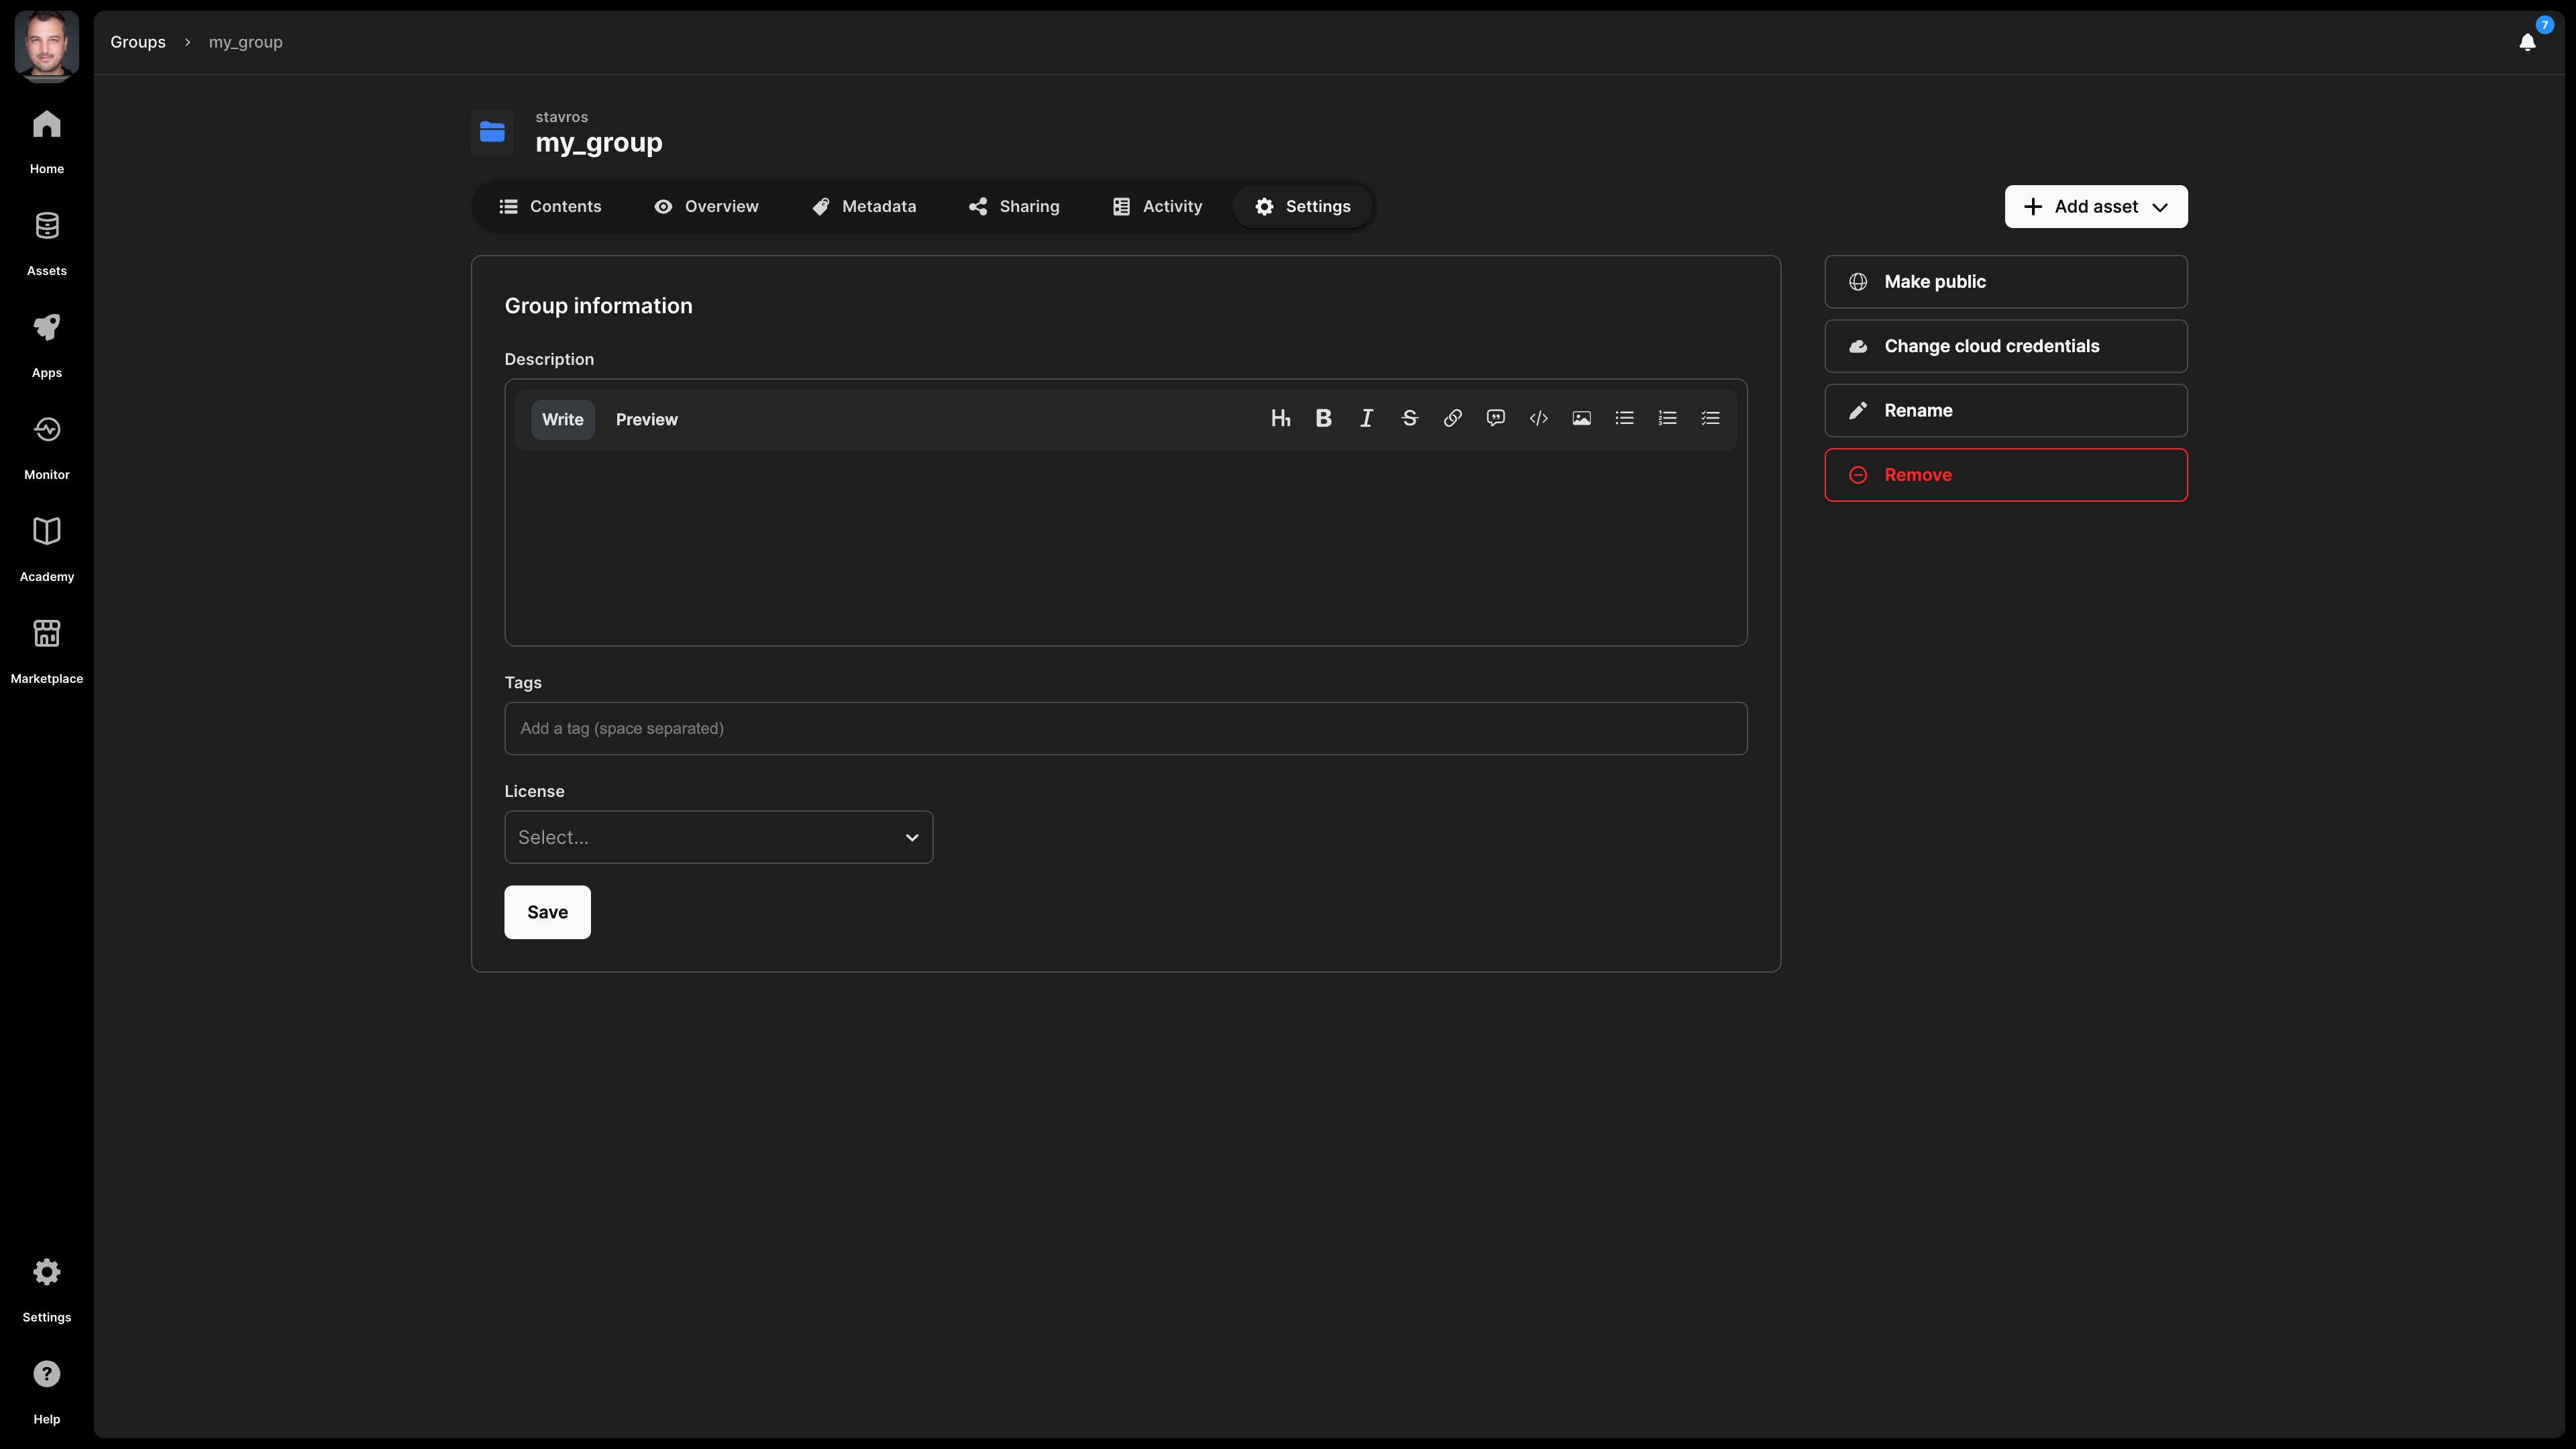
Settings
In the group settings, you can do the following:
- Add a description - Note that this is indexed and, thus, searchable in the TileDB catalog.
- Add a license - The type of license for the group, especially if you are making this publicly available.
- Tags - These can be used for efficient search in the catalog.
- Make group read-only - This is useful if you want to prevent any group changes by you or someone wit whom you shared the group.
- Make public - If you wish to share the group with all the TileDB users. This will appear in the
Marketplacetab in the left navigation menu. If you make a group public, you can easily change it back to private in the same manner. - Change cloud credentials - Credentials should be provided so that TileDB can securely access the group on the cloud store where it is physically stored.
- Rename group - Read the Rename group subsection below.
- Delete group - Read the Delete group subsection below.
You can programmatically update some group settings with the following command:
tiledb.cloud.asset.update_info(
    uri="tiledb://<account>/<group_name>",
    description=None,  # Optional - A new description
    name=None,  # Optional - A new name for the group
    tags=None,  # Optional - Group tags that will be searchable in the catalog
    access_credentials_name=None,  # Optional - The cloud credentials that access the group (should already exist in your account settings)
)
To make a group public programmatically, run the following:
tiledb.cloud.asset.share(
    "tiledb://<account>/<group_name>", namespace="public", permissions="read"
)
Rename group
A useful property of the TileDB catalog and the way it registers groups is that you can easily rename a group, without physically moving it, thus avoiding the very expensive copying operations entailed in object stores when physically renaming / moving file objects. You can rename a group from the Settings tab.
You can programmatically rename a group as follows:
tiledb.cloud.asset.update_info("`tiledb://<account>/<old_name>`", name="<new_name>")Delete group
When deleting a group, you have two options:
- Unregister: This operation removes the group from the TileDB catalog, but it does not physically remove it from the object store. Since the group will persist on storage, you can register it again in the TileDB catalog in the future.
- Delete: This operation both unregisters and physically removes the group from storage. Note that this operation cannot be undone.
You can delete the array from the Settings tab, which will prompt you to choose among the two operations above.
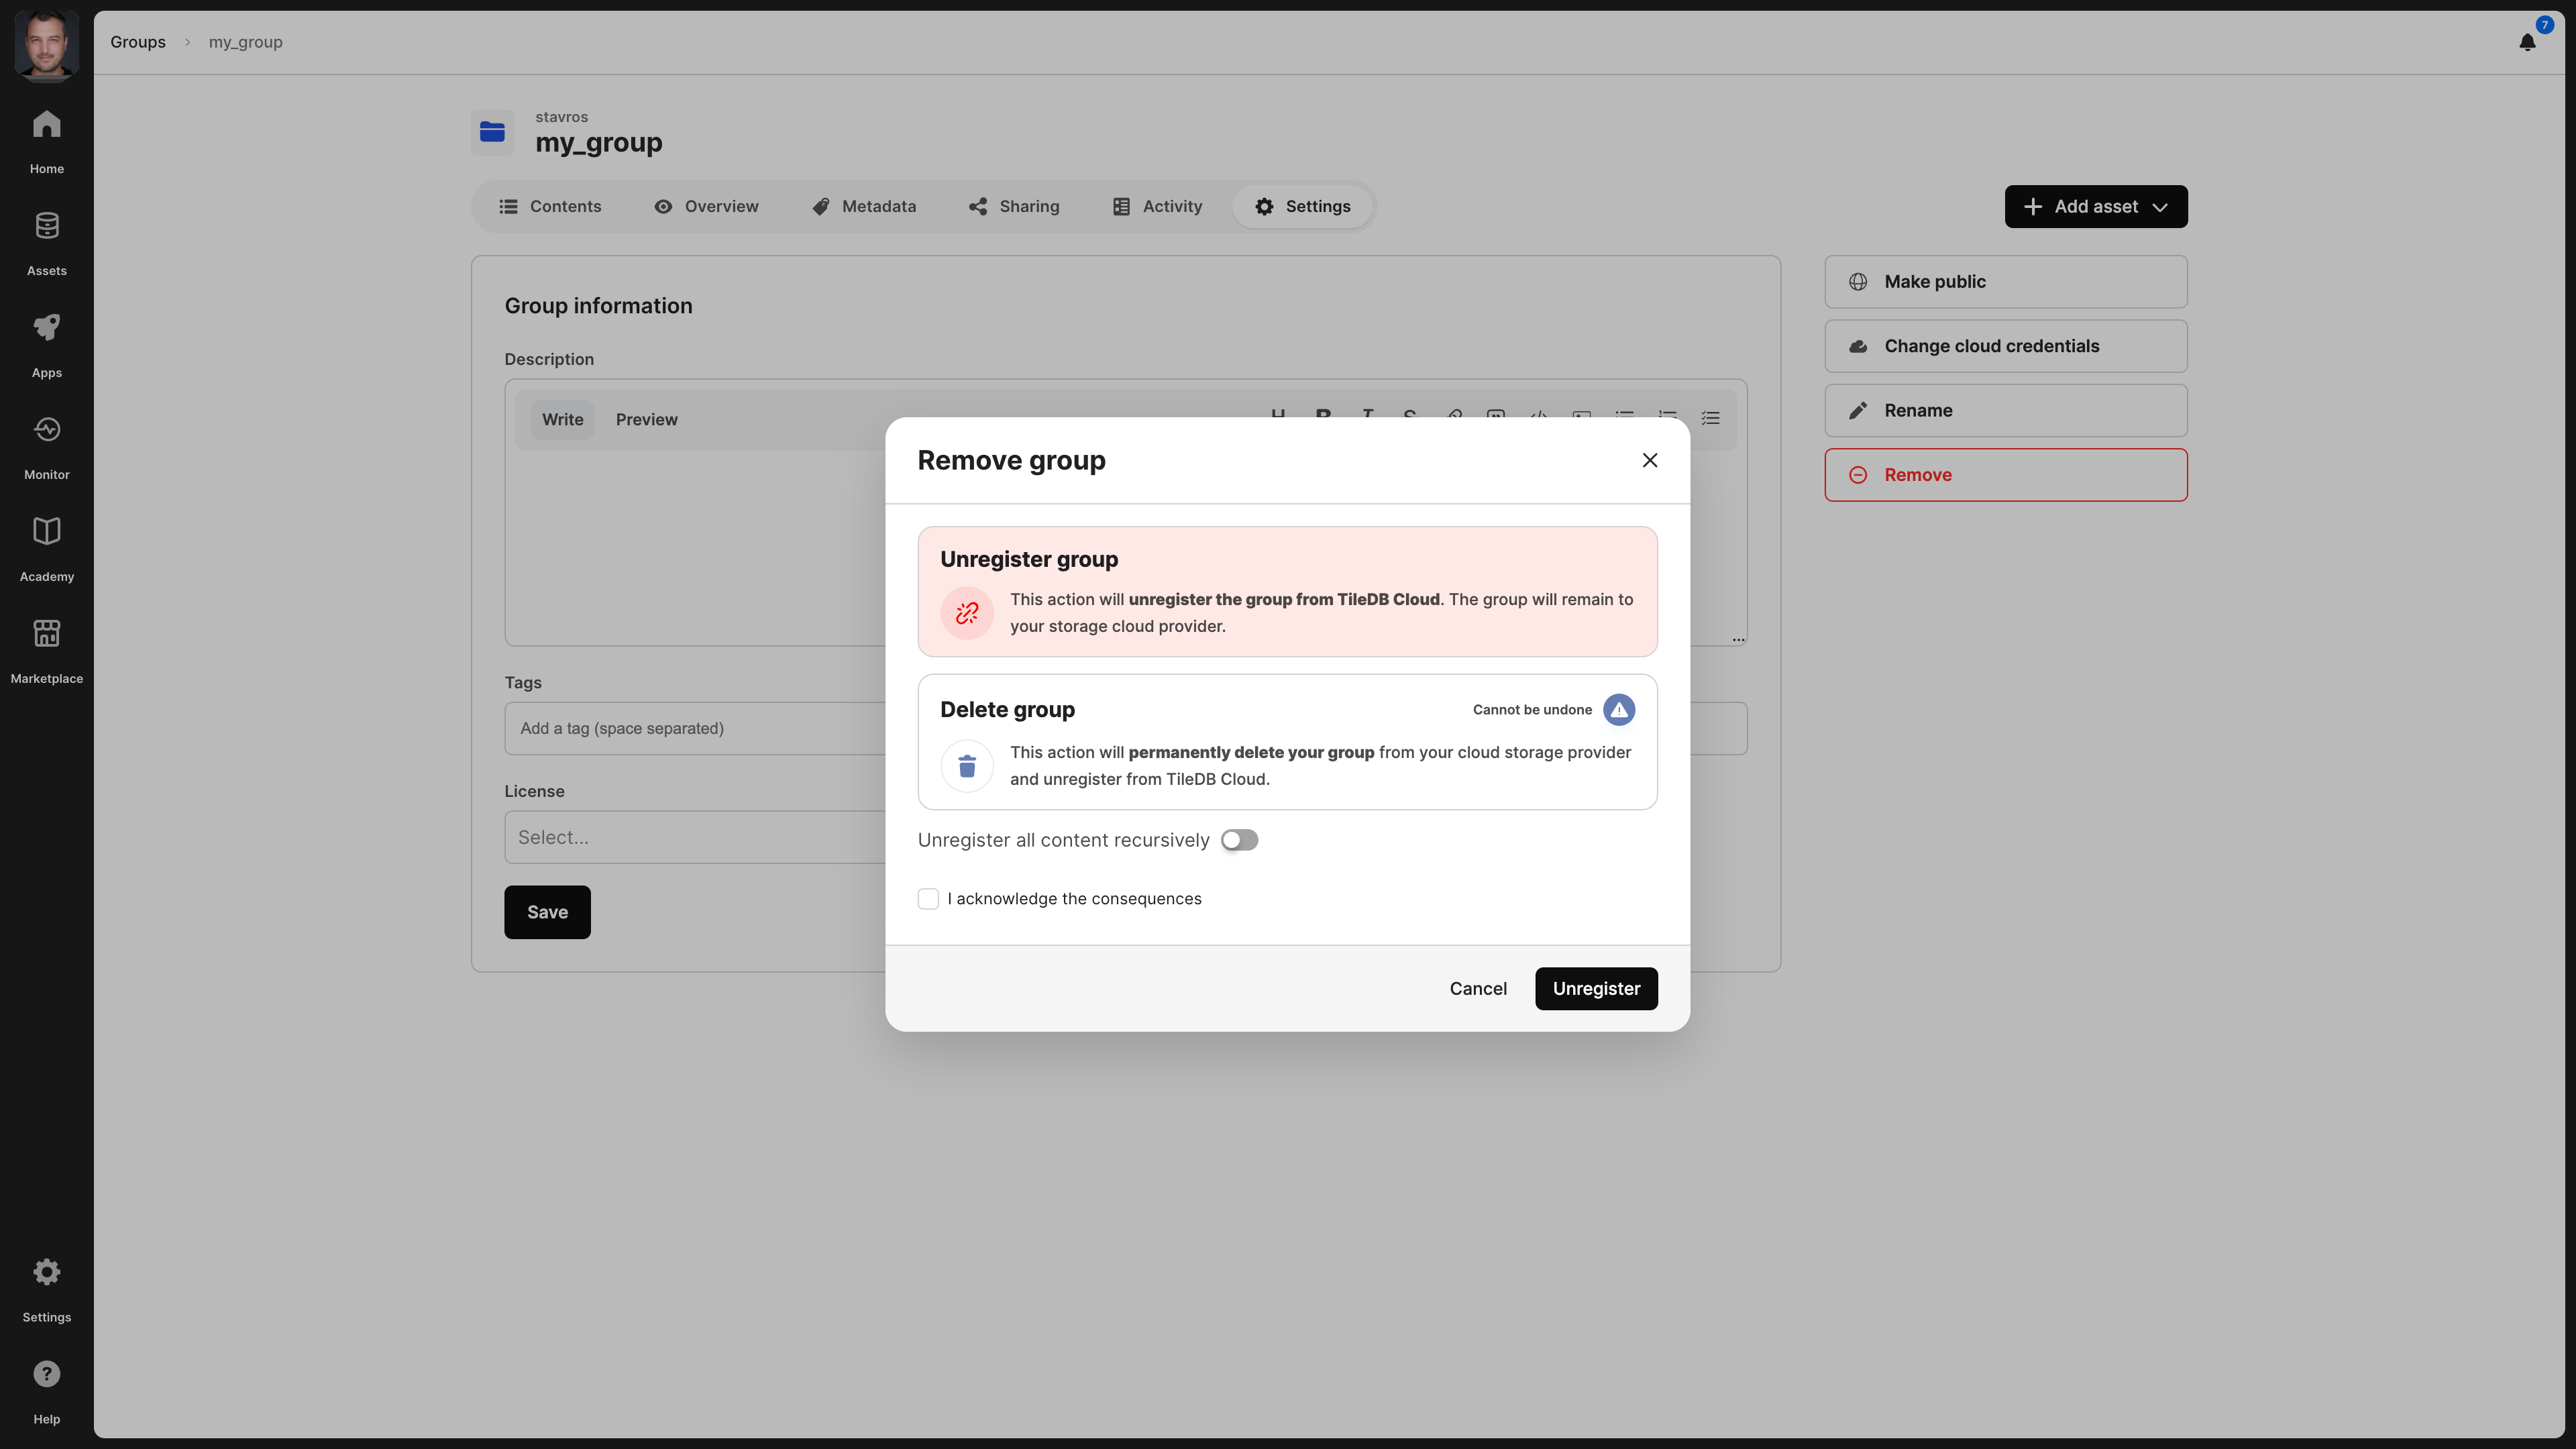

You can recursively unregister assets in a group by enabling the Unregister all content recursively toggle. When you enable that toggle, TileDB will recursively unregister all contents of the group. However, if an asset belongs to a different group, then that asset will still appear in the second group.
Similarly, you can recursively delete assets in a group by enabling the Delete all content recursively toggle. TileDB will recursively, physically delete all contents of the group when you enable that toggle. If an asset in that group belonged to a different group, the other group will not be able to access the asset.
You can also programmatically delete or unregister the array as follows:
# Unregister a group
tiledb.cloud.groups.deregister(uri="tiledb://<account>/<group_name>", recursive=True)

# Delete a group
tiledb.cloud.groups.delete(uri="tiledb://<account>/<group_name>", recursive=True)