Get Started
After you first sign up to TileDB and verify your email, you might be wondering: what should your first move be?
First and foremost, everyone needs to set up basic details for their personal profile. This is something you will be prompted to do upon logging in to TileDB for the first time. This applies to your individual namespace, which all users who sign up to TileDB are provided with (known as a workspace on other platforms). Your account is a namespace specific to you as a user. Assets owned by you and shared with you directly are displayed here. Other users cannot be added to your namespace.
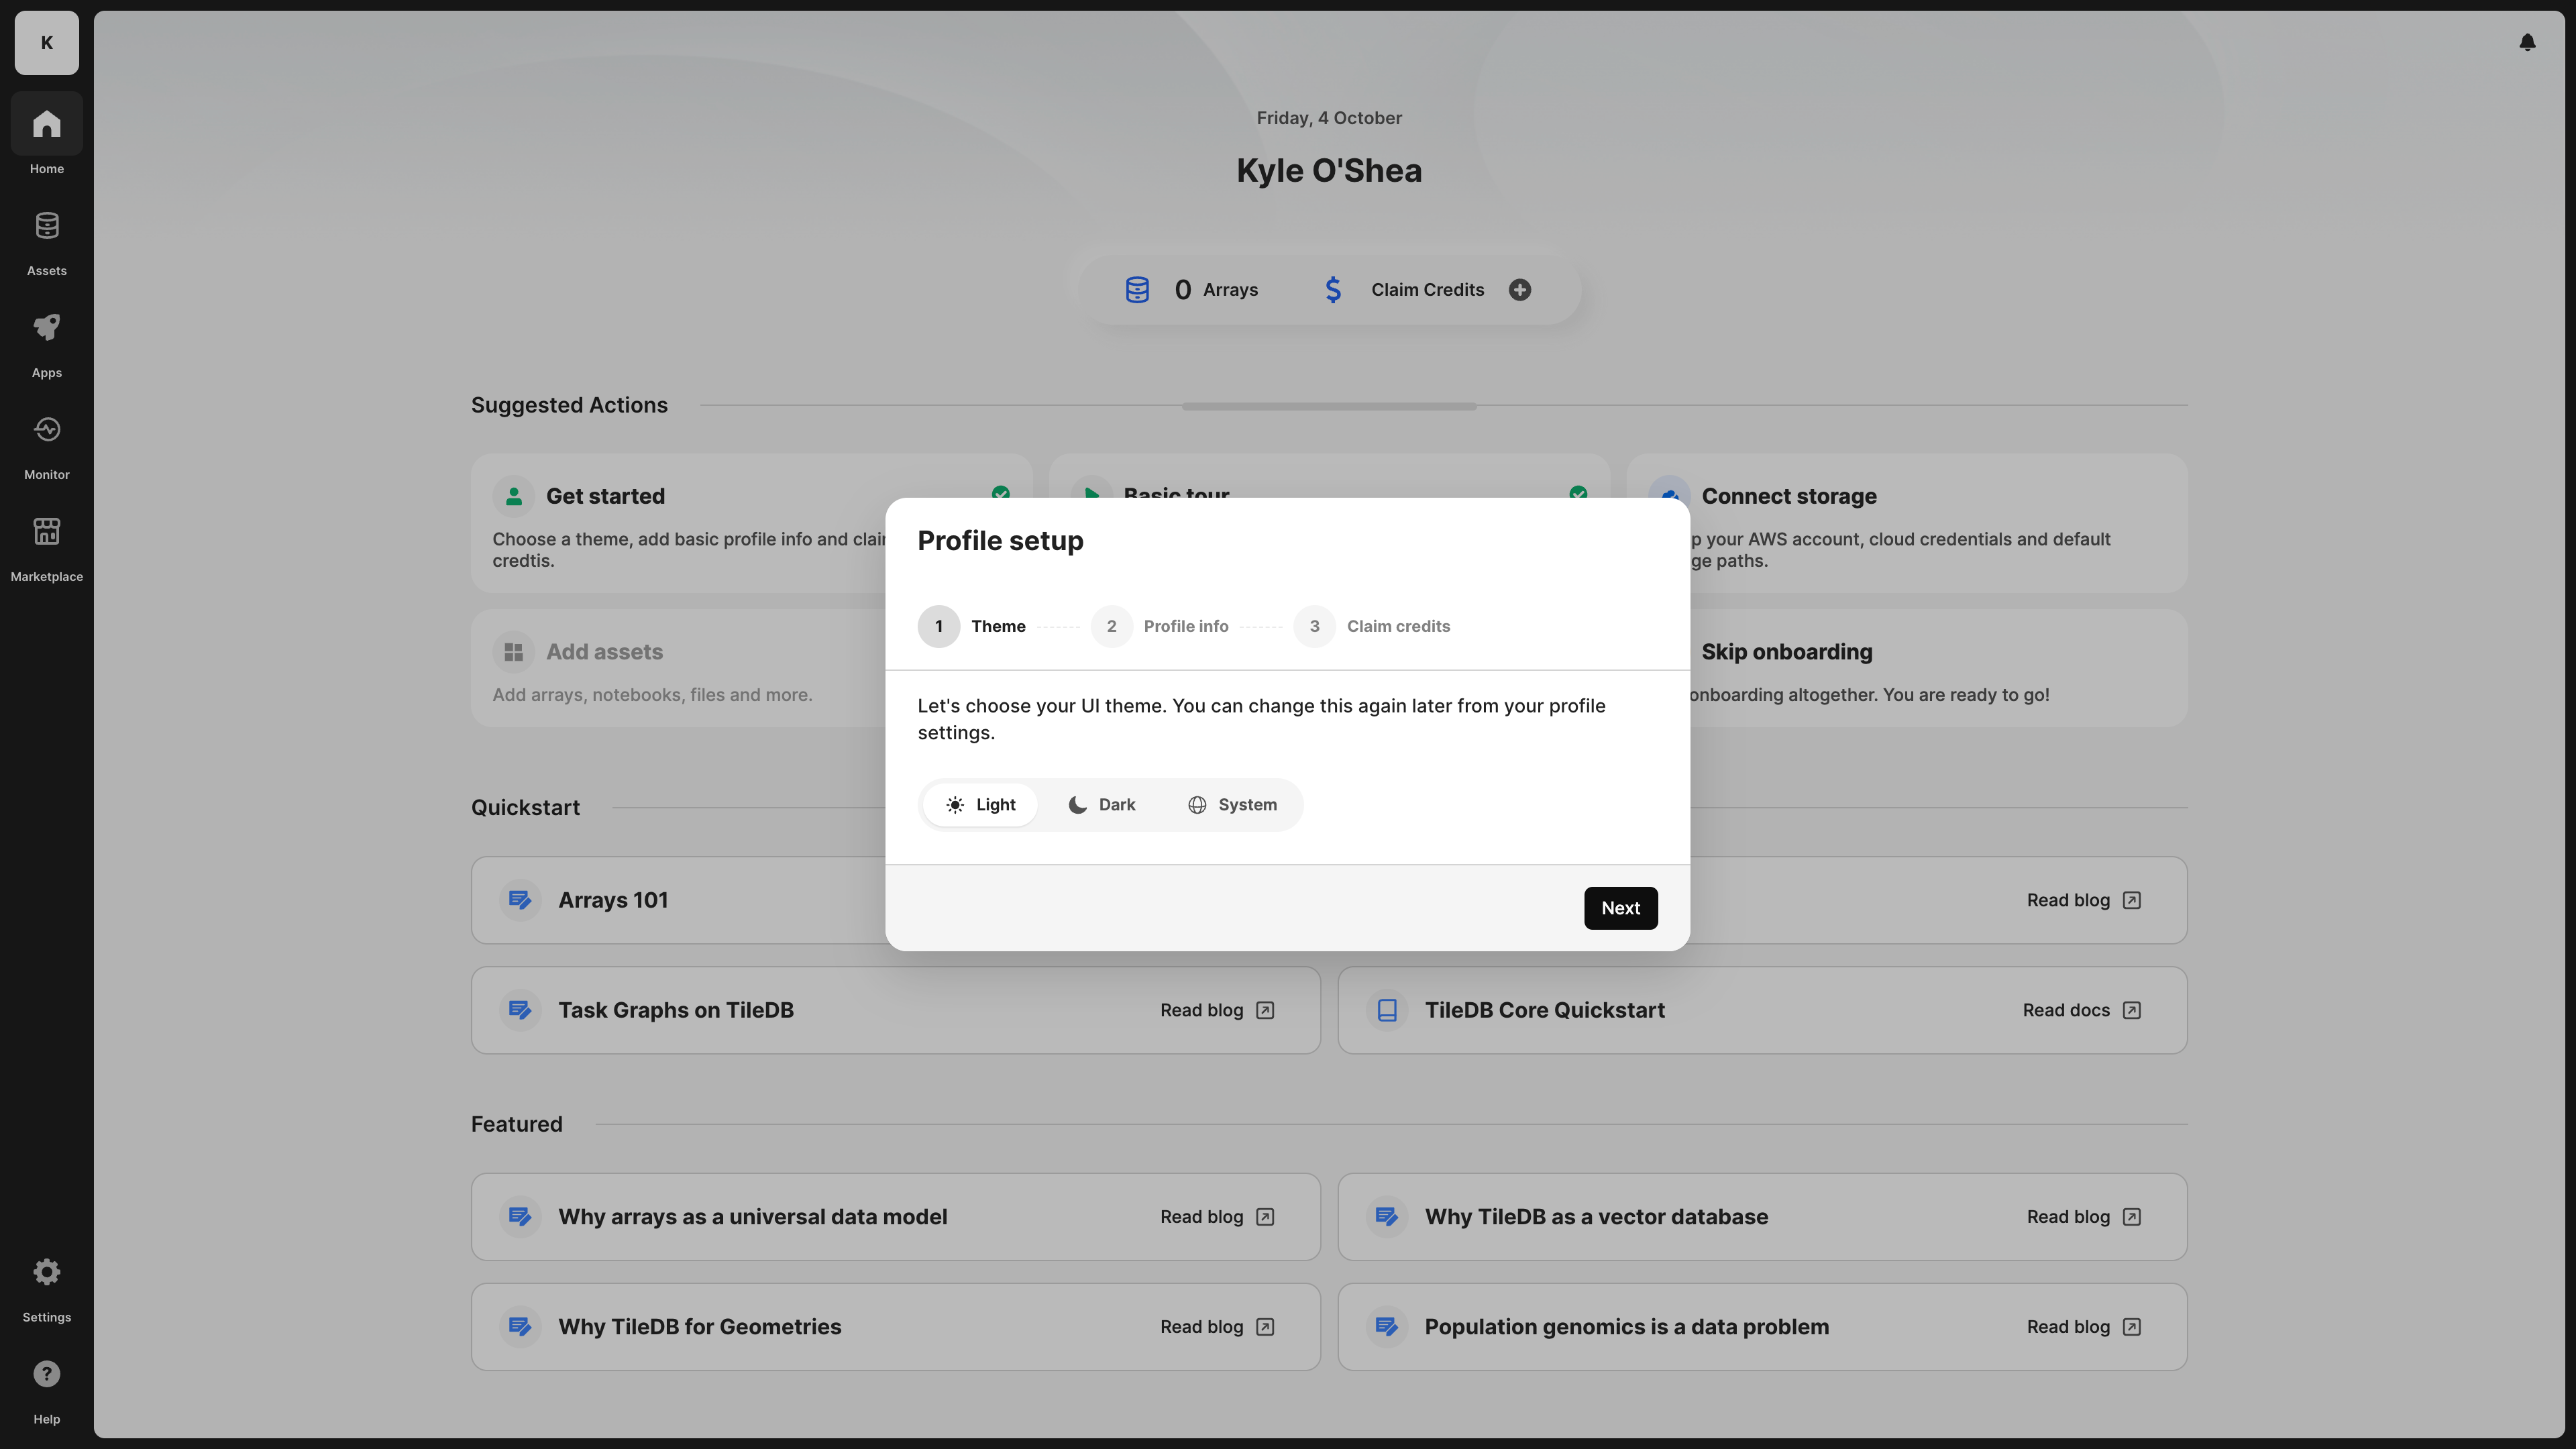
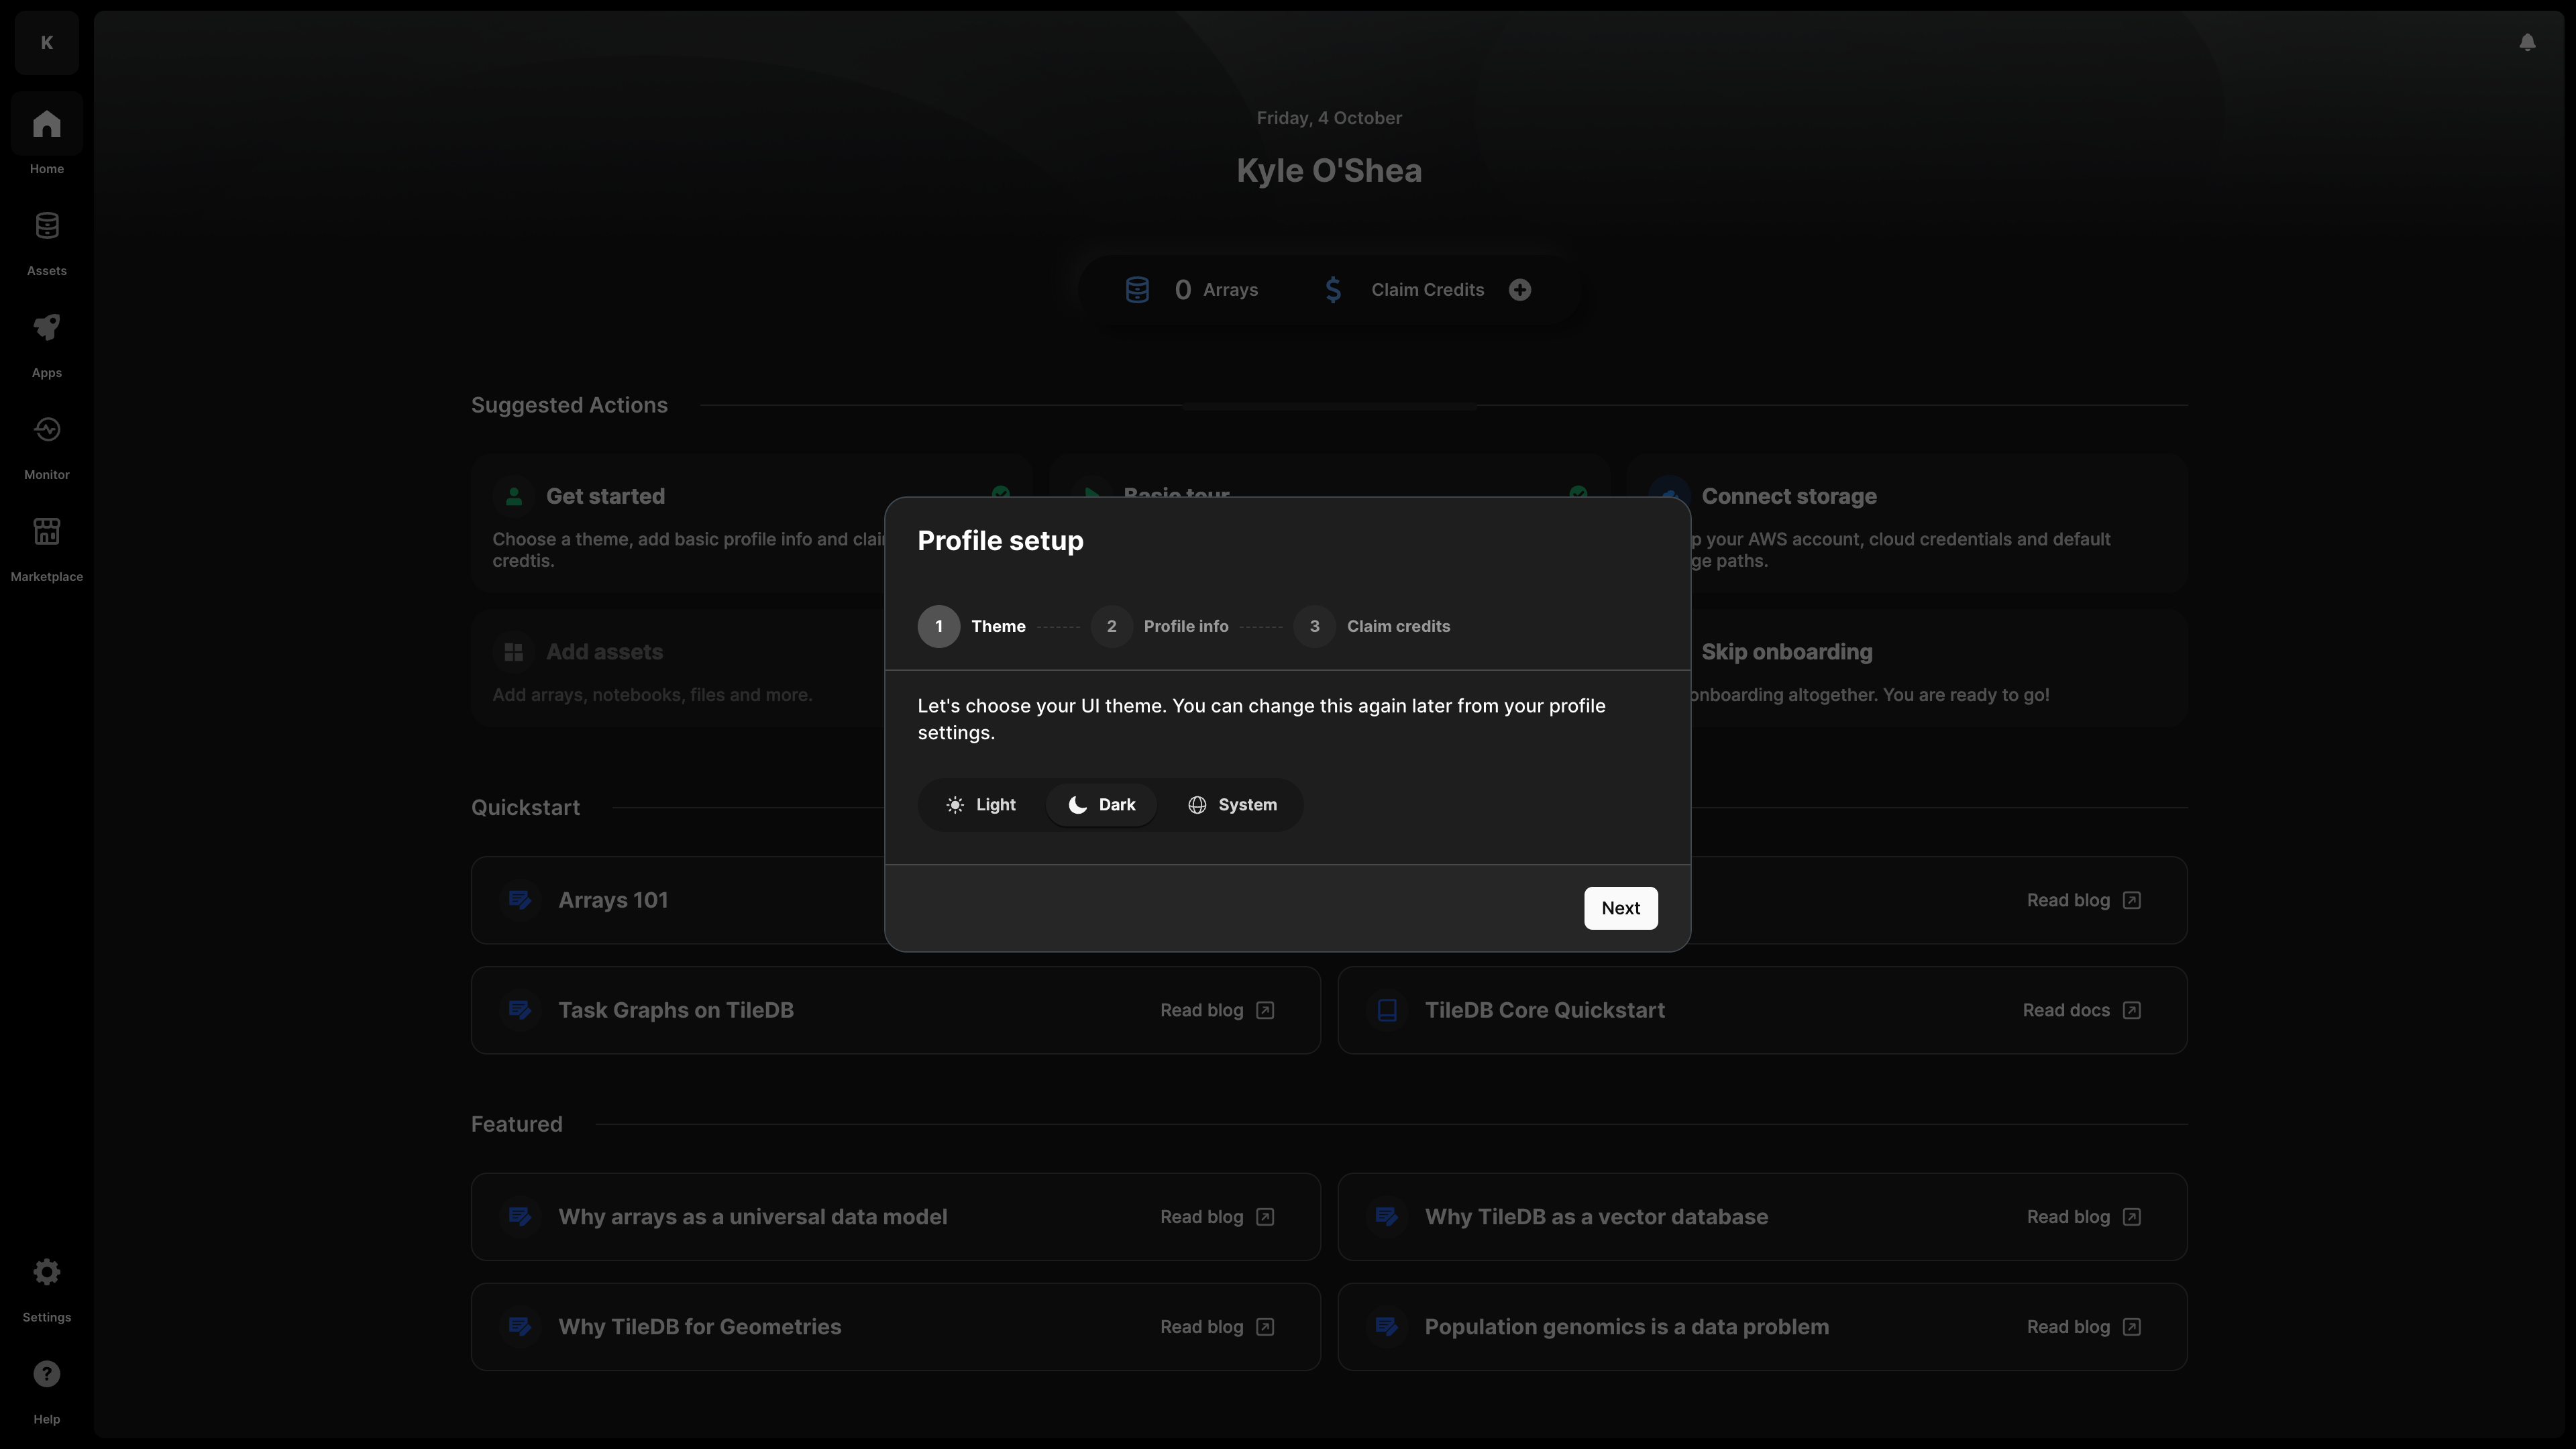
Here is the workflow for setting up basic details:
Choose your preferred theme. Your options are light, dark, or to follow the system setting.
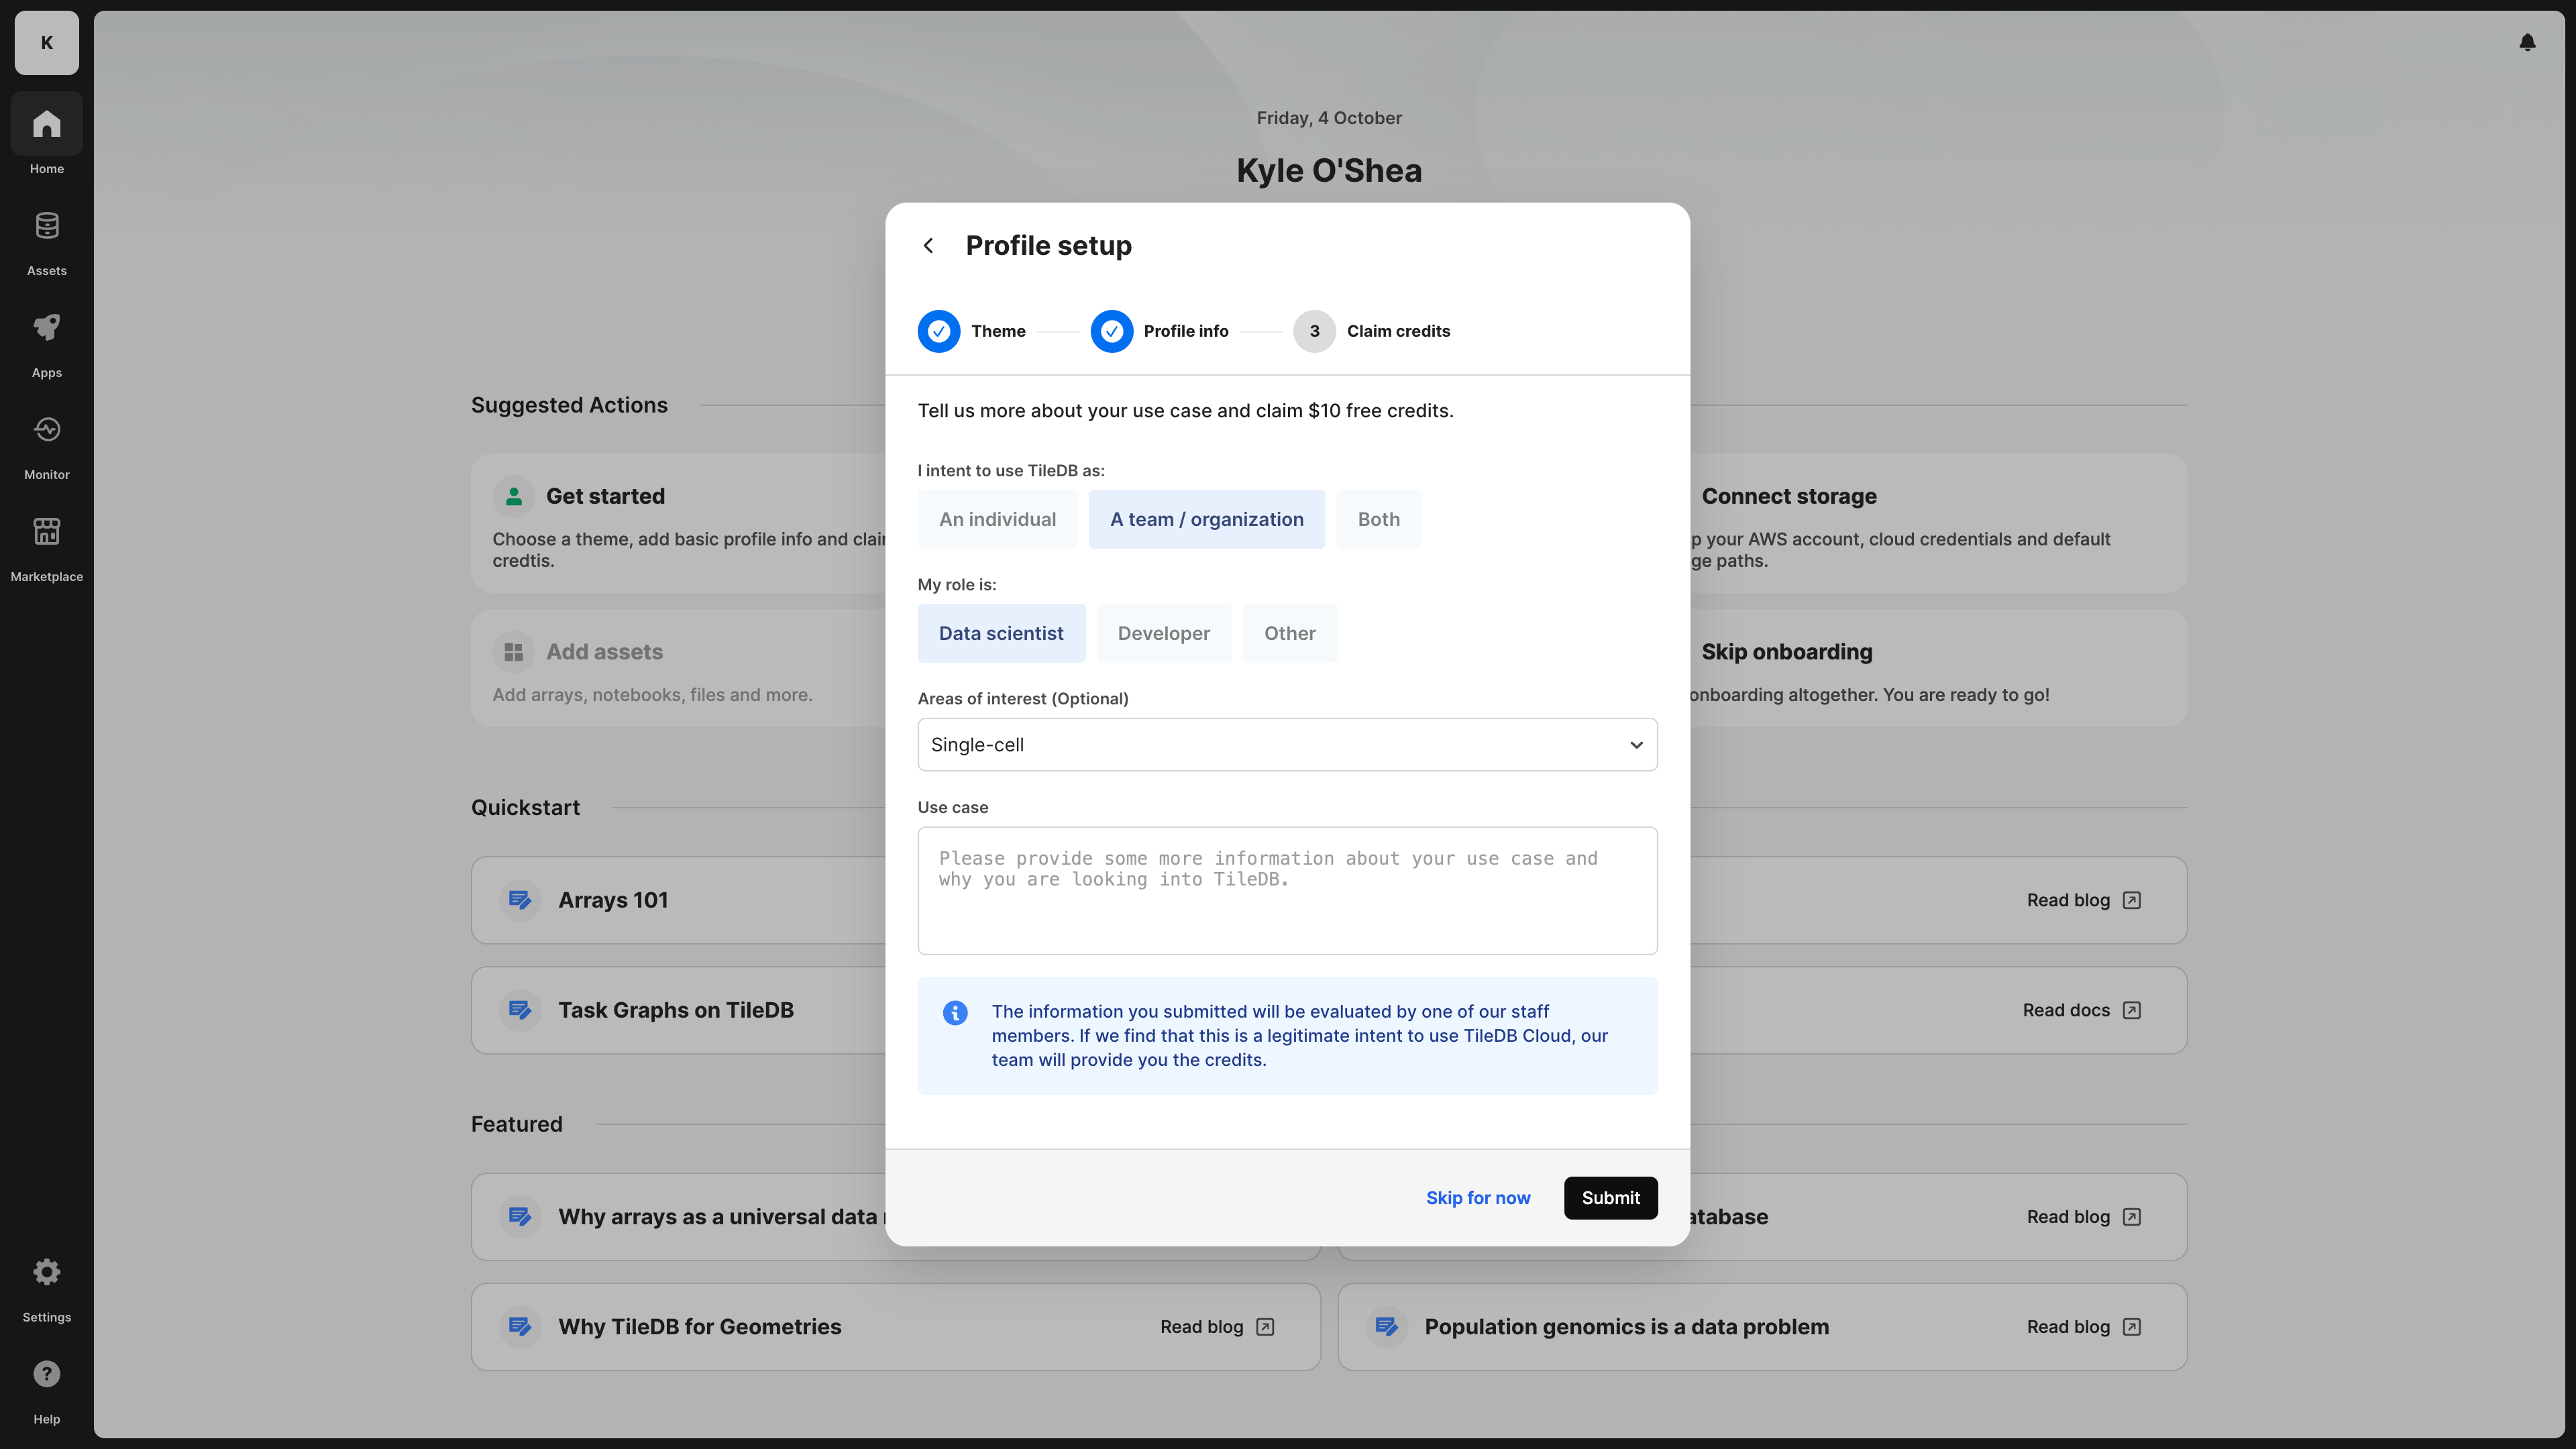
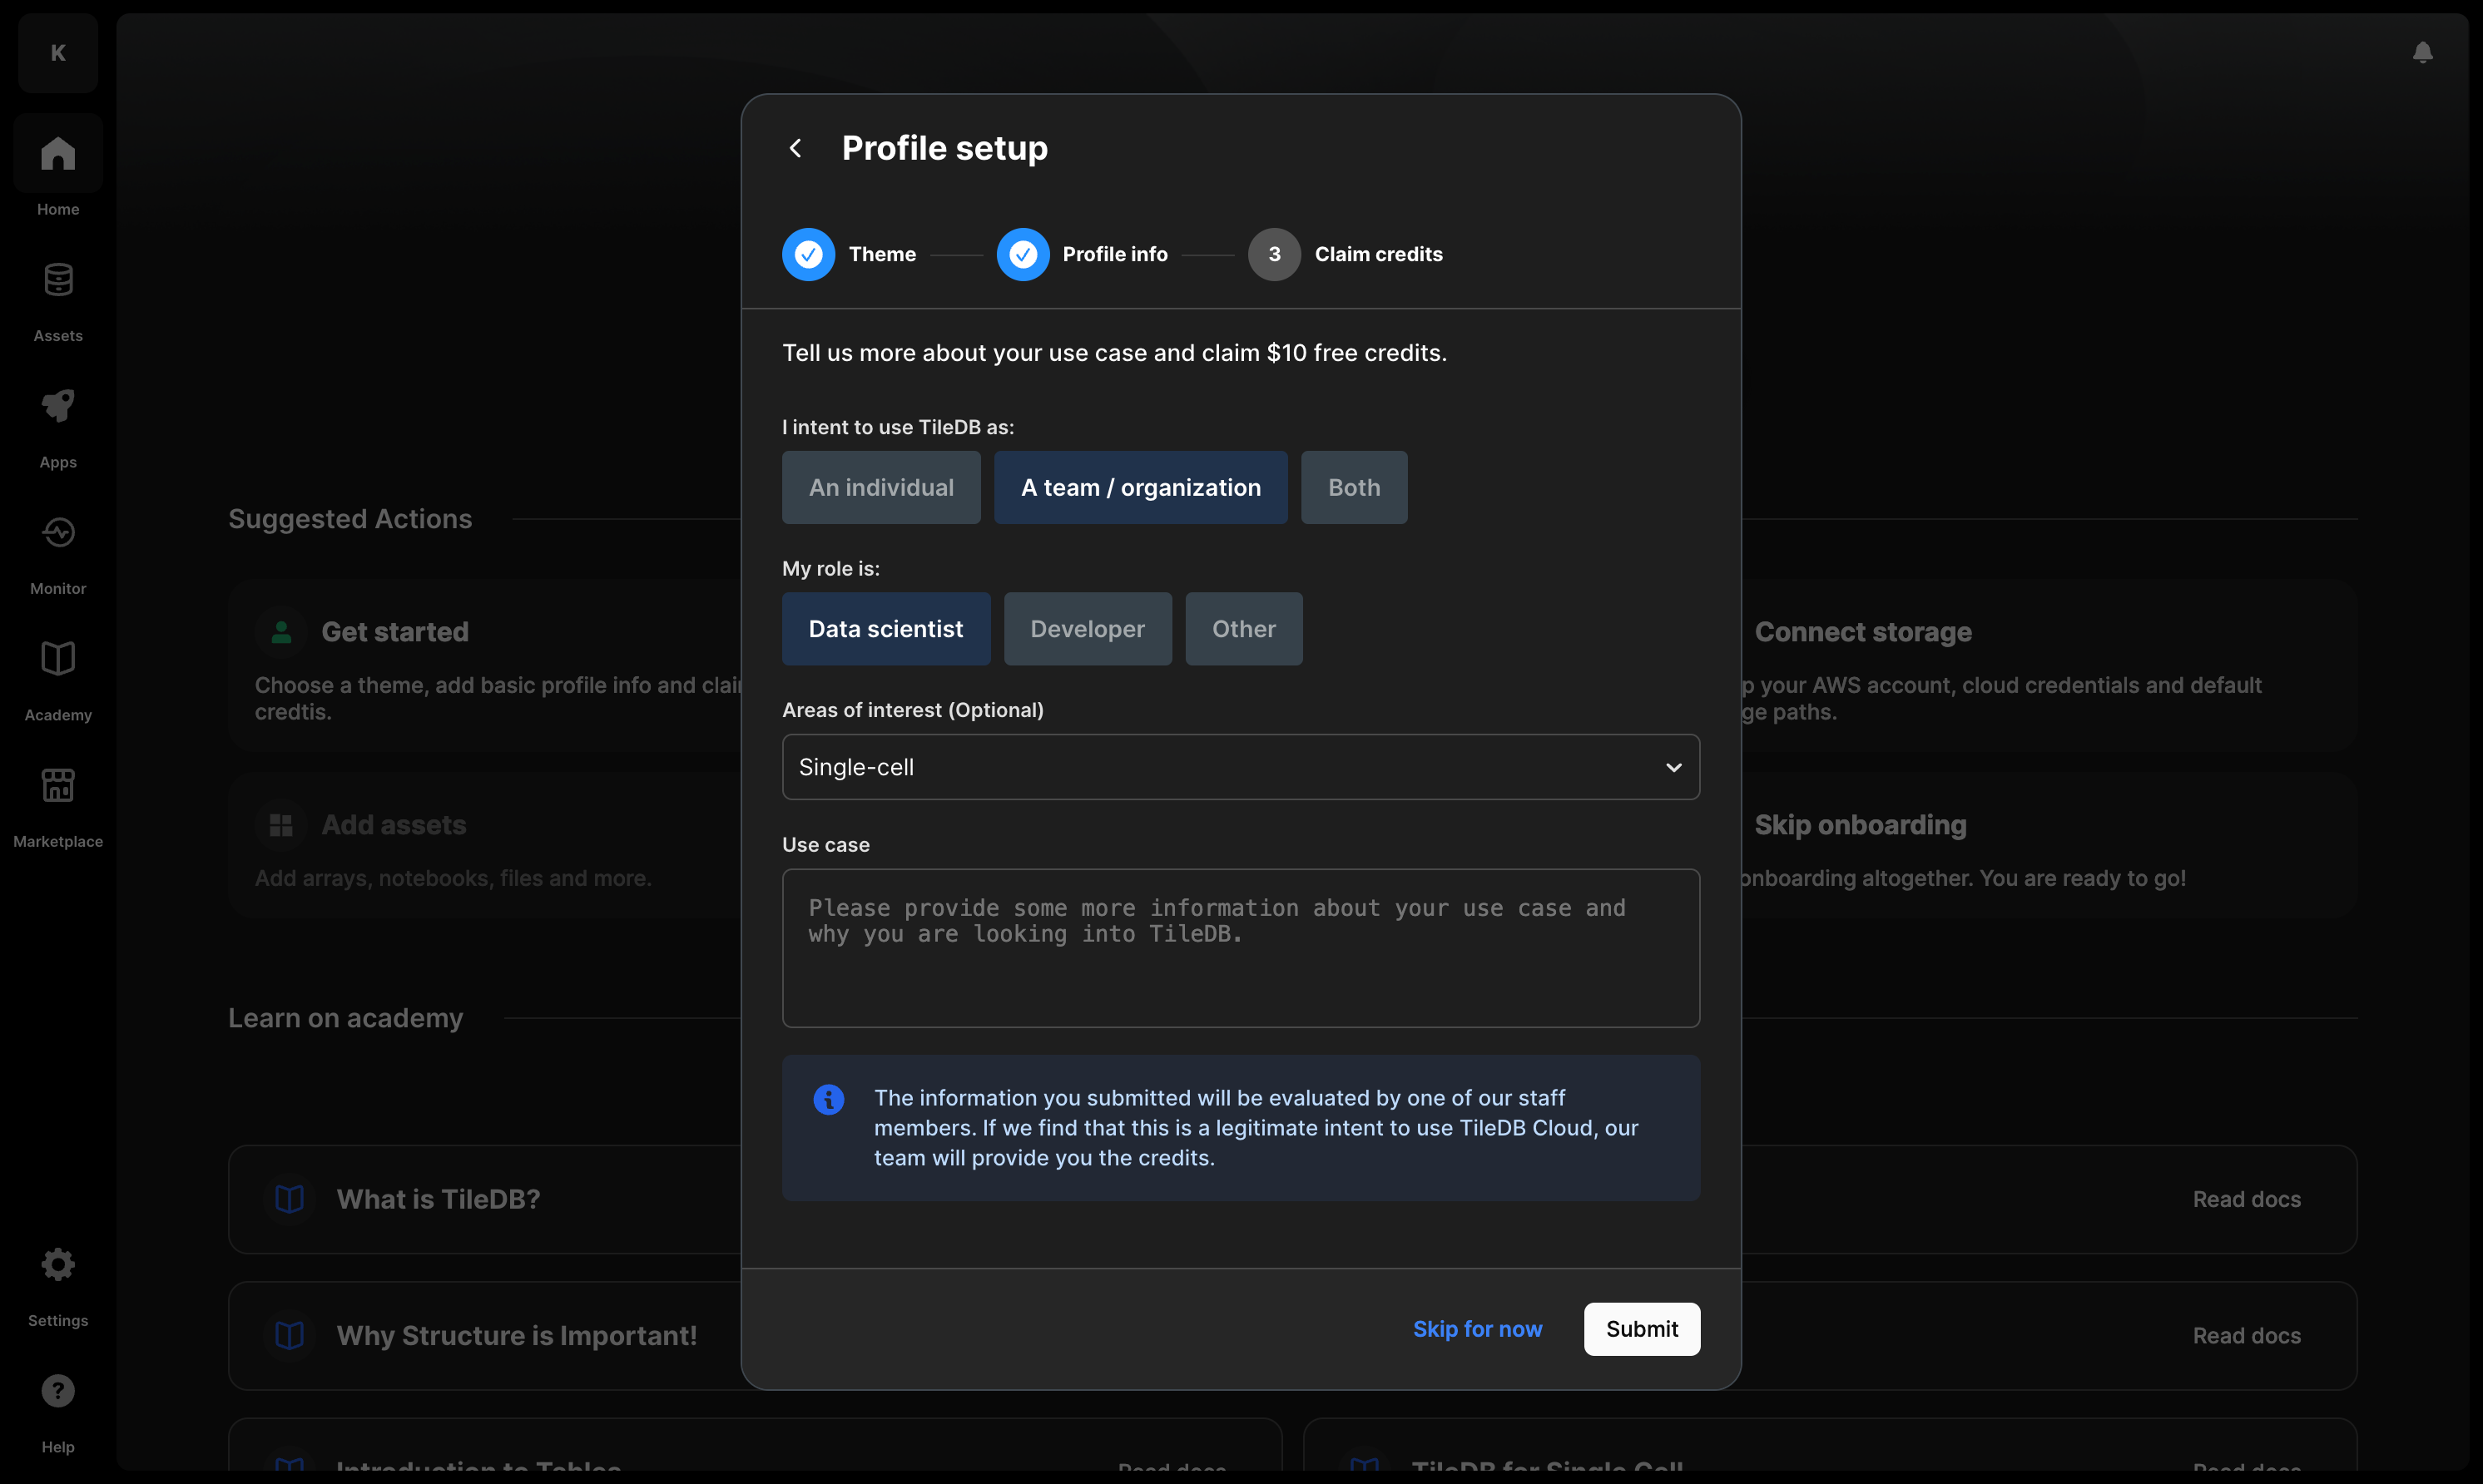
Add additional profile information. For different reasons, we need your full name. If you’re an individual user, we need this to evaluate your application to the free tier and grant you credits, or to set up a POC with our Sales team. If you are part of an organization plan, TileDB displays your full name under an organization’s members list, and the admins of the organization to which you belong need to be able to identify you. You can optionally add a profile image and your company’s name.
{fig-alt="The second step of onboarding on TileDB Cloud, where you specify your full name and your organization name." data-light="true" .lightbox .screenshot-fullscreen} {fig-alt="The second step of onboarding on TileDB Cloud, where you specify your full name and your organization name." data-dark="true" .lightbox .screenshot-fullscreen}Apply for the free tier. TileDB is running a temporary promotion to allow individual users to immediately use and explore the power of TileDB’s compute resources after you have fully set up your account. This is to give you time to fully evaluate the product until you are ready to speak with our team.
The free tier is for individual users only. You need the credits from the free tier to make full use of all functionality of TileDB. If you’d like to upgrade to a paid plan instead, contact our Sales team.
If you are signing up to TileDB as part of an organization account, either as a (member or admin), your application for the free tier will not be considered.
With that initial setup out of the way, you should complete one of the following checklists of actions to fully onboard yourself to TileDB. The checklist you should follow depends on your intended use case, and whether your goal is to use TileDB for individual work or as a member of an organization account. Select one of the following links that best fits your role and how you plan on using TileDB:
Individual users
Don’t forget to apply for the free tier to receive credits, which you’ll need to enjoy all the paid features of TileDB.
If you’d like to upgrade to a paid plan instead, contact our Sales team.
A member of the TileDB team will evaluate your application, typically within 24 hours. In the meantime, completing the following steps will ensure that your account is fully set up and ready to go for when you receive your free credits.
Connect your cloud storage account by creating cloud credentials.
TileDB does not host data. Rather, you need to connect your own storage (meaning you retain full control over the data you own). Remember that this step needs to be completed before you can start ingesting and cataloging data to TileDB.
Configure your desired storage paths.
TileDB will always save your data to whatever S3 bucket you configure with your cloud credentials, but you have the ability to customize your desired storage paths. This is useful in case you wish to save your TileDB objects in locations other than TileDB’s suggested default locations.
Create a REST API token to programmatically interact with TileDB Cloud.
While you can interact with TileDB Cloud programmatically by supplying your username and password, we strongly recommend against doing so. Bad actors can misuse credentials stored in plain text on your computer. Additionally, if you have signed up using GitHub or Google authentication, you won’t have a password to use. REST API tokens have scopes and expiration dates, and they can be revoked at any time.
Install the TileDB Cloud client.
In order to use any of the programmatic features of TileDB, you must install the TileDB Cloud client.
Set up the remainder of your user profile based on your needs.
For example, if you are geographically close to a specific AWS region and wish to minimize the latency for running and interacting with notebooks, you can set the Default notebook server for your profile.
Organization admins
If you intend to use TileDB for collaboration with your colleagues, you can create an organization. An organization is essentially a shared namespace where multiple users can catalog and collaborate on shared assets and resources. To get started as an organizational admin, do the following:
Create your first organization.
You can’t be an organization admin if you don’t have an organization to administer!
Contact our Sales team to discuss your company’s TileDB plan and to receive credits.
Our Sales team can set up a POC with you to run your evaluation of the product. They will also be more than happy to assist you in setting up your TileDB organizations once we have a better understanding of your data and analytics needs.
Connect your organization’s cloud storage account by creating cloud credentials.
TileDB does not host data. Rather, you need to connect your organization’s storage (meaning you retain full control over the data you own). Organization credentials and storage paths are configured only by the respective organization admins. Remember that this step needs to be completed before any user of your organization can start ingesting and cataloging data to TileDB.
Configure your organization’s default storage paths.
TileDB will always save your data to whatever S3 bucket you configure with your cloud credentials, but you have the ability to customize your desired storage paths. This is useful in case you wish to save your TileDB objects in locations other than TileDB’s suggested default locations.
Invite members to your organization.
If you have a lot of members to invite to your organization, you may consider creating a REST API token and installing the TileDB Cloud client to programmatically invite your members.
Organization members
If you intend to use TileDB for collaboration with your colleagues, you can join an organization your company creates for you. An organization is essentially a shared namespace where multiple users can catalog and collaborate on shared assets and resources.
What you can do within the context of an organizational account depends on your role within that organization.
If you only plan on using compute resources solely for your organization, then follow these steps:
Request an invitation from your TileDB organization admin.
Wait for the organization invitation to arrive, and then join the organization.
Your organization admin should have already established a POC, or you may be a customer already. In either case, you won’t have to configure your own billing settings to start using compute resources.
Create a REST API token to programmatically interact with TileDB Cloud.
While you can interact with TileDB Cloud programmatically by supplying your username and password, we strongly recommend against doing so. Bad actors can misuse credentials stored in plain text on your computer. Additionally, if you have signed up using GitHub or Google authentication, you won’t have a password to use. REST API tokens have scopes and expiration dates, and you can revoke them at any time.
Install the TileDB Cloud client
In order to use any of the programmatic features of TileDB, you must install the TileDB Cloud client.
Install the TileDB Cloud client
In addition to the onboarding steps described above, everyone (individuals and organization members) should familiarize themselves with the TileDB Cloud client. TileDB Cloud is programmable and accessible through a set of APIs. You can use these API methods to use TileDB features, including cataloging your data, collaborating with your colleagues, and analyzing your cataloged data.
When you want to call TileDB Cloud programmatically, either from another system or from a Jupyter notebook hosted on TileDB Cloud, you need to use the TileDB Cloud client.
Work from a TileDB Cloud Jupyter notebook
Once you have access to credits on TileDB (in a personal namespace or under an organization), you will be able to launch Jupyter notebooks on TileDB. The TileDB Cloud client is pre-installed on our hosted notebooks, meaning you do not have to install anything, you can already start querying and analyzing your data!
Work from your own development environment
If connecting to TileDB remotely, you will need to install the TileDB Cloud client. To install it, you must call the following commands to connect and interact with TileDB Cloud:
pip install tiledb-cloudFor the latest released version, please visit TileDB-Cloud-R Releases on GitHub.
if (!requireNamespace("remotes", quietly=TRUE)) install.packages("remotes")
remotes::install_github("TileDB-Inc/TileDB-Cloud-R")
Include this in your Maven project:
<dependency>
  <groupId>io.tiledb</groupId>
  <artifactId>tiledb-cloud-java</artifactId>
  <version>X.X.X</version>
</dependency>
Or build from source:
git clone https://github.com/TileDB-Inc/TileDB-Cloud-Java.git
cd TileDB-Cloud-Java
./gradlew assemble
What’s next?
Having loaded the TileDB Cloud client, you can access all TileDB Cloud functionality programmatically. What would you like to do next?
Catalog, collaborate, and analyze
TileDB is built upon a foundation of three pillars, each of which is critical to a company’s data management efforts:
- The ability to upload and catalog all scientific data into a single system of record. Check out our documentation in Catalog.
- The ability to collaborate and govern access to all data in one place. Read more about TileDB’s built-in compliance functionality, which protects sensitive information with the highest standards of data security and privacy, in Collaborate.
- The power to drive scientific discovery where your data lives. Learn how to run Jupyter notebooks, access and learn from your data in Analyze.
Depending on your specific role, we recommend you read in detail the relevant documentation in each section before you get started.
Scale
Are you ready to take it to the next level? Is your team working with massive datasets that require significant computational power to handle? TileDB’s serverless and elastic compute infrastructure allows you to run your data operations while also optimizing the cost of these operations as the requirements of your analyses grow. You can leverage the power of TileDB’s task graphs to run distributed operations at scale without the overhead of managing any infrastructure. Compute resources are dynamically-and automatically-scaled up to most efficiently execute your tasks.
Read more about how we do this in Scale.
Structure
Are you a scientist working with complex data modalities? Data that is difficult to work with without skyrocketing compute & egress costs? TileDB was built holistically to be able to interoperate with all data types, including multi-omics, scientific data. This is why structure is critical to powering a database that is universal, that adapts to natively capture all data, regardless of modality, and to ensure unprecedented performance in the process. It is the underlying array format that allows you to ingest and query against massive amounts of unstructured data, in a way that is performant and cost-effective.
If you are working with microscopic images, single cell or population genomics data, read into the section that most speaks to your use case:
If you would like to also learn how you can further leverage TileDB arrays to power ML and vector search applications, you should also read:
TileDB Self-hosted
If you’ve read everything and evaluated TileDB as the multi-omics system of record, and you are now ready to deploy to production for your organization, read the documentation on TileDB’s Self-Hosting deployment model. You should also reach out to our sales team to set up a call.