Introduction to Files
With TileDB, you can import, securely manage, and search over all your files, in one governed and compliant data platform. Visit the Structure: Files section for more information on how to programmatically manipulate your files with TileDB. This section mainly focuses on how you can manage files from the TileDB UI console.
Add files
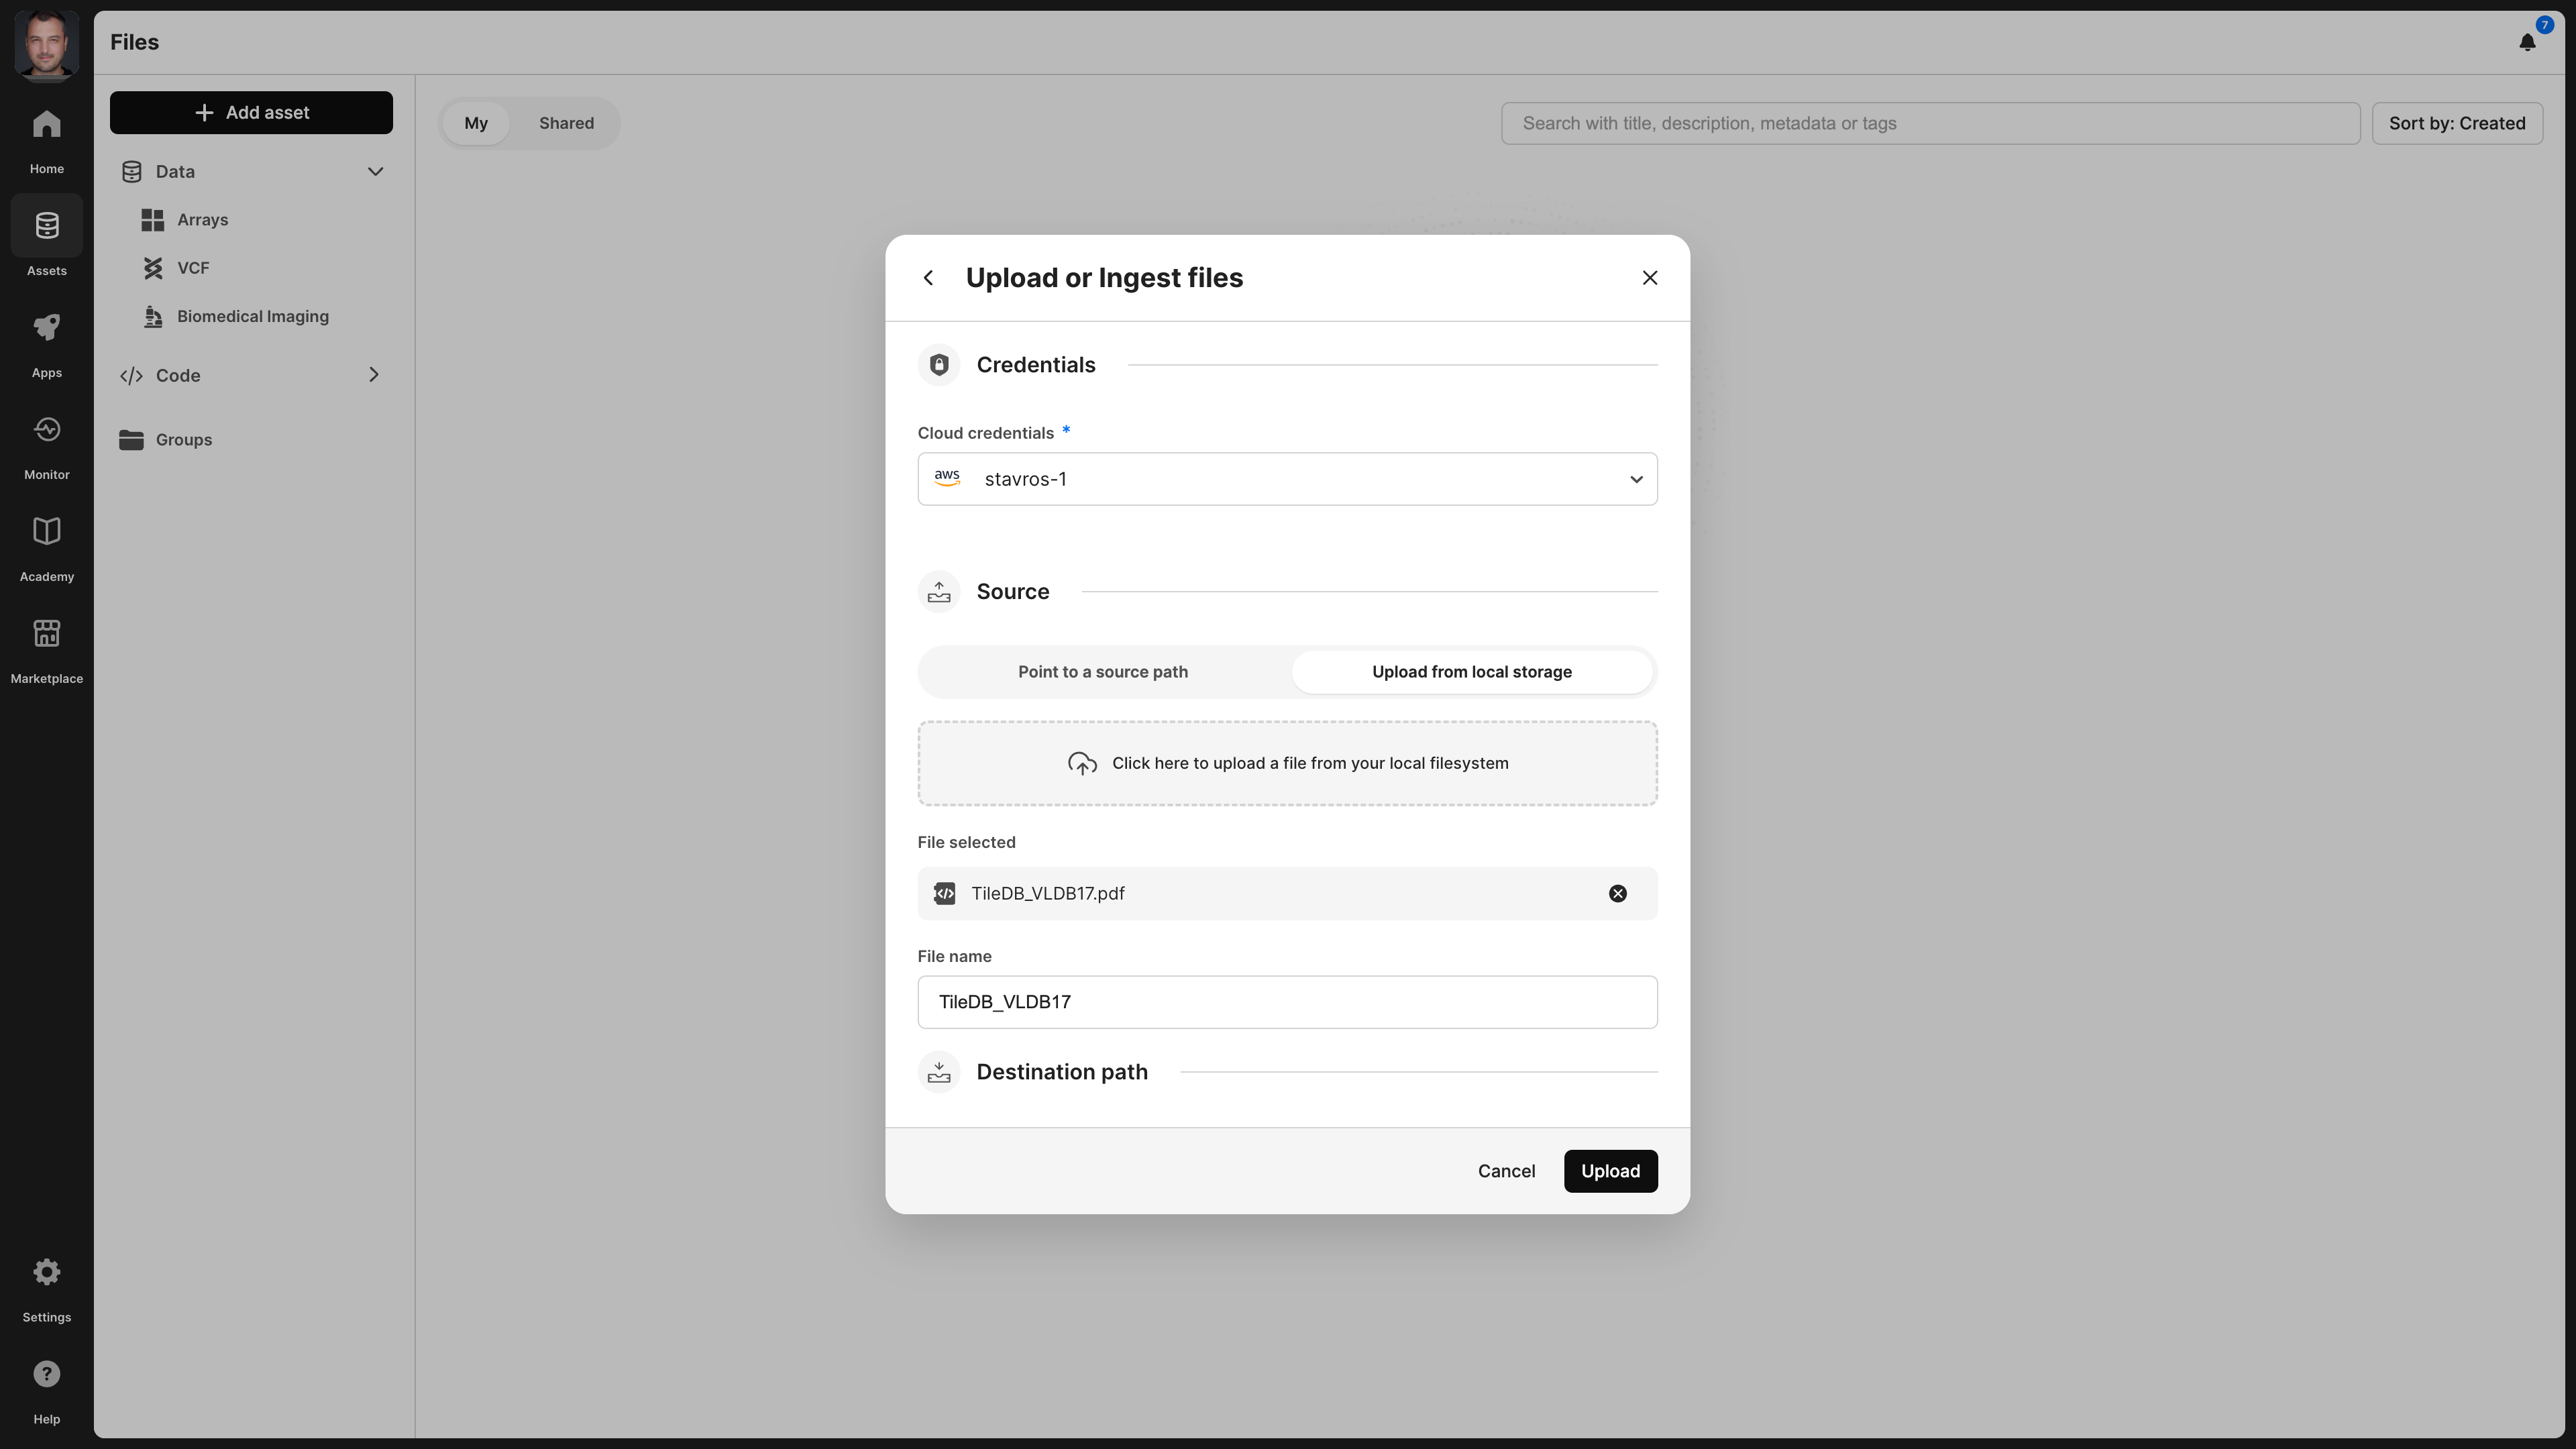
To upload a file from your local machine:
- Under Assets, select Add asset.
- From the emerging window, select Data, and then File.
- Select Upload from local storage.
- Choose the AWS credentials that can access the destination S3 location where the file will be stored (you should have added these credentials in your account Settings).
- Drag the file you wish to upload into the file upload box, and choose a name for that file.
- Add the destination path where the file will be stored.
- Select Upload.

Overview
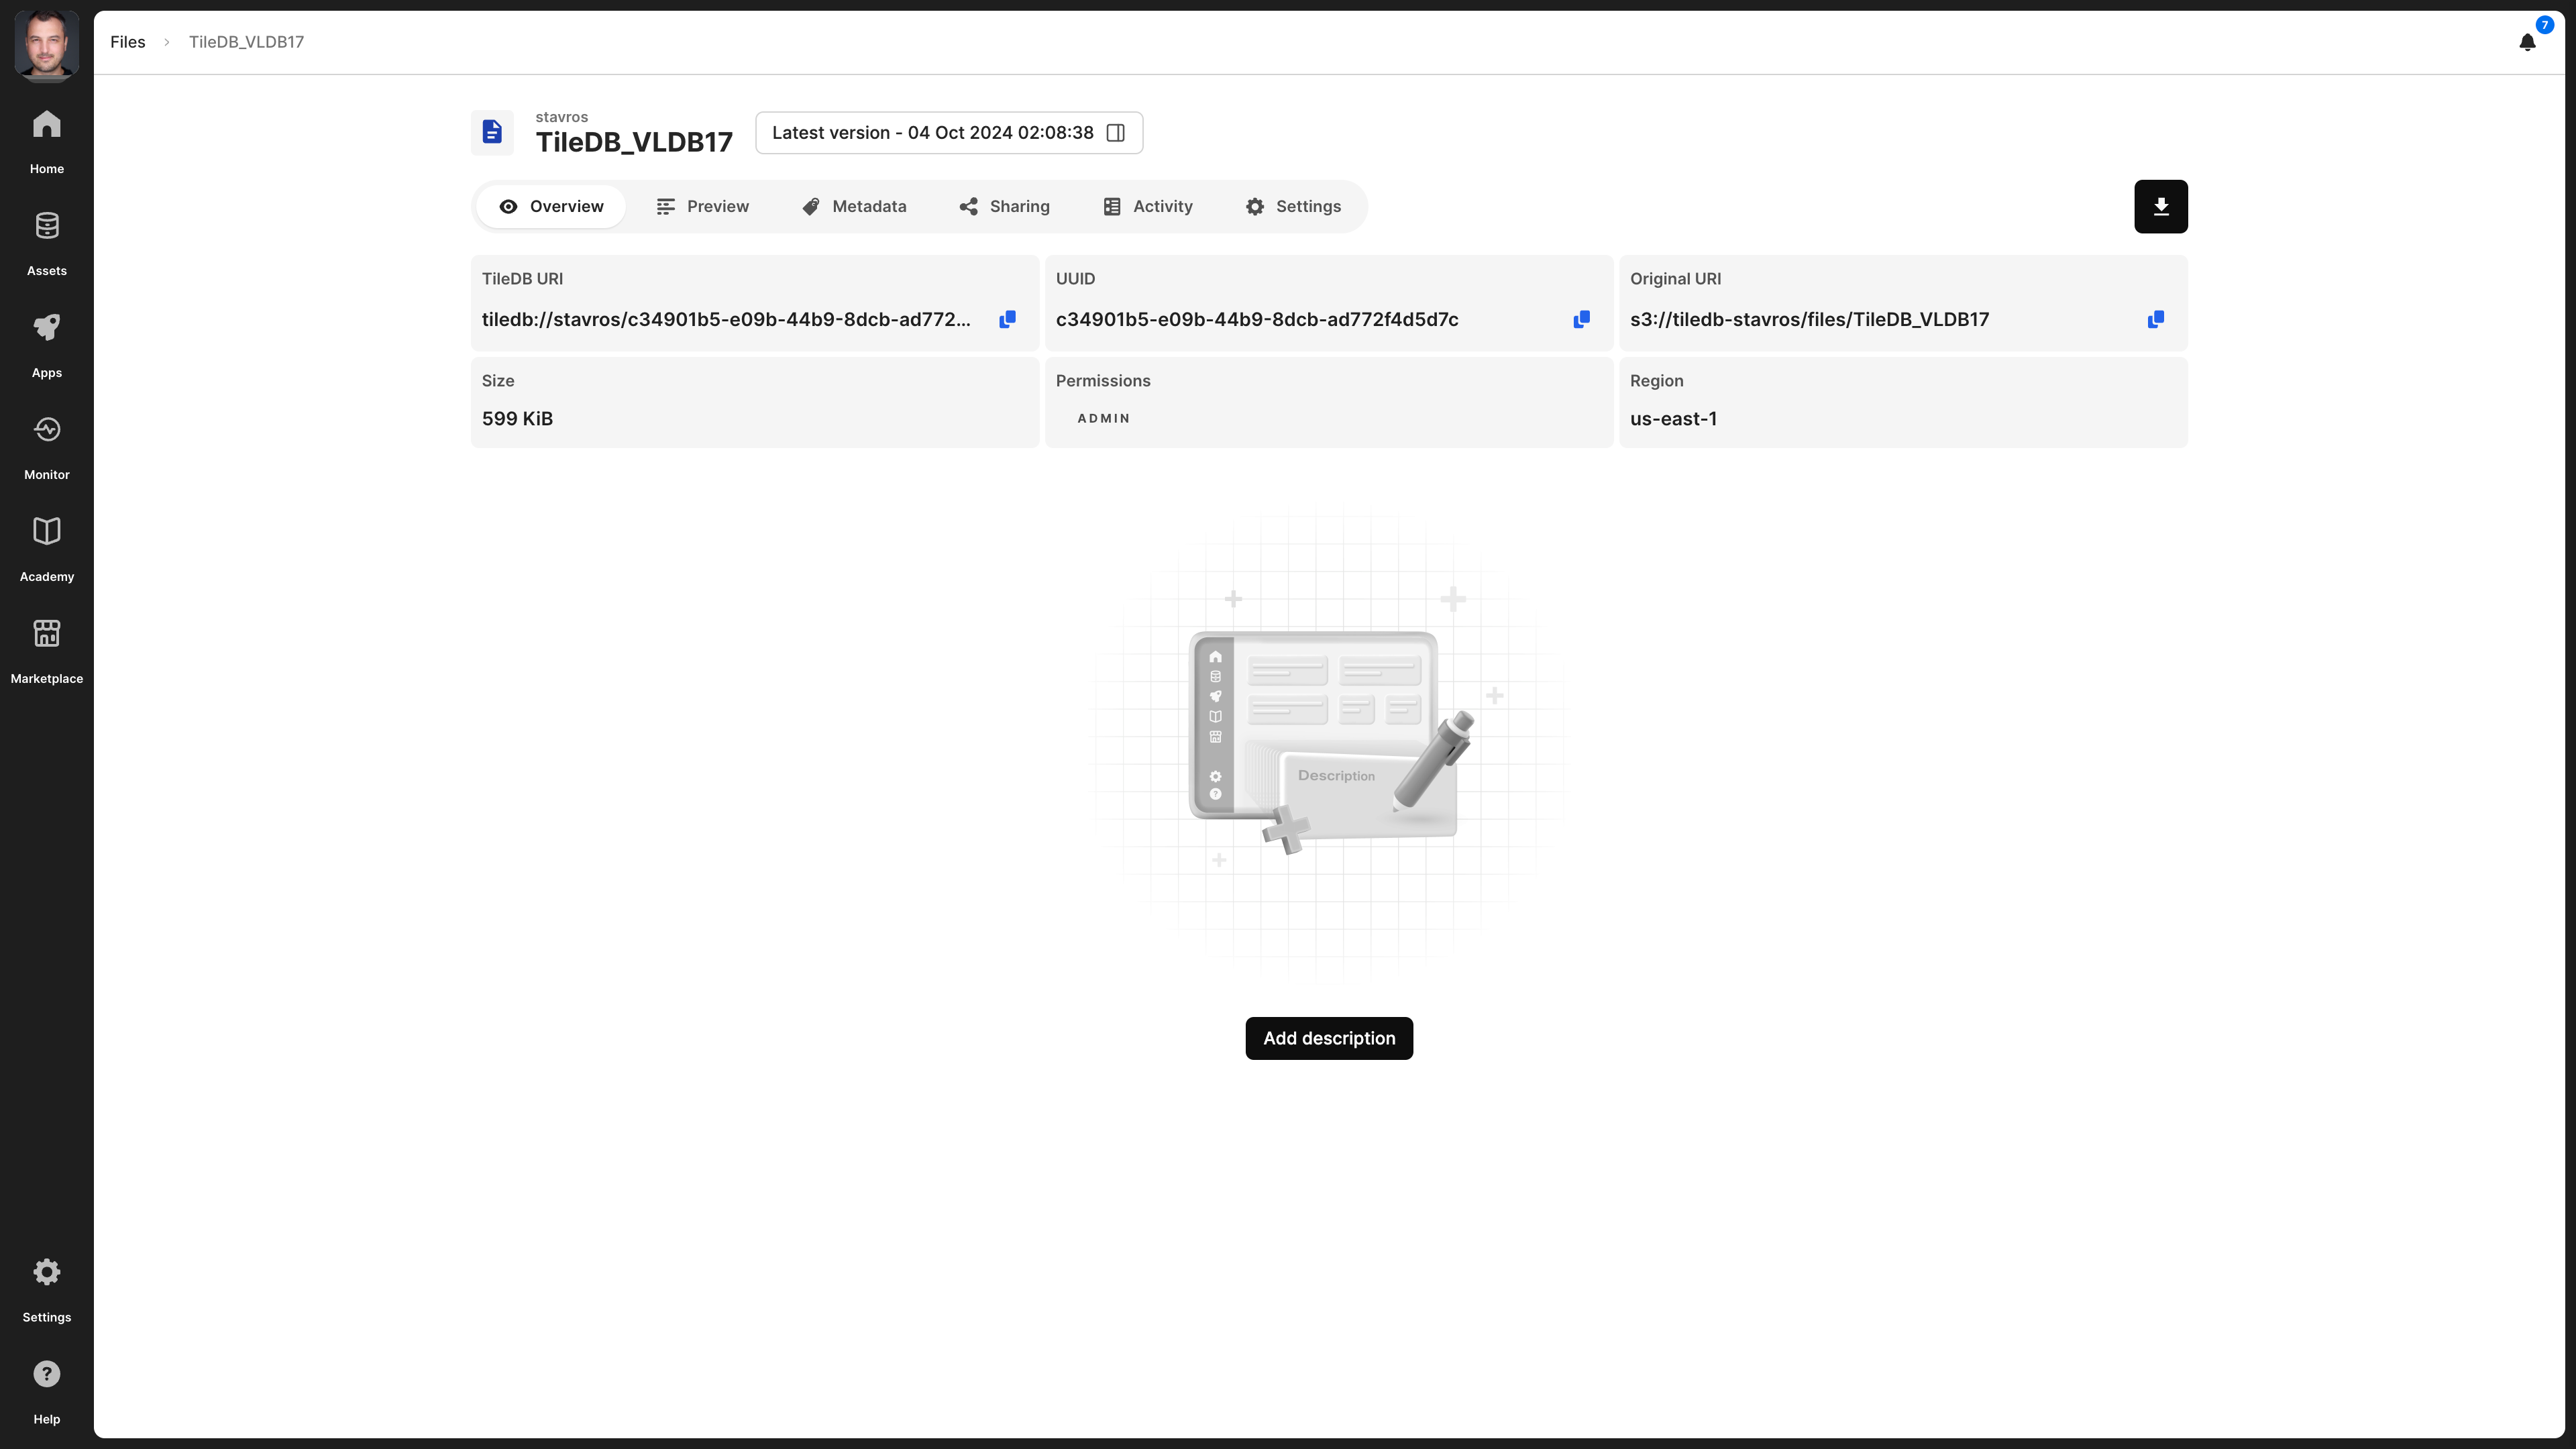
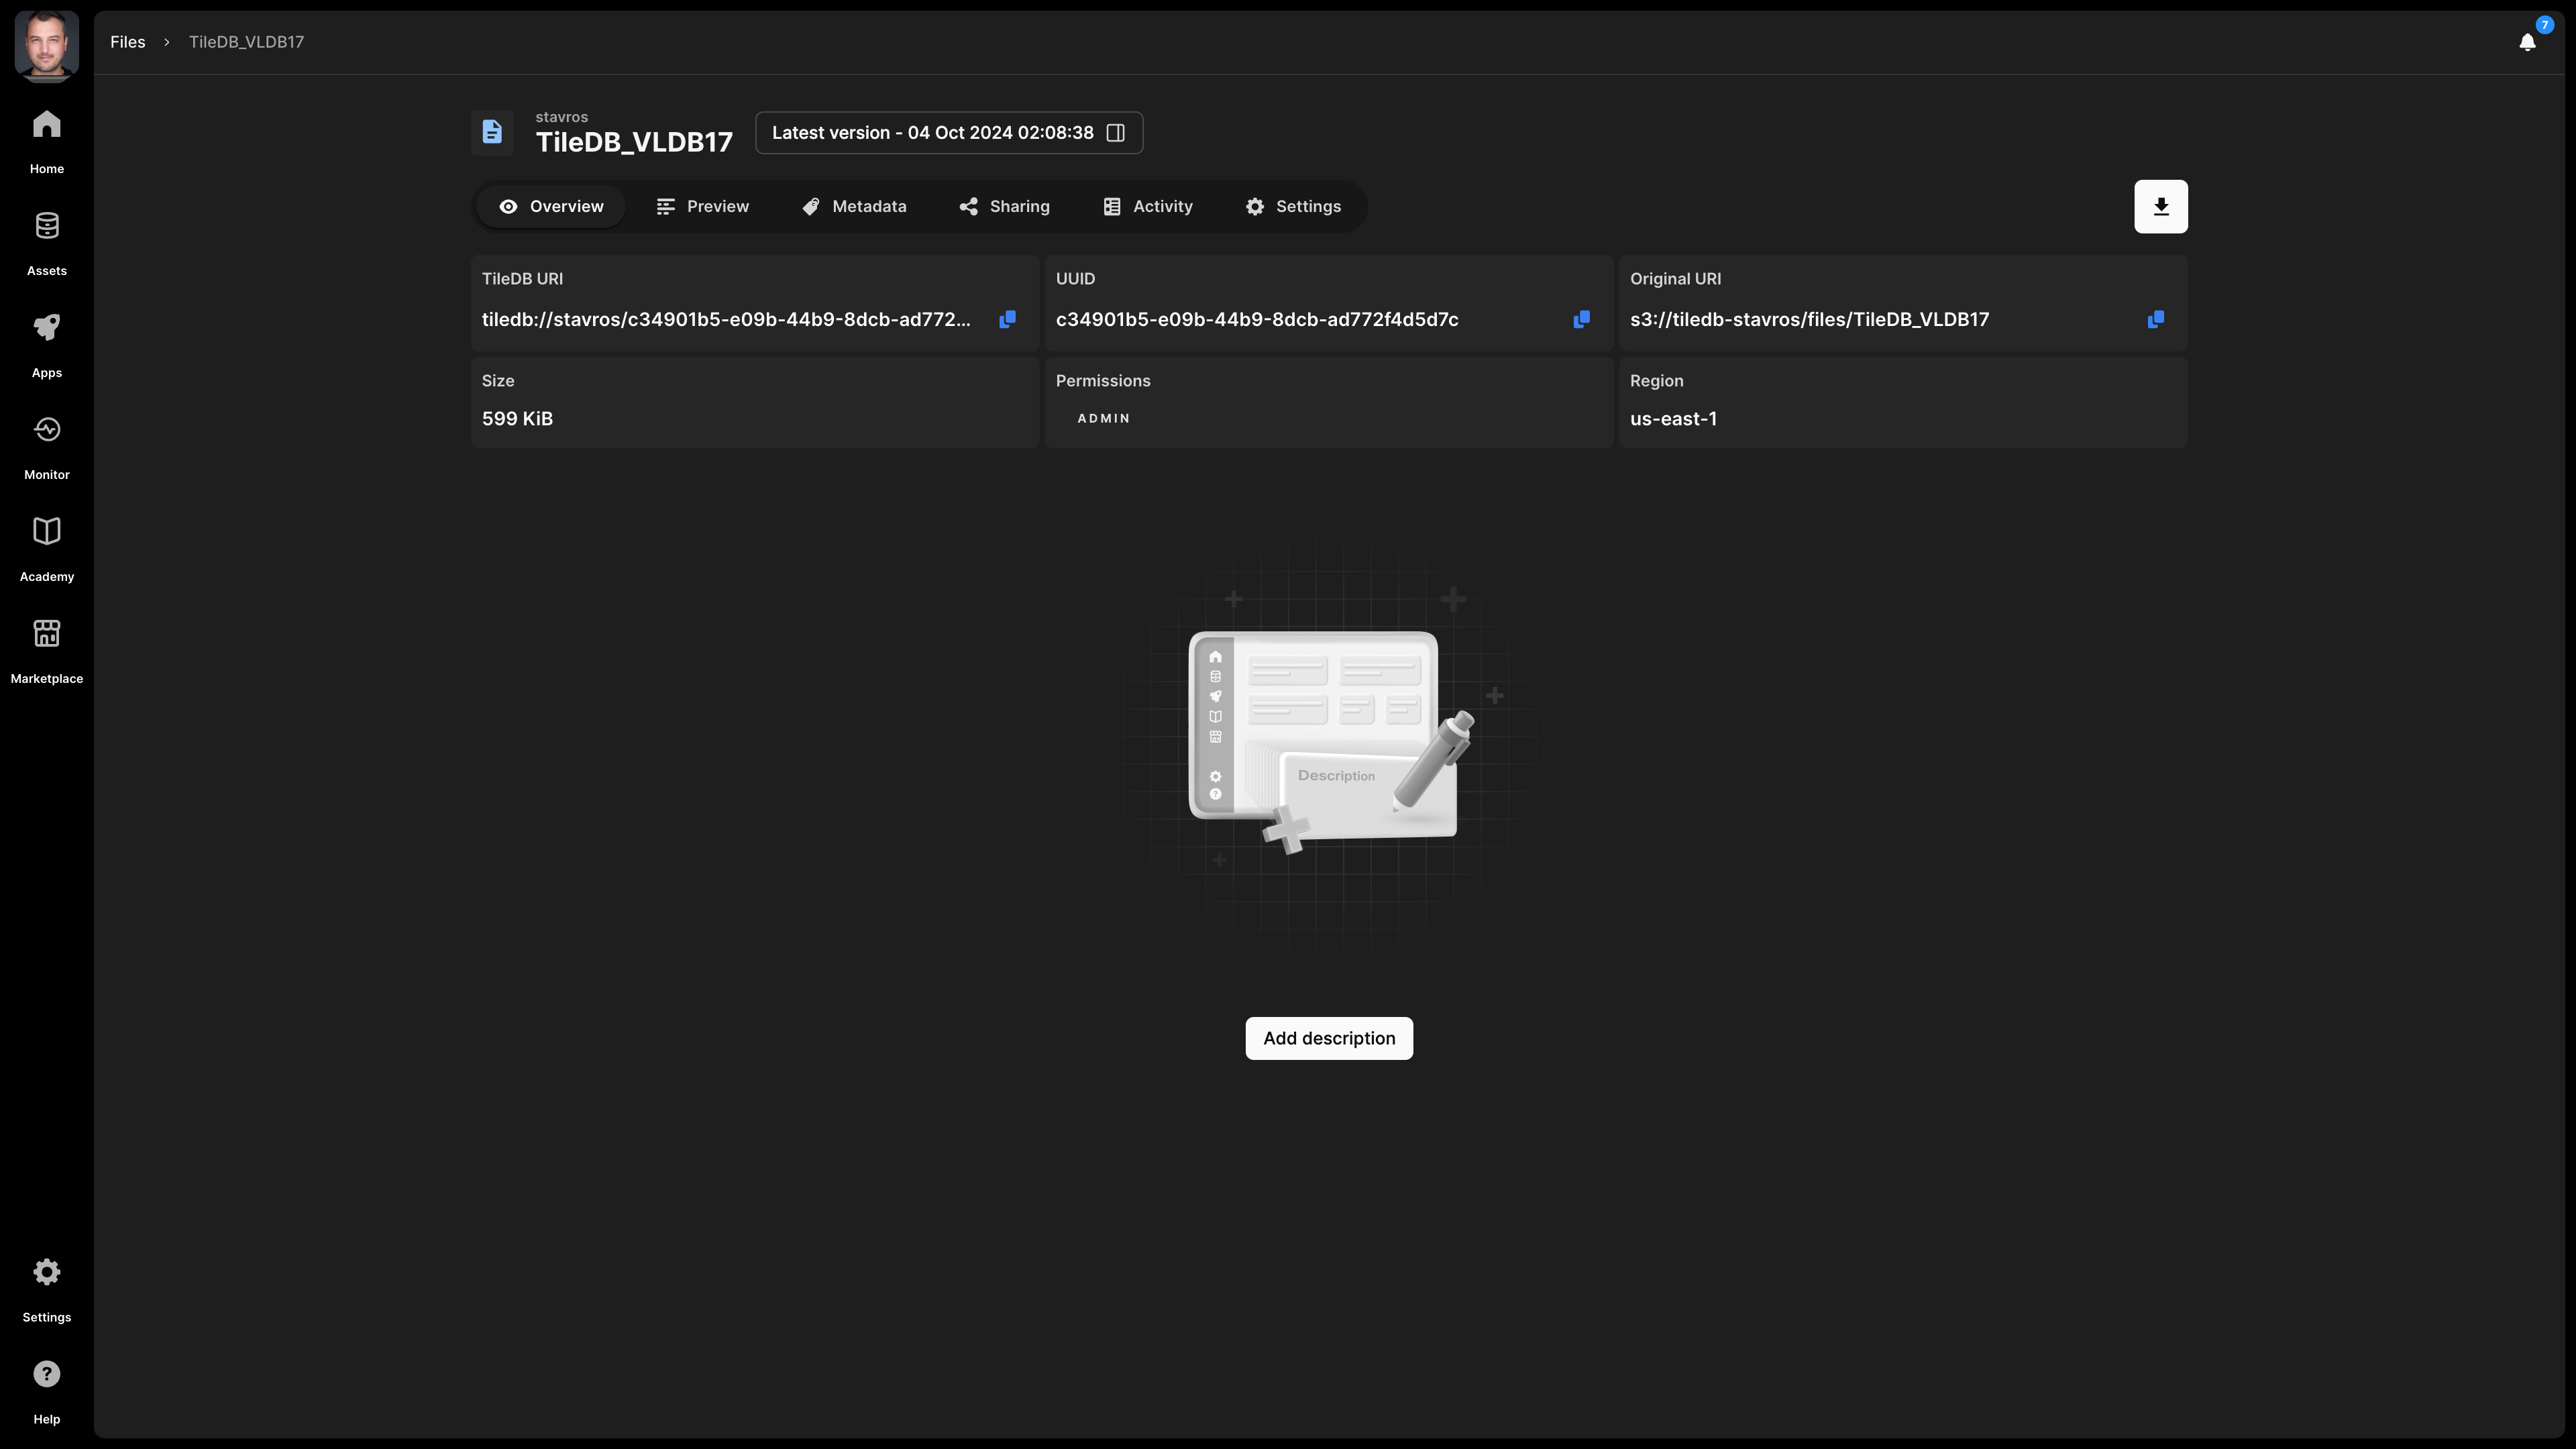
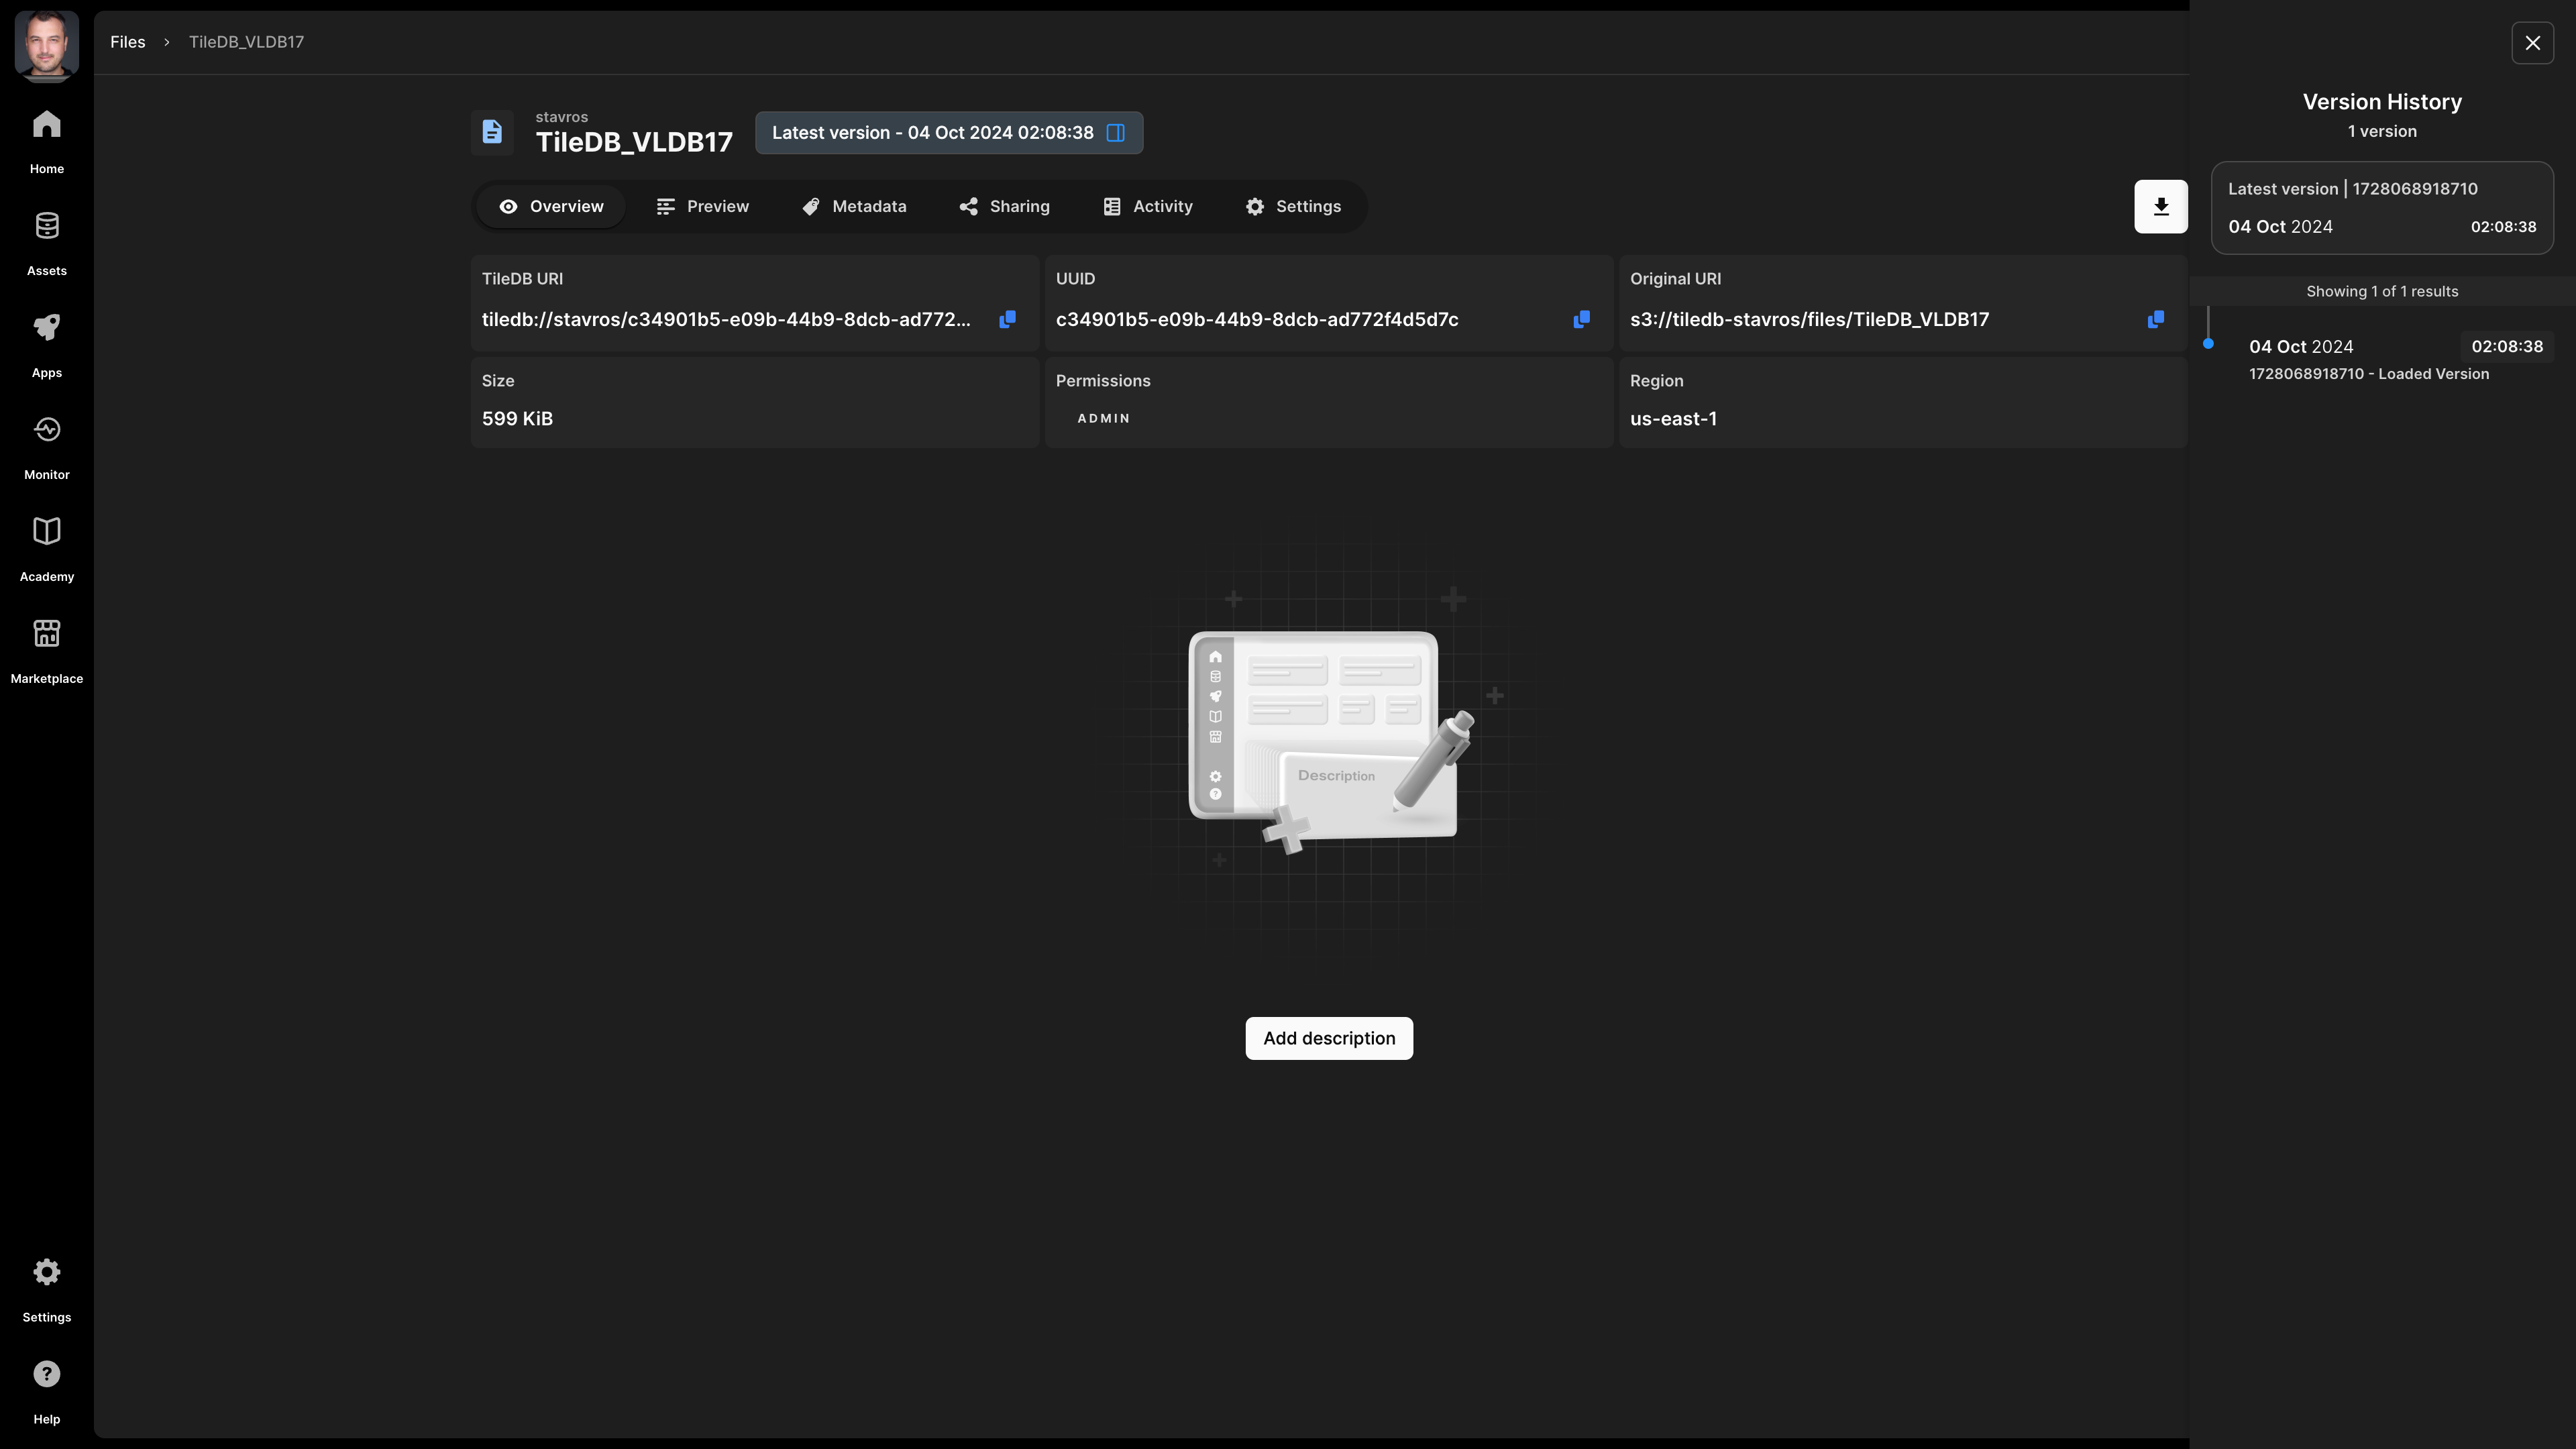
In this screen, you can find basic information about the file:
- File name - This appears at the top of the screen, and consists of the account name and the name you gave to the file when adding it.
- Description - If you passed a description to the file (programmatically or in Settings), it will be visible here. The description is indexed and searchable in the catalog. Thus, it’s recommended to add a meaningful description for all your assets.
- License - The type of license for the file, especially if you are making this publicly available.
- Tags - You can use tags for efficient search in the catalog.
- UUID - The unique identifier for the file.
- Original URI - The location on cloud storage where the file is physically stored.
- TileDB URI - The unique resource identifier for TileDB, based on which you can call the file when coding. It includes the namespace identifier and the UUID of the file.
- Size - The size of the file.
- Permissions - What rights the current user has on this file. Possible values are
READandADMIN.
When interfacing with TileDB programmatically, you need to understand how to refer to files programmatically. You can do it in two ways:
- Using the TileDB URI format
tiledb://<account>/<file_name>. This is the most user-friendly way, but TileDB allows duplicated file names, and if you have a file with a non-unique name, this will throw an error. - Using the TileDB URI from the asset’s Overview tab (that is, the URI with format
tiledb://<account>/<UUID>). TileDB URIs referencing the asset’s UUID are unique. Thus, this method will always work.
You can programmatically get overview information about the file with the following command:
# The following will return a JSON file with various info about the file.
tiledb.cloud.asset.info("tiledb://<account>/<file_name>")
Preview
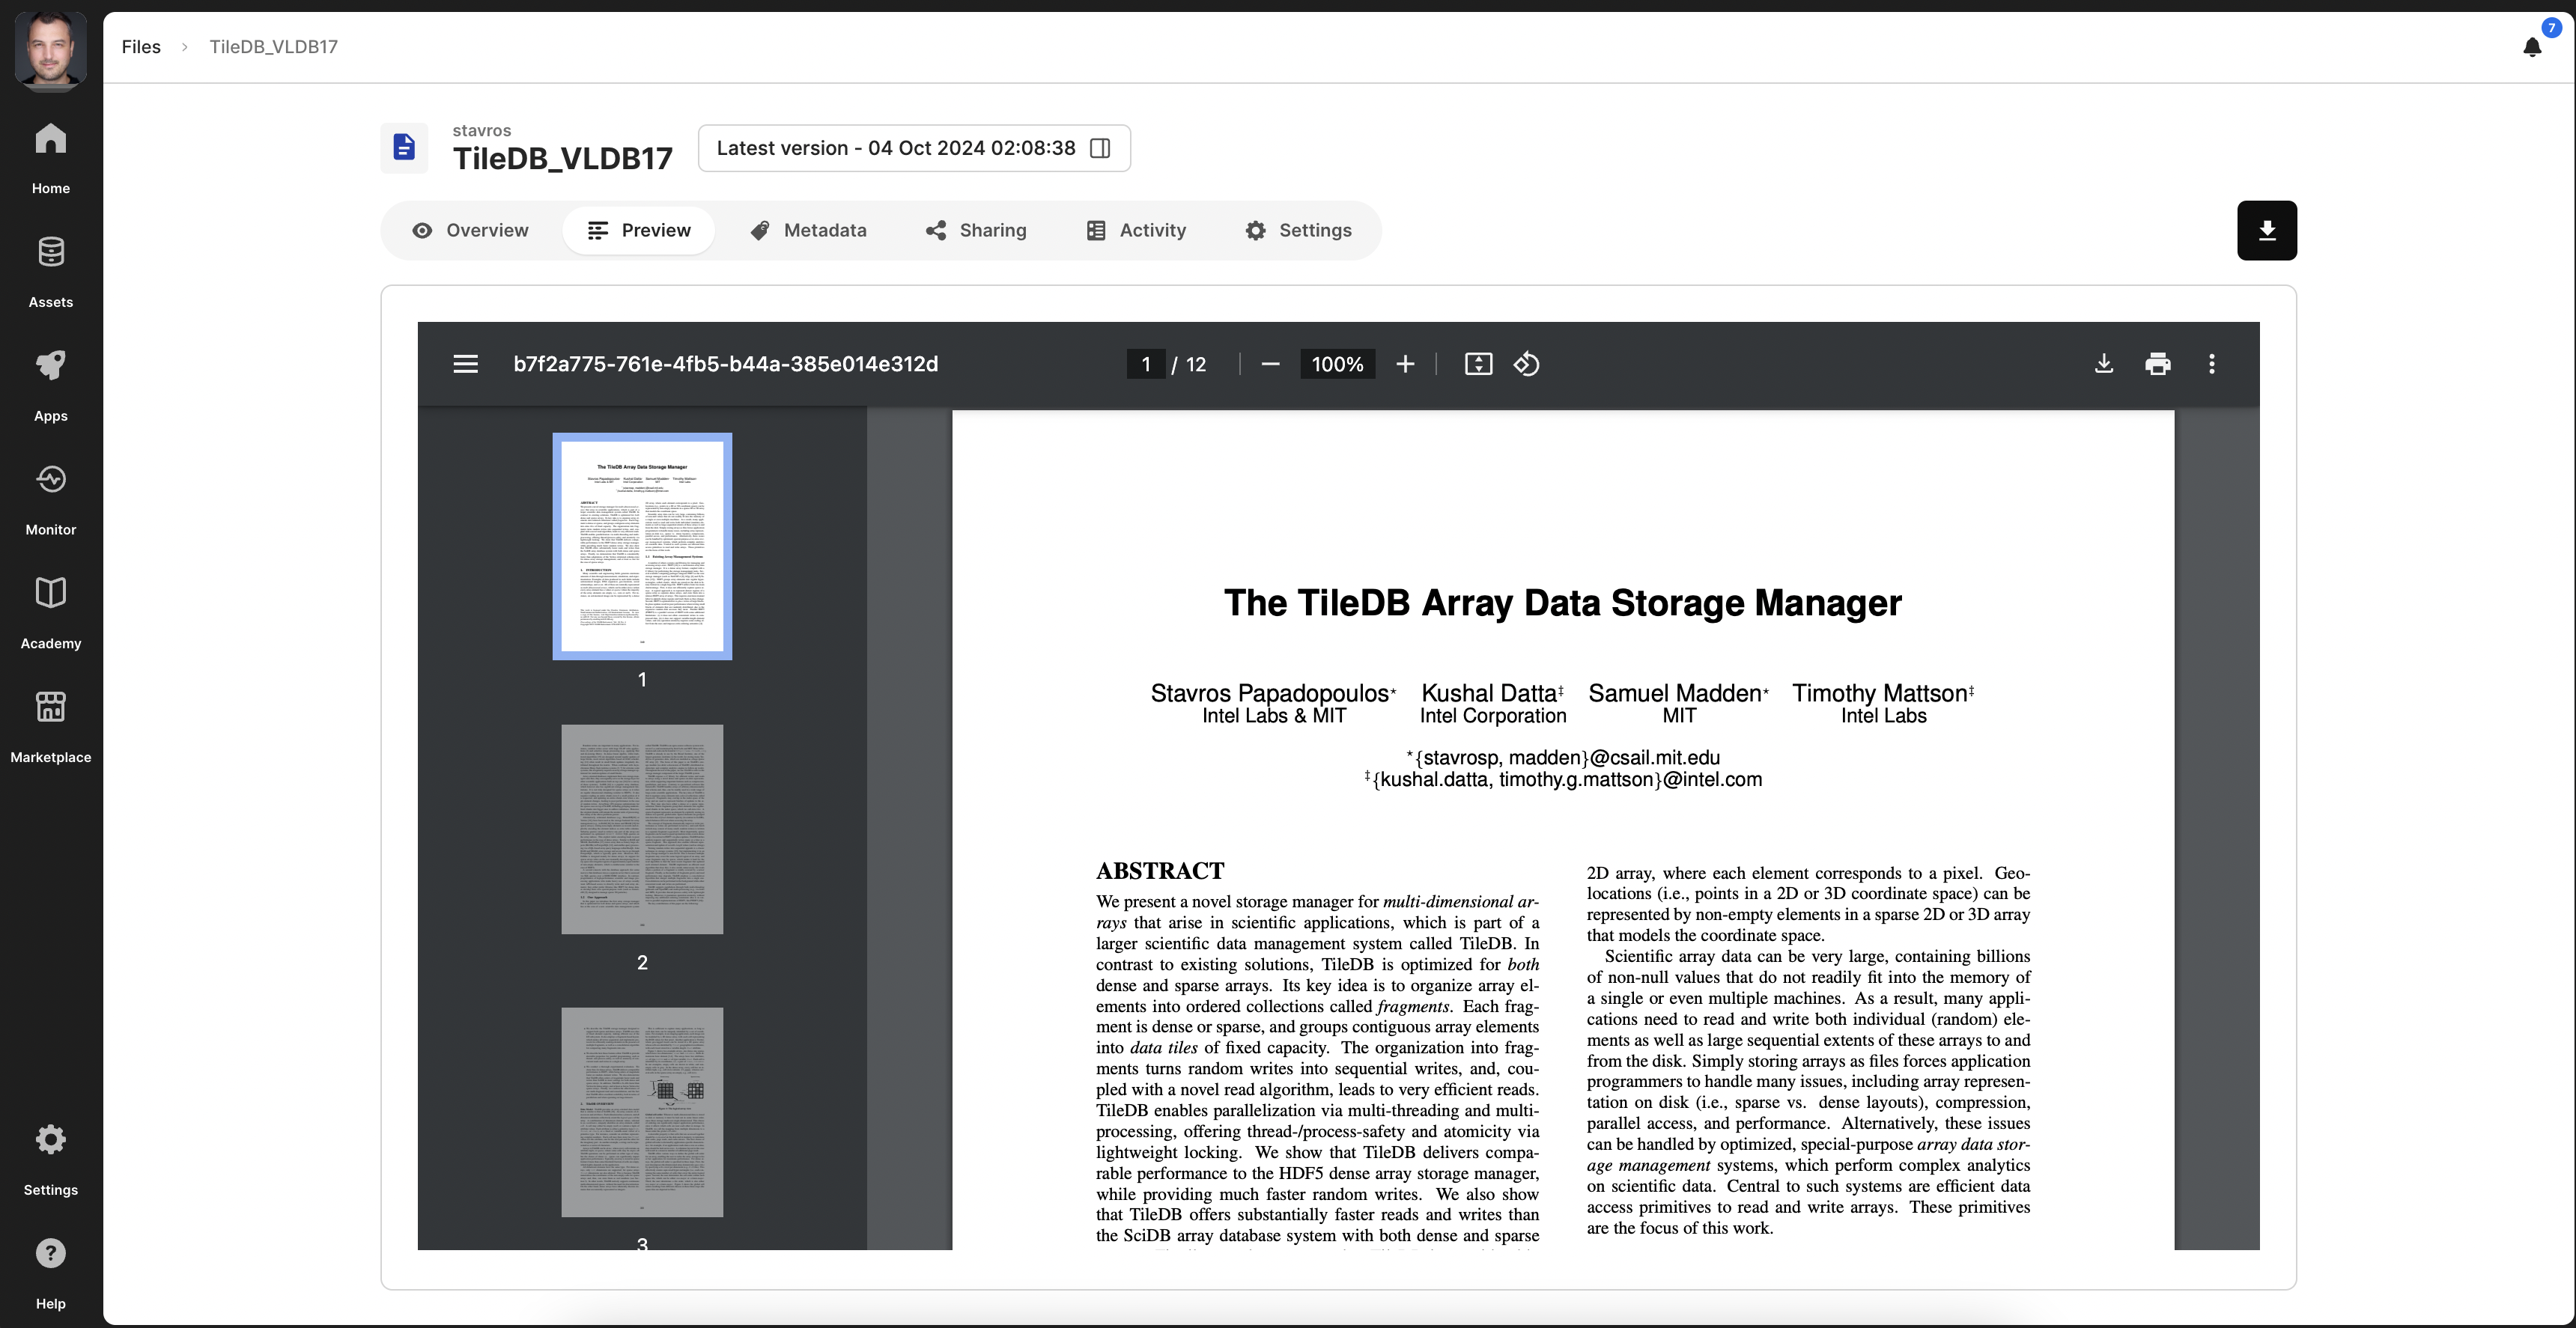
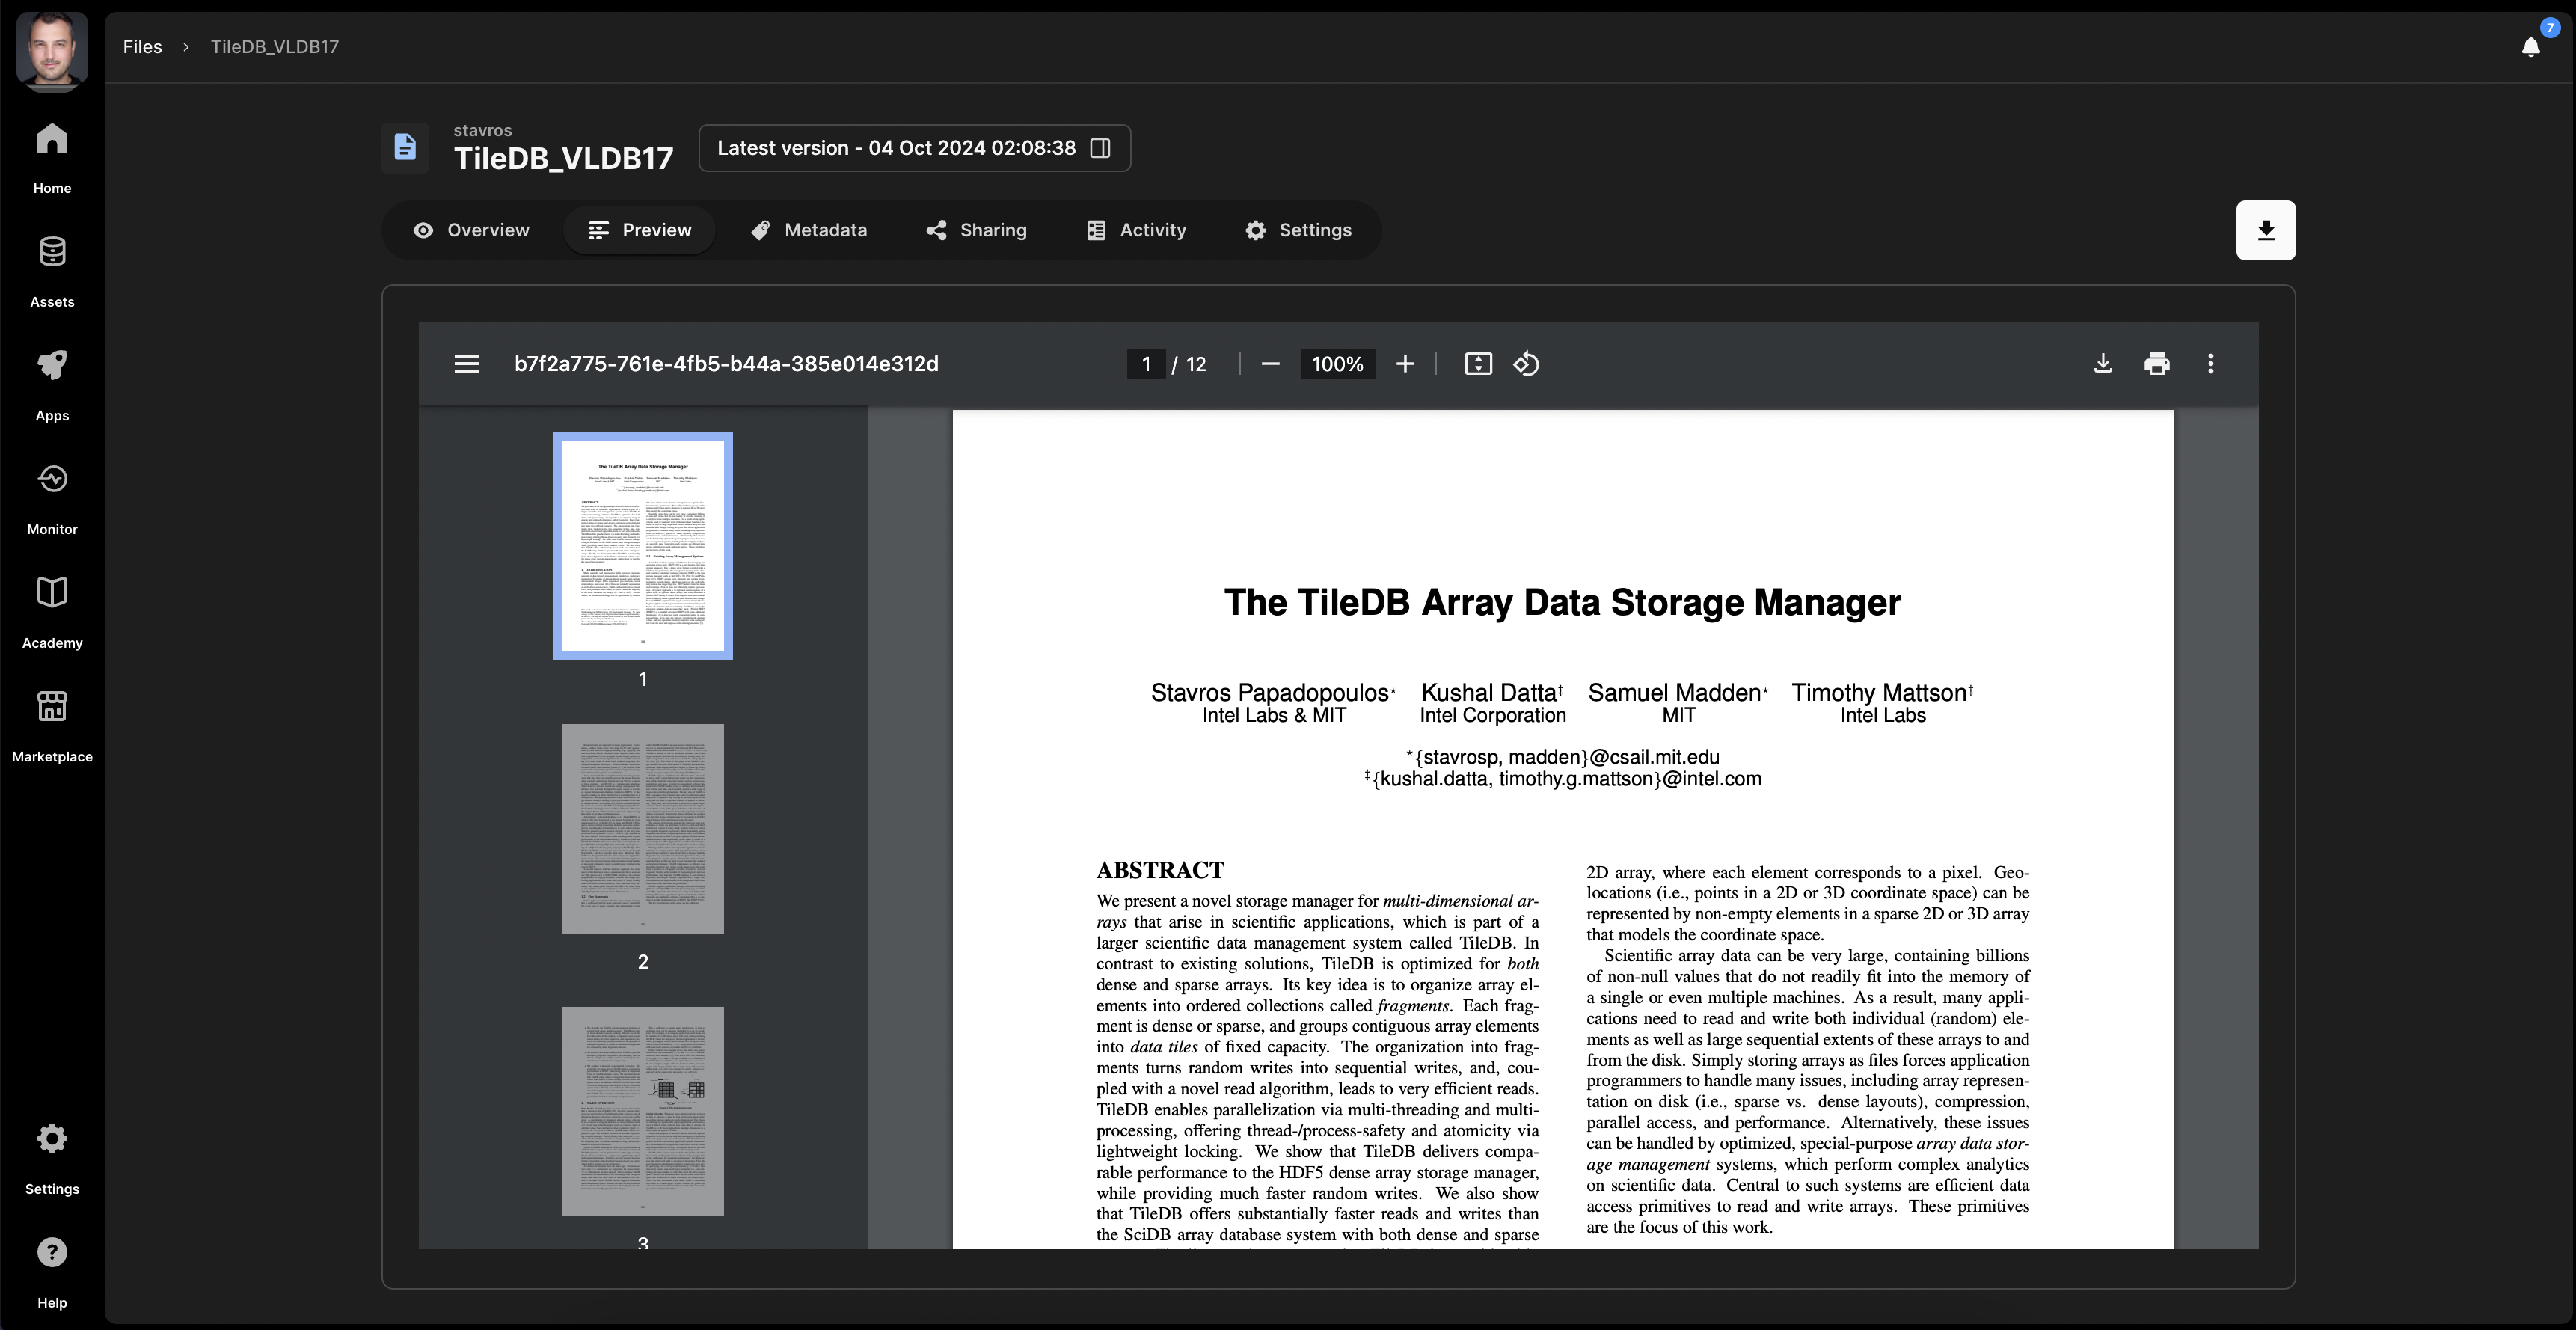
For certain file types, you can preview their contents in a human-friendly manner in the Preview tab. The following examlpe shows how you preview a PDF file in TileDB.
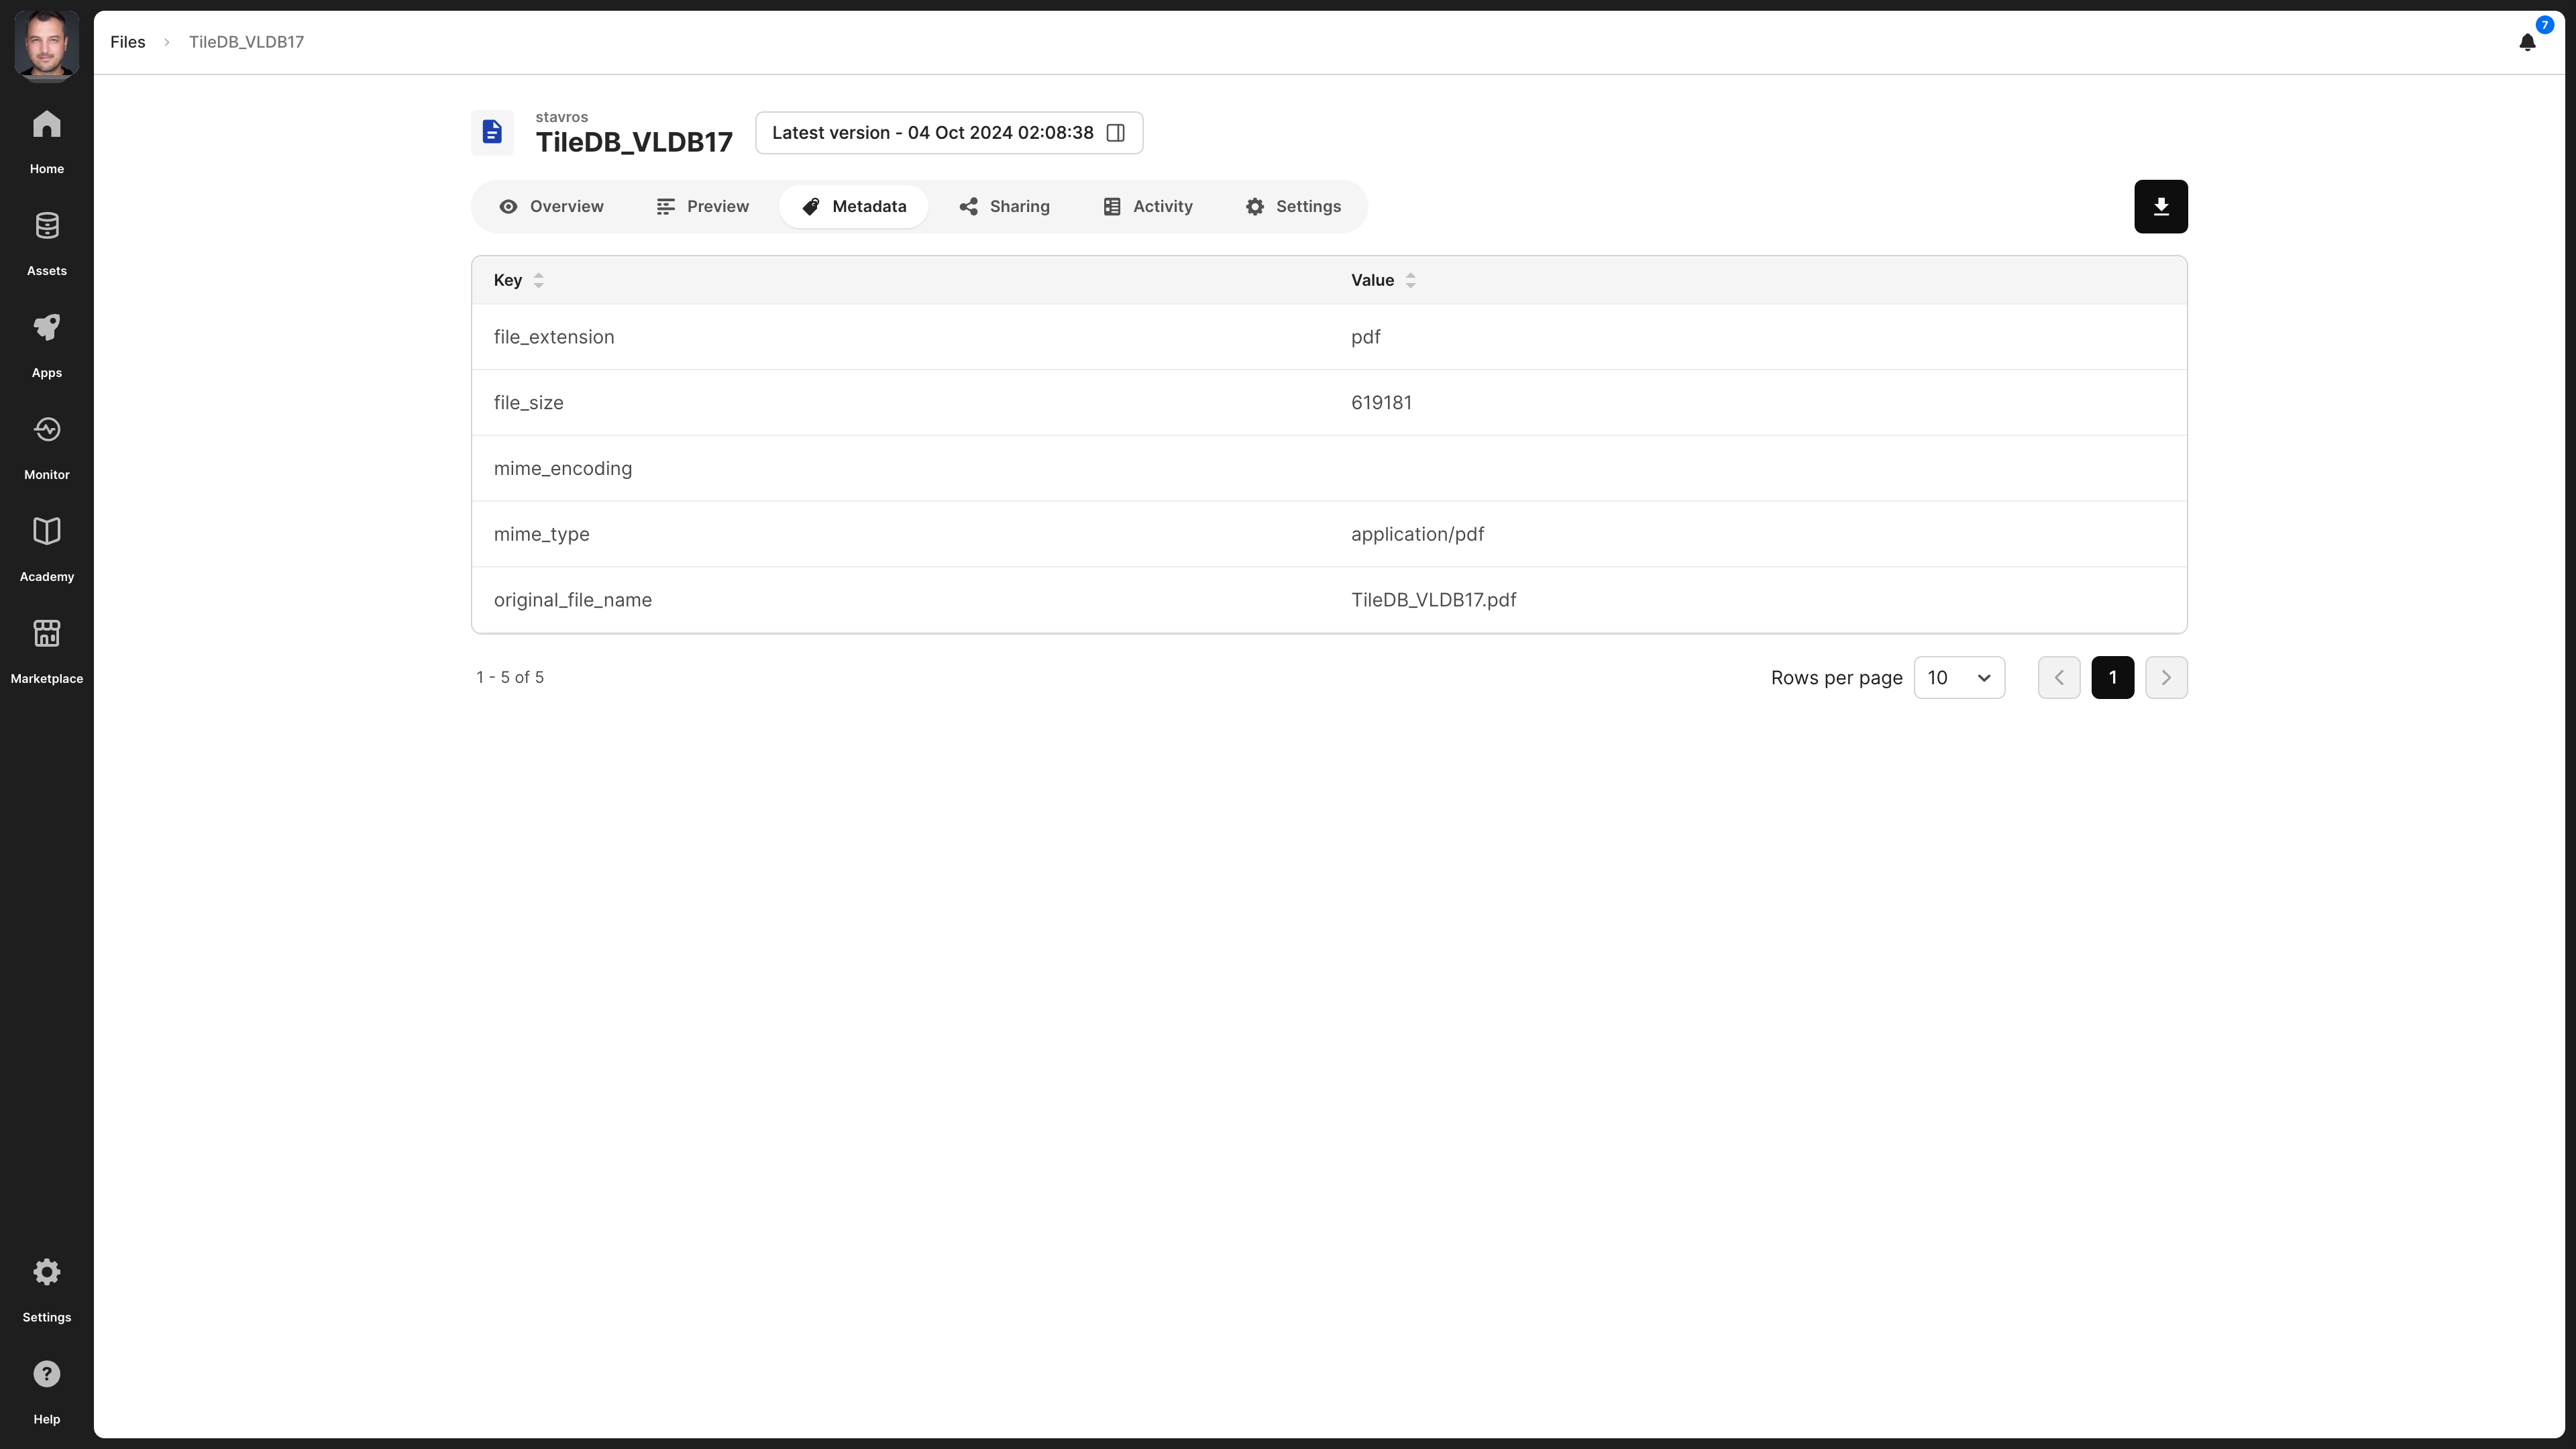
Metadata
You can associate each file with metadata, which is in the form of key-value pairs. For more information on how to attach metadata to files programmatically, read the Files section. Note that the TileDB catalog indexes file metadata. Thus, file metadata is fully searchable.

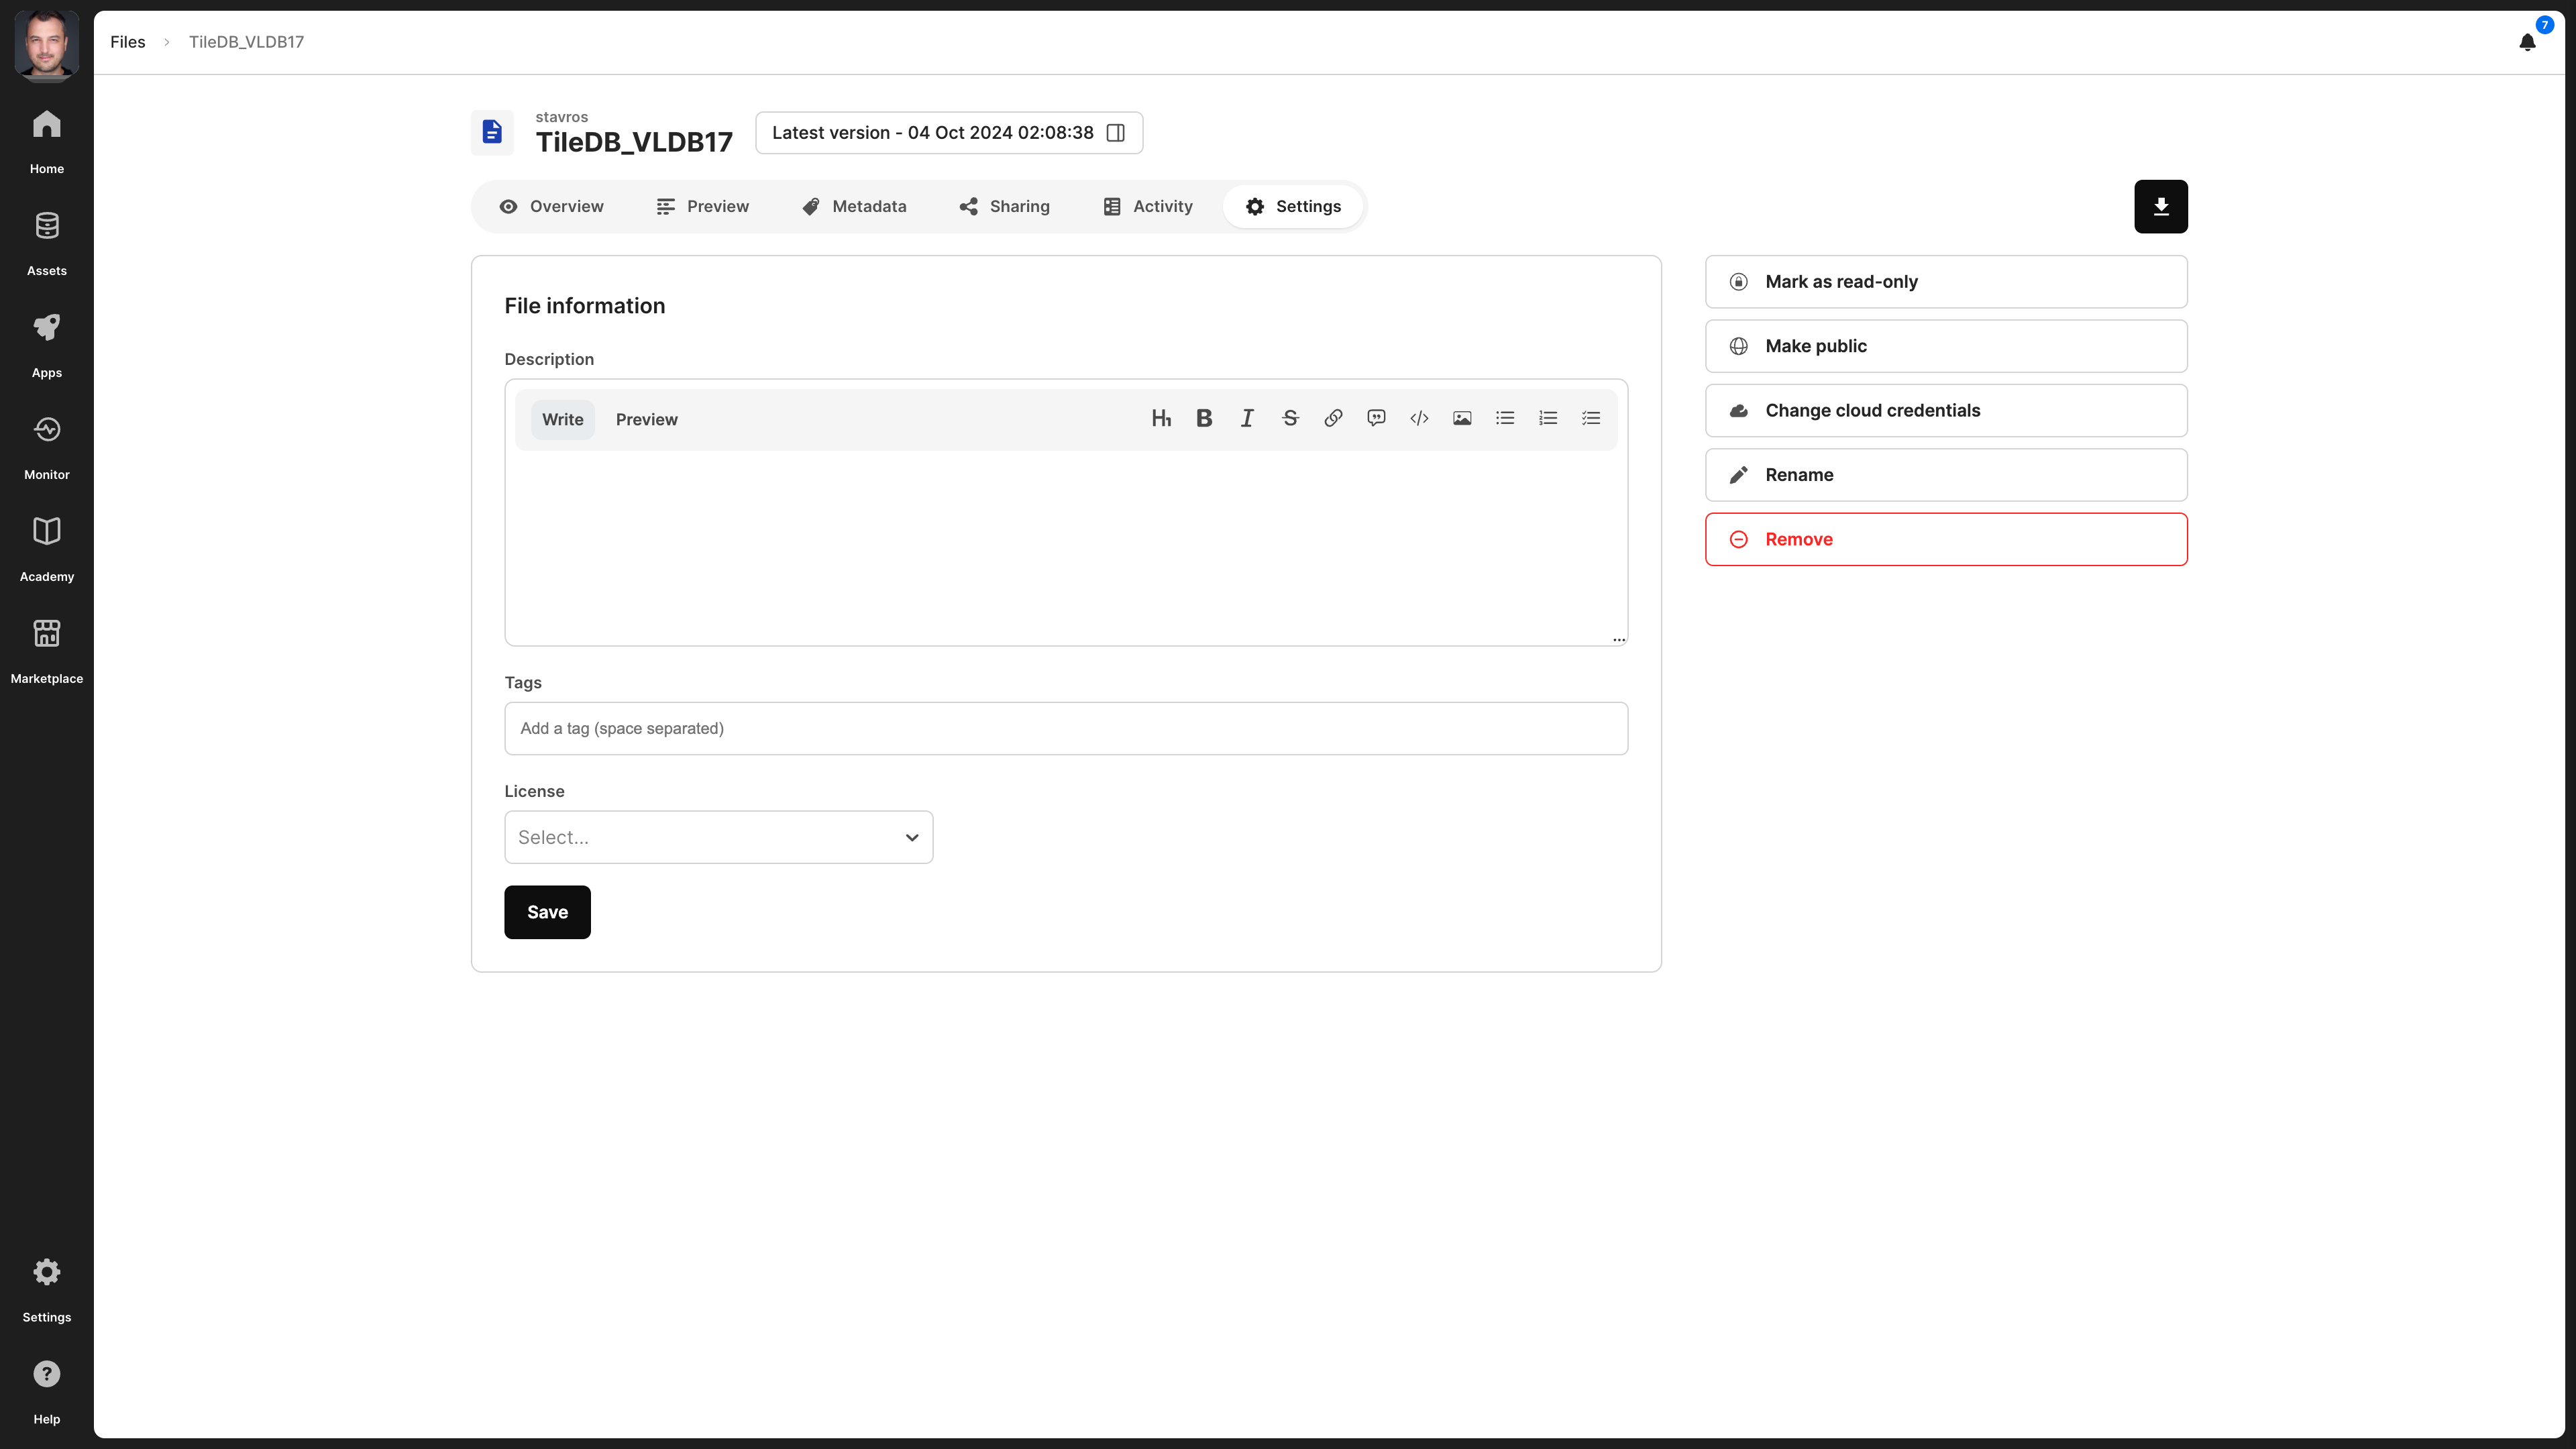
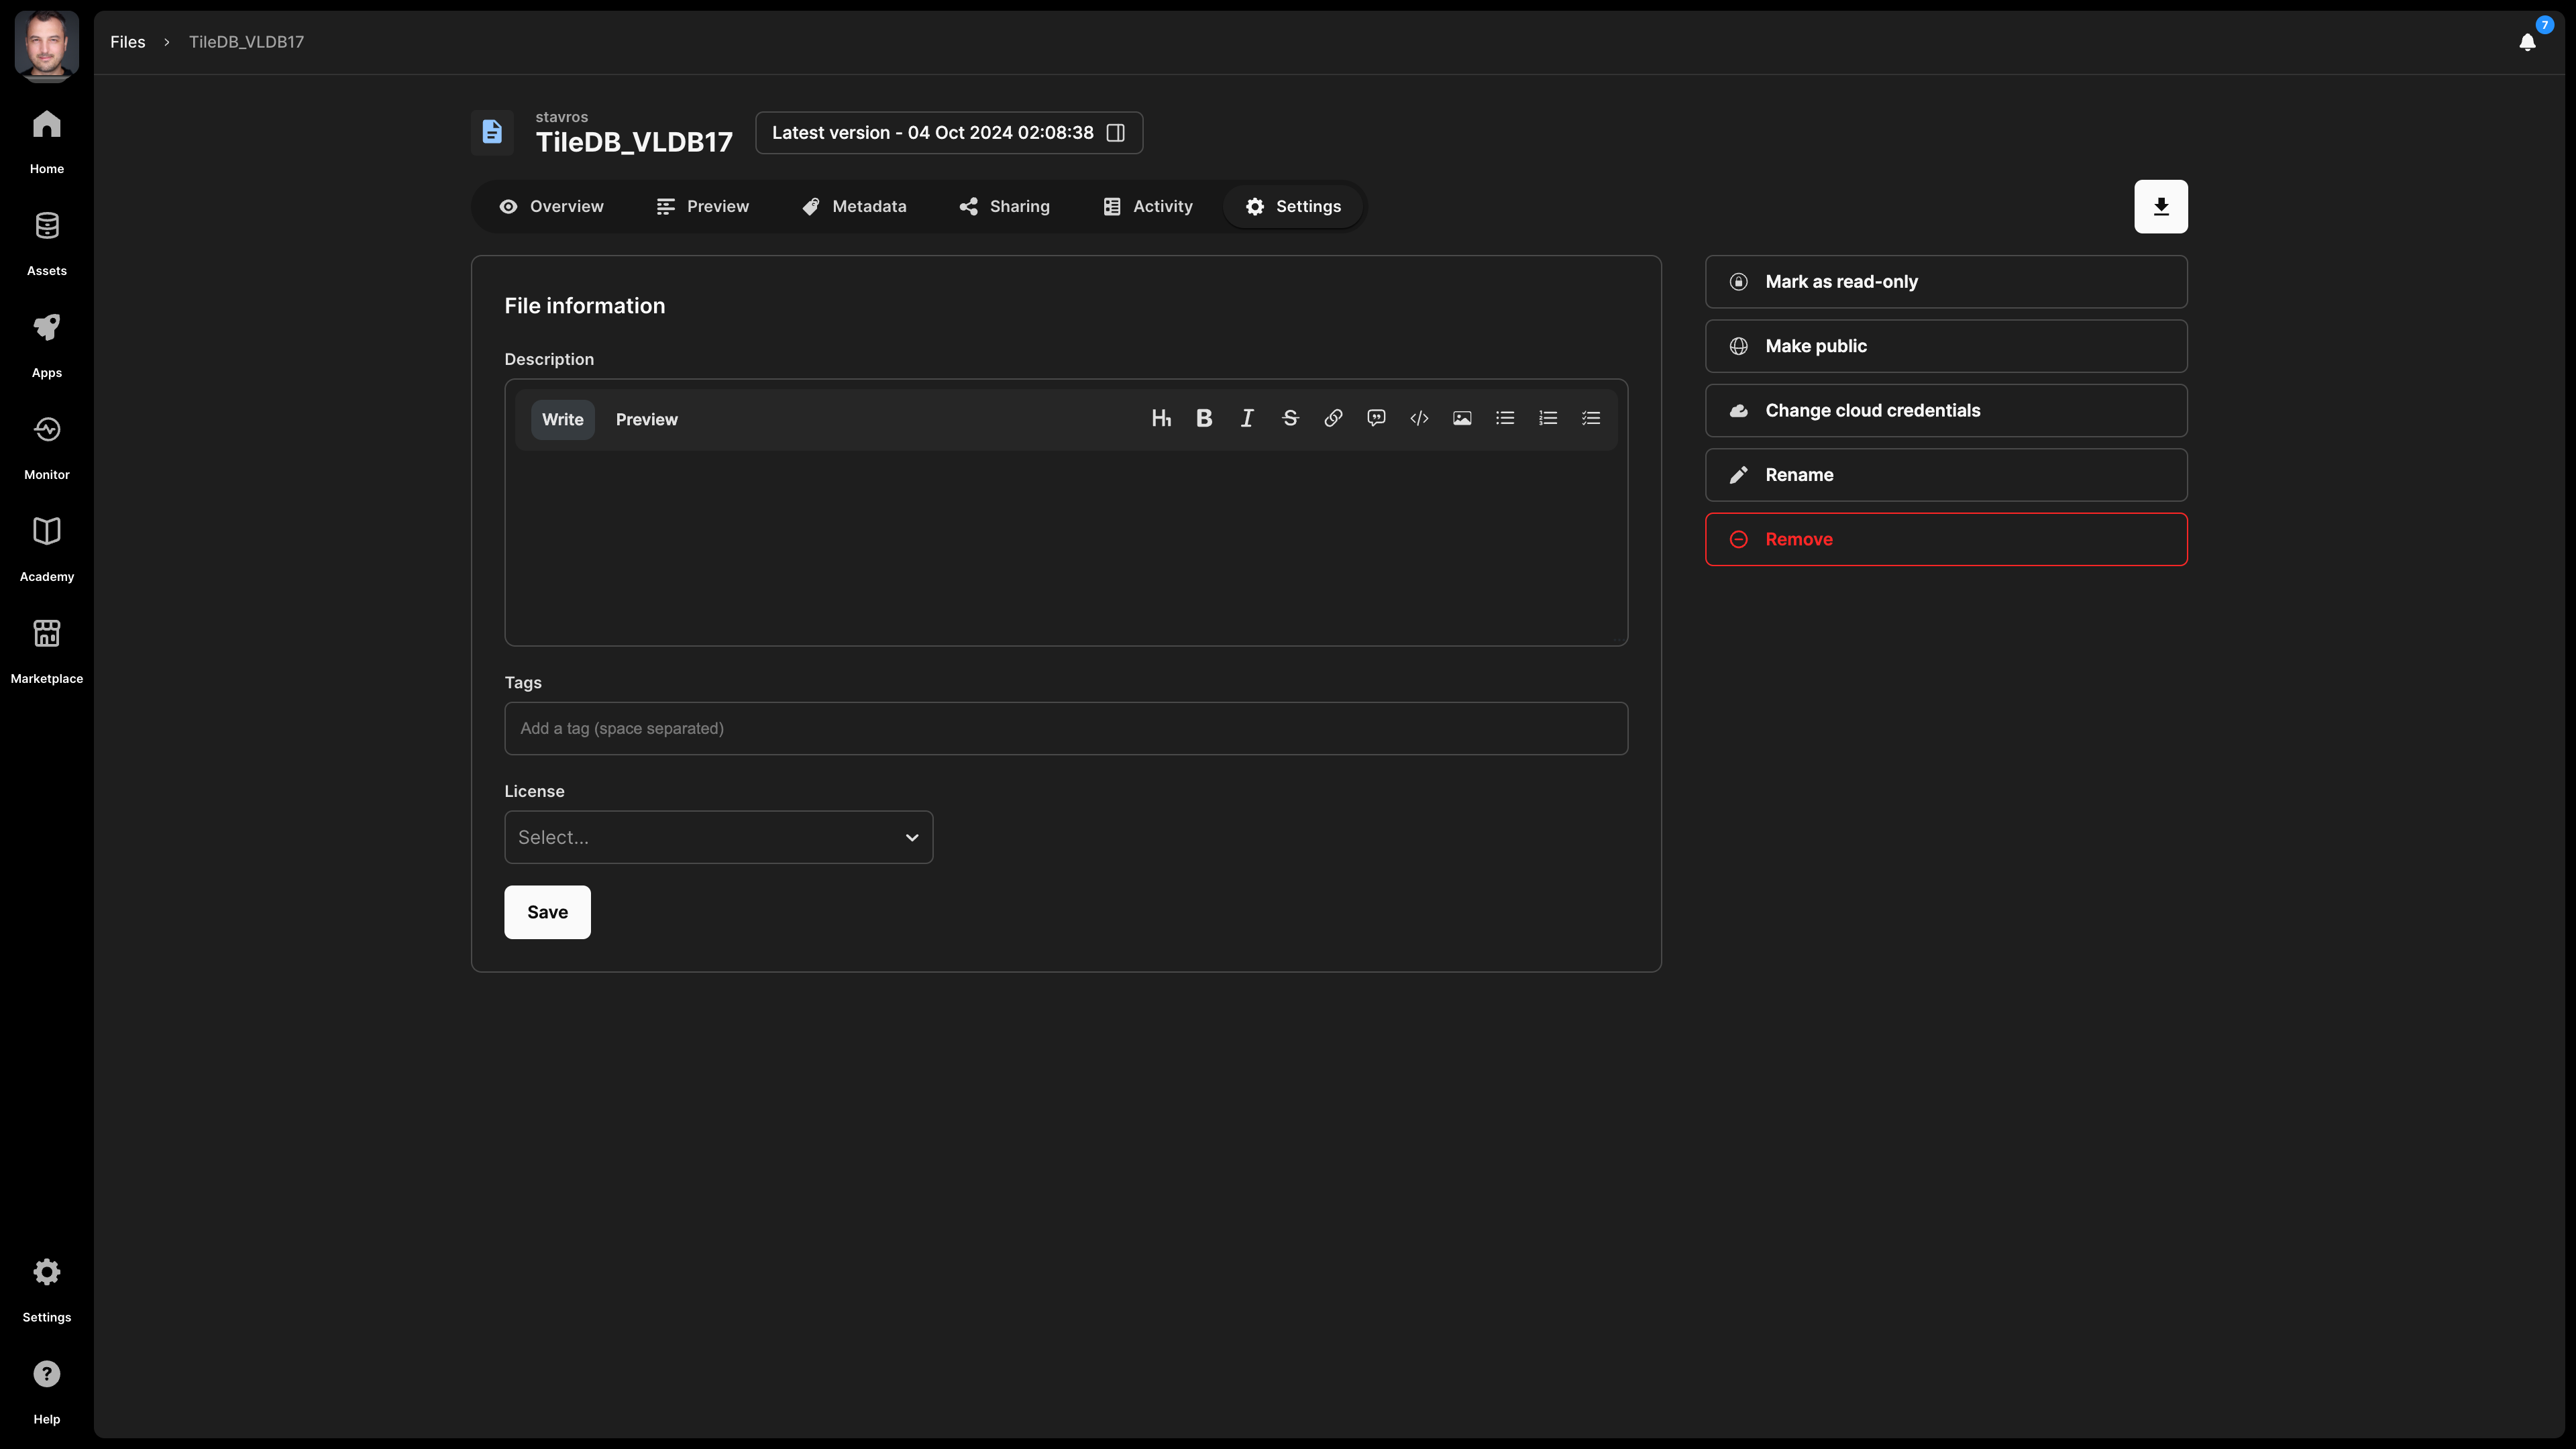
Settings
In the file settings, you can modify the following:
- Description - Note that this is indexed and, thus, searchable in the TileDB catalog.
- License - The type of license for the file, especially if you are making this publicly available.
- Tags - You can use tags for efficient search in the catalog.
- Make notebook read-only - This is useful if you want to prevent any file changes by you or someone with whom you shared the file.
- Make public - If you wish to share the file with all the TileDB users. This will appear in the Marketplace tab in the left navigation menu. If you make a file public, you can change it back to private in the same manner.
- Change cloud credentials - Credentials should be set so that TileDB can securely access the file on the cloud store where it is physically stored.
- Rename file - Read the Rename file subsection.
- Delete file - Read the Delete file subsection.
Versioning
TileDB supports versioning for files. Every time you edit a file, TileDB creates a new version. You can select the version by selecting the button next to the file name, starting with Latest version - …. This brings up a modal, in which you can browse and select different file versions. Then you can preview or download the selected file version.

Download file
You can download the file in its original format by selecting the Download button at the top-right part of the screen.
Rename file
You can rename a file from the Settings tab. This action does not alter or copy the contents of the file—it just registers the asset in the catalog under a different name.
You can programmatically rename a file as follows:
tiledb.cloud.asset.update_info(
    "`tiledb://<account>/<previous_name>`",
    name="<new_name>",
    access_credentials_name="<acn>",  # Optional - The cloud credentials that access the file (should already exist in your account settings)
)Take caution when renaming files, as any URIs including the previous file name will no longer work.
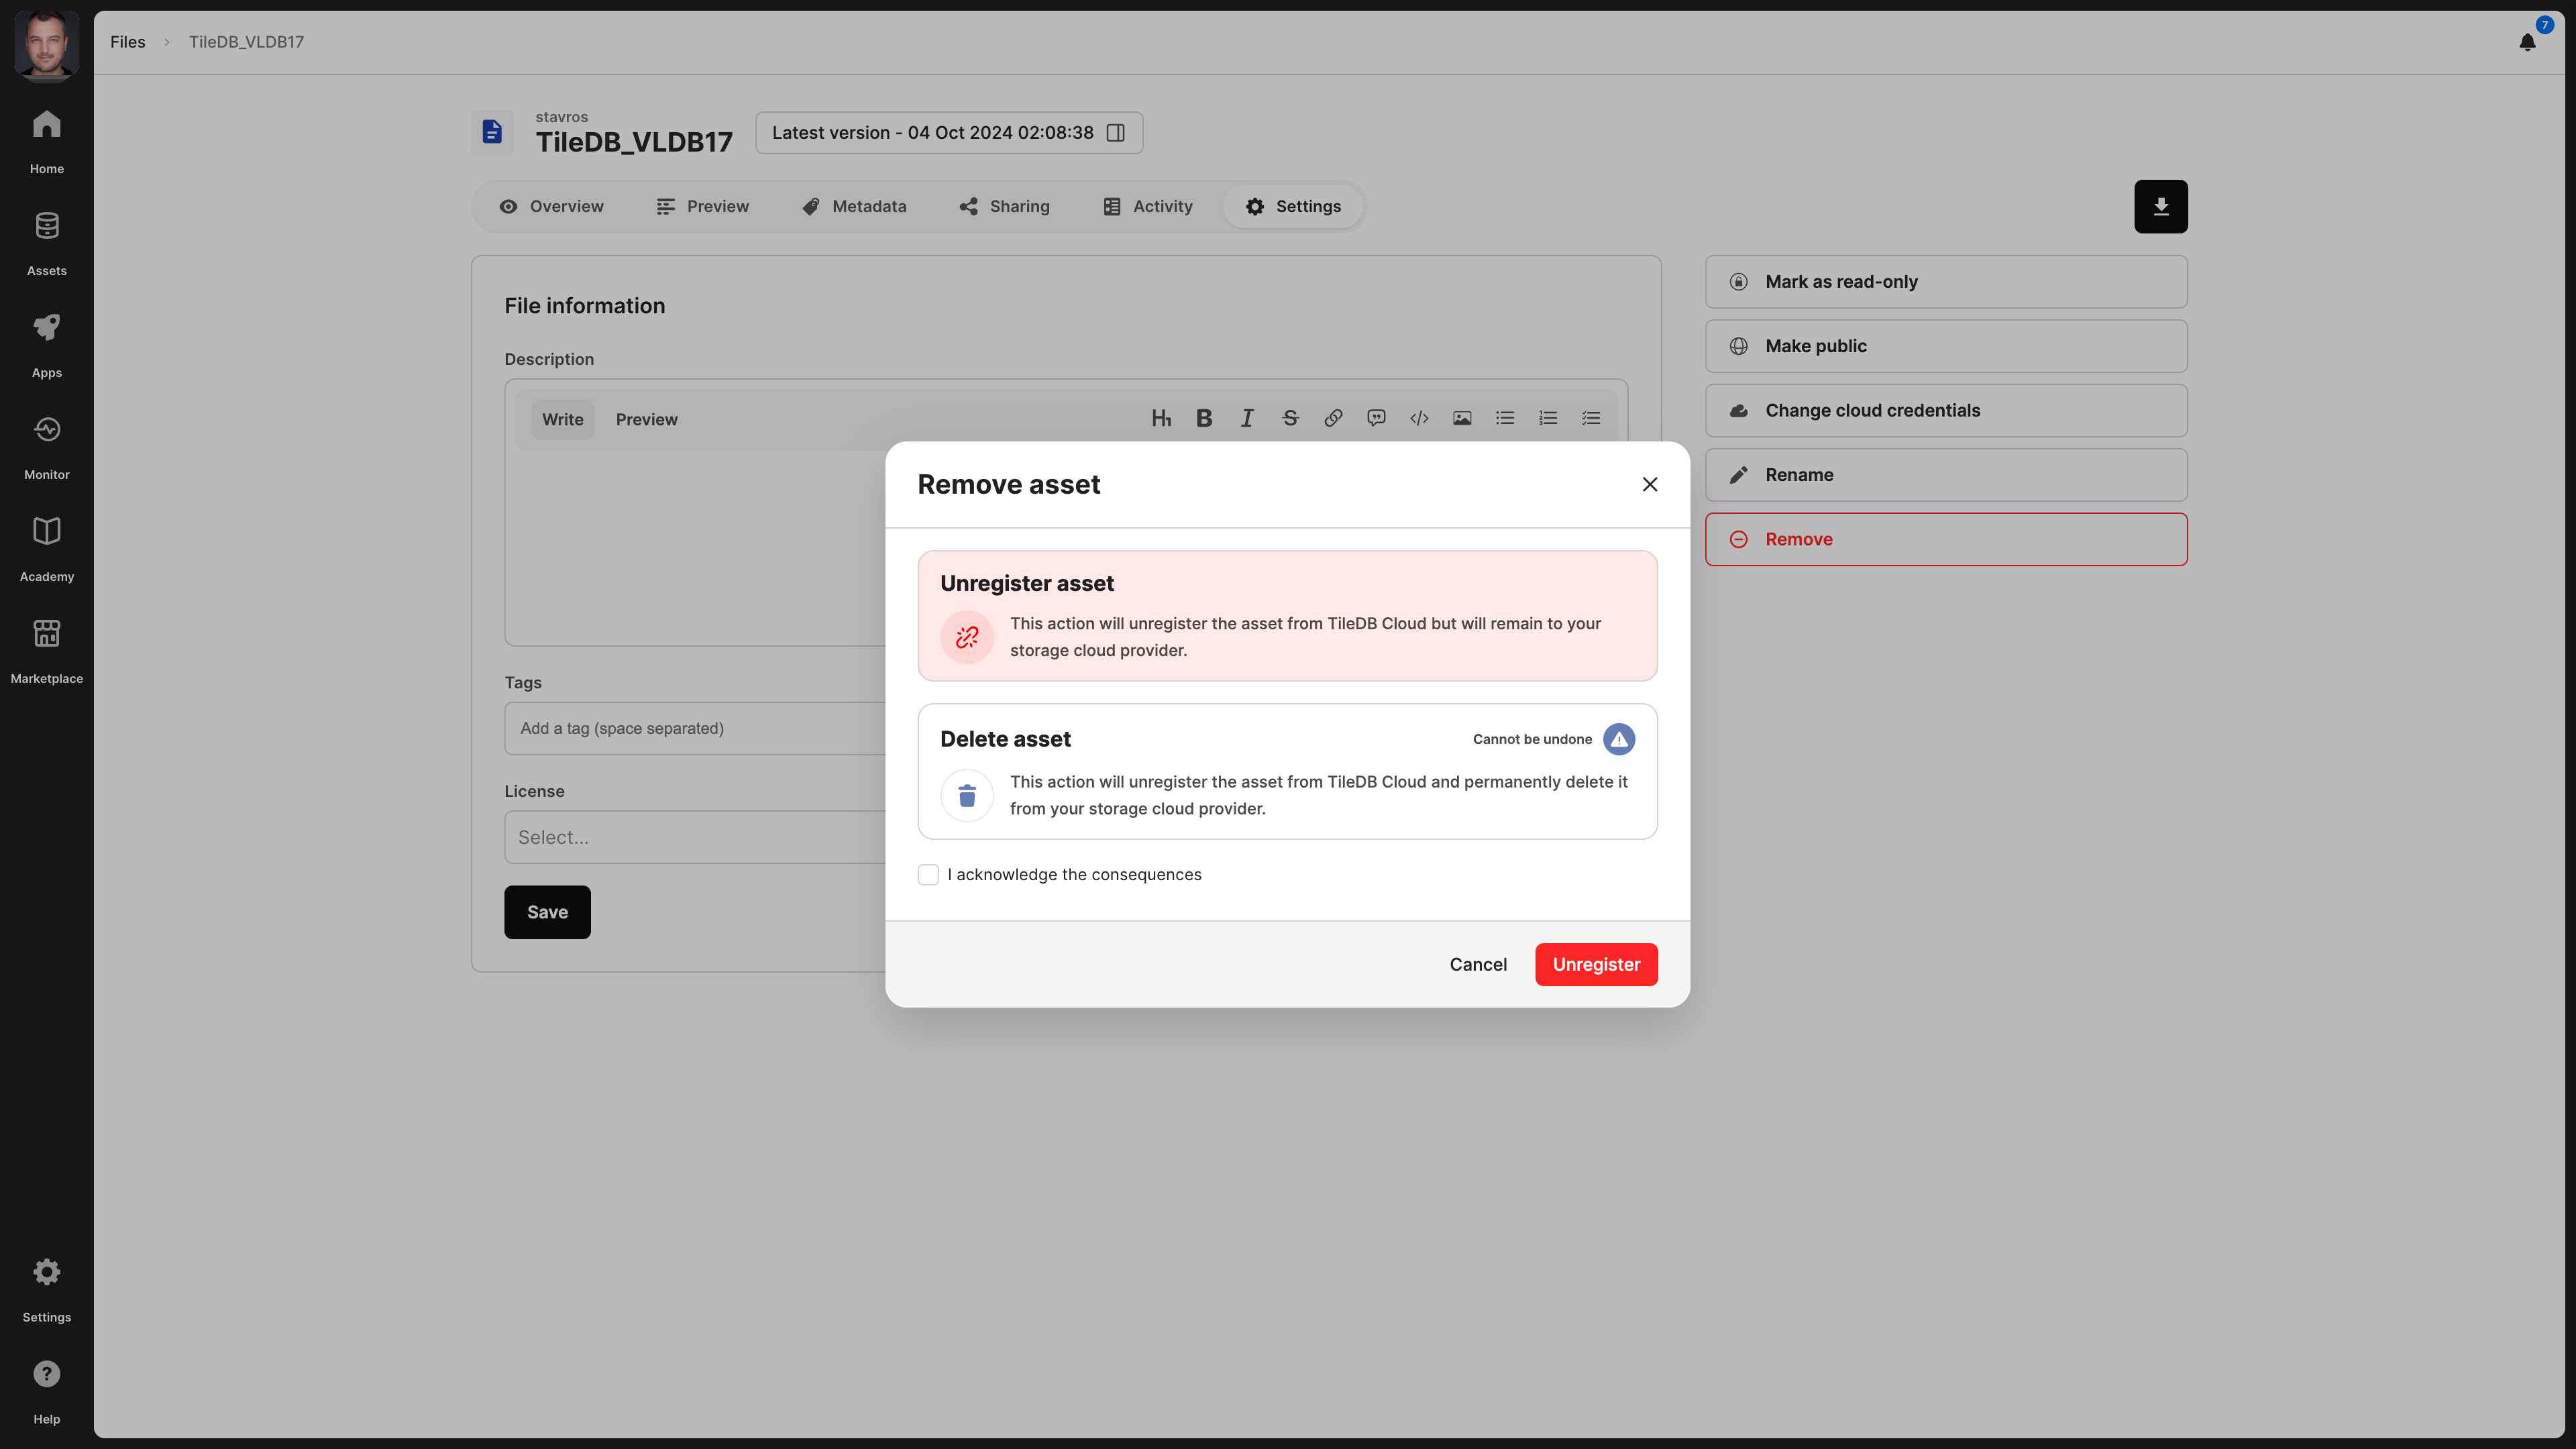
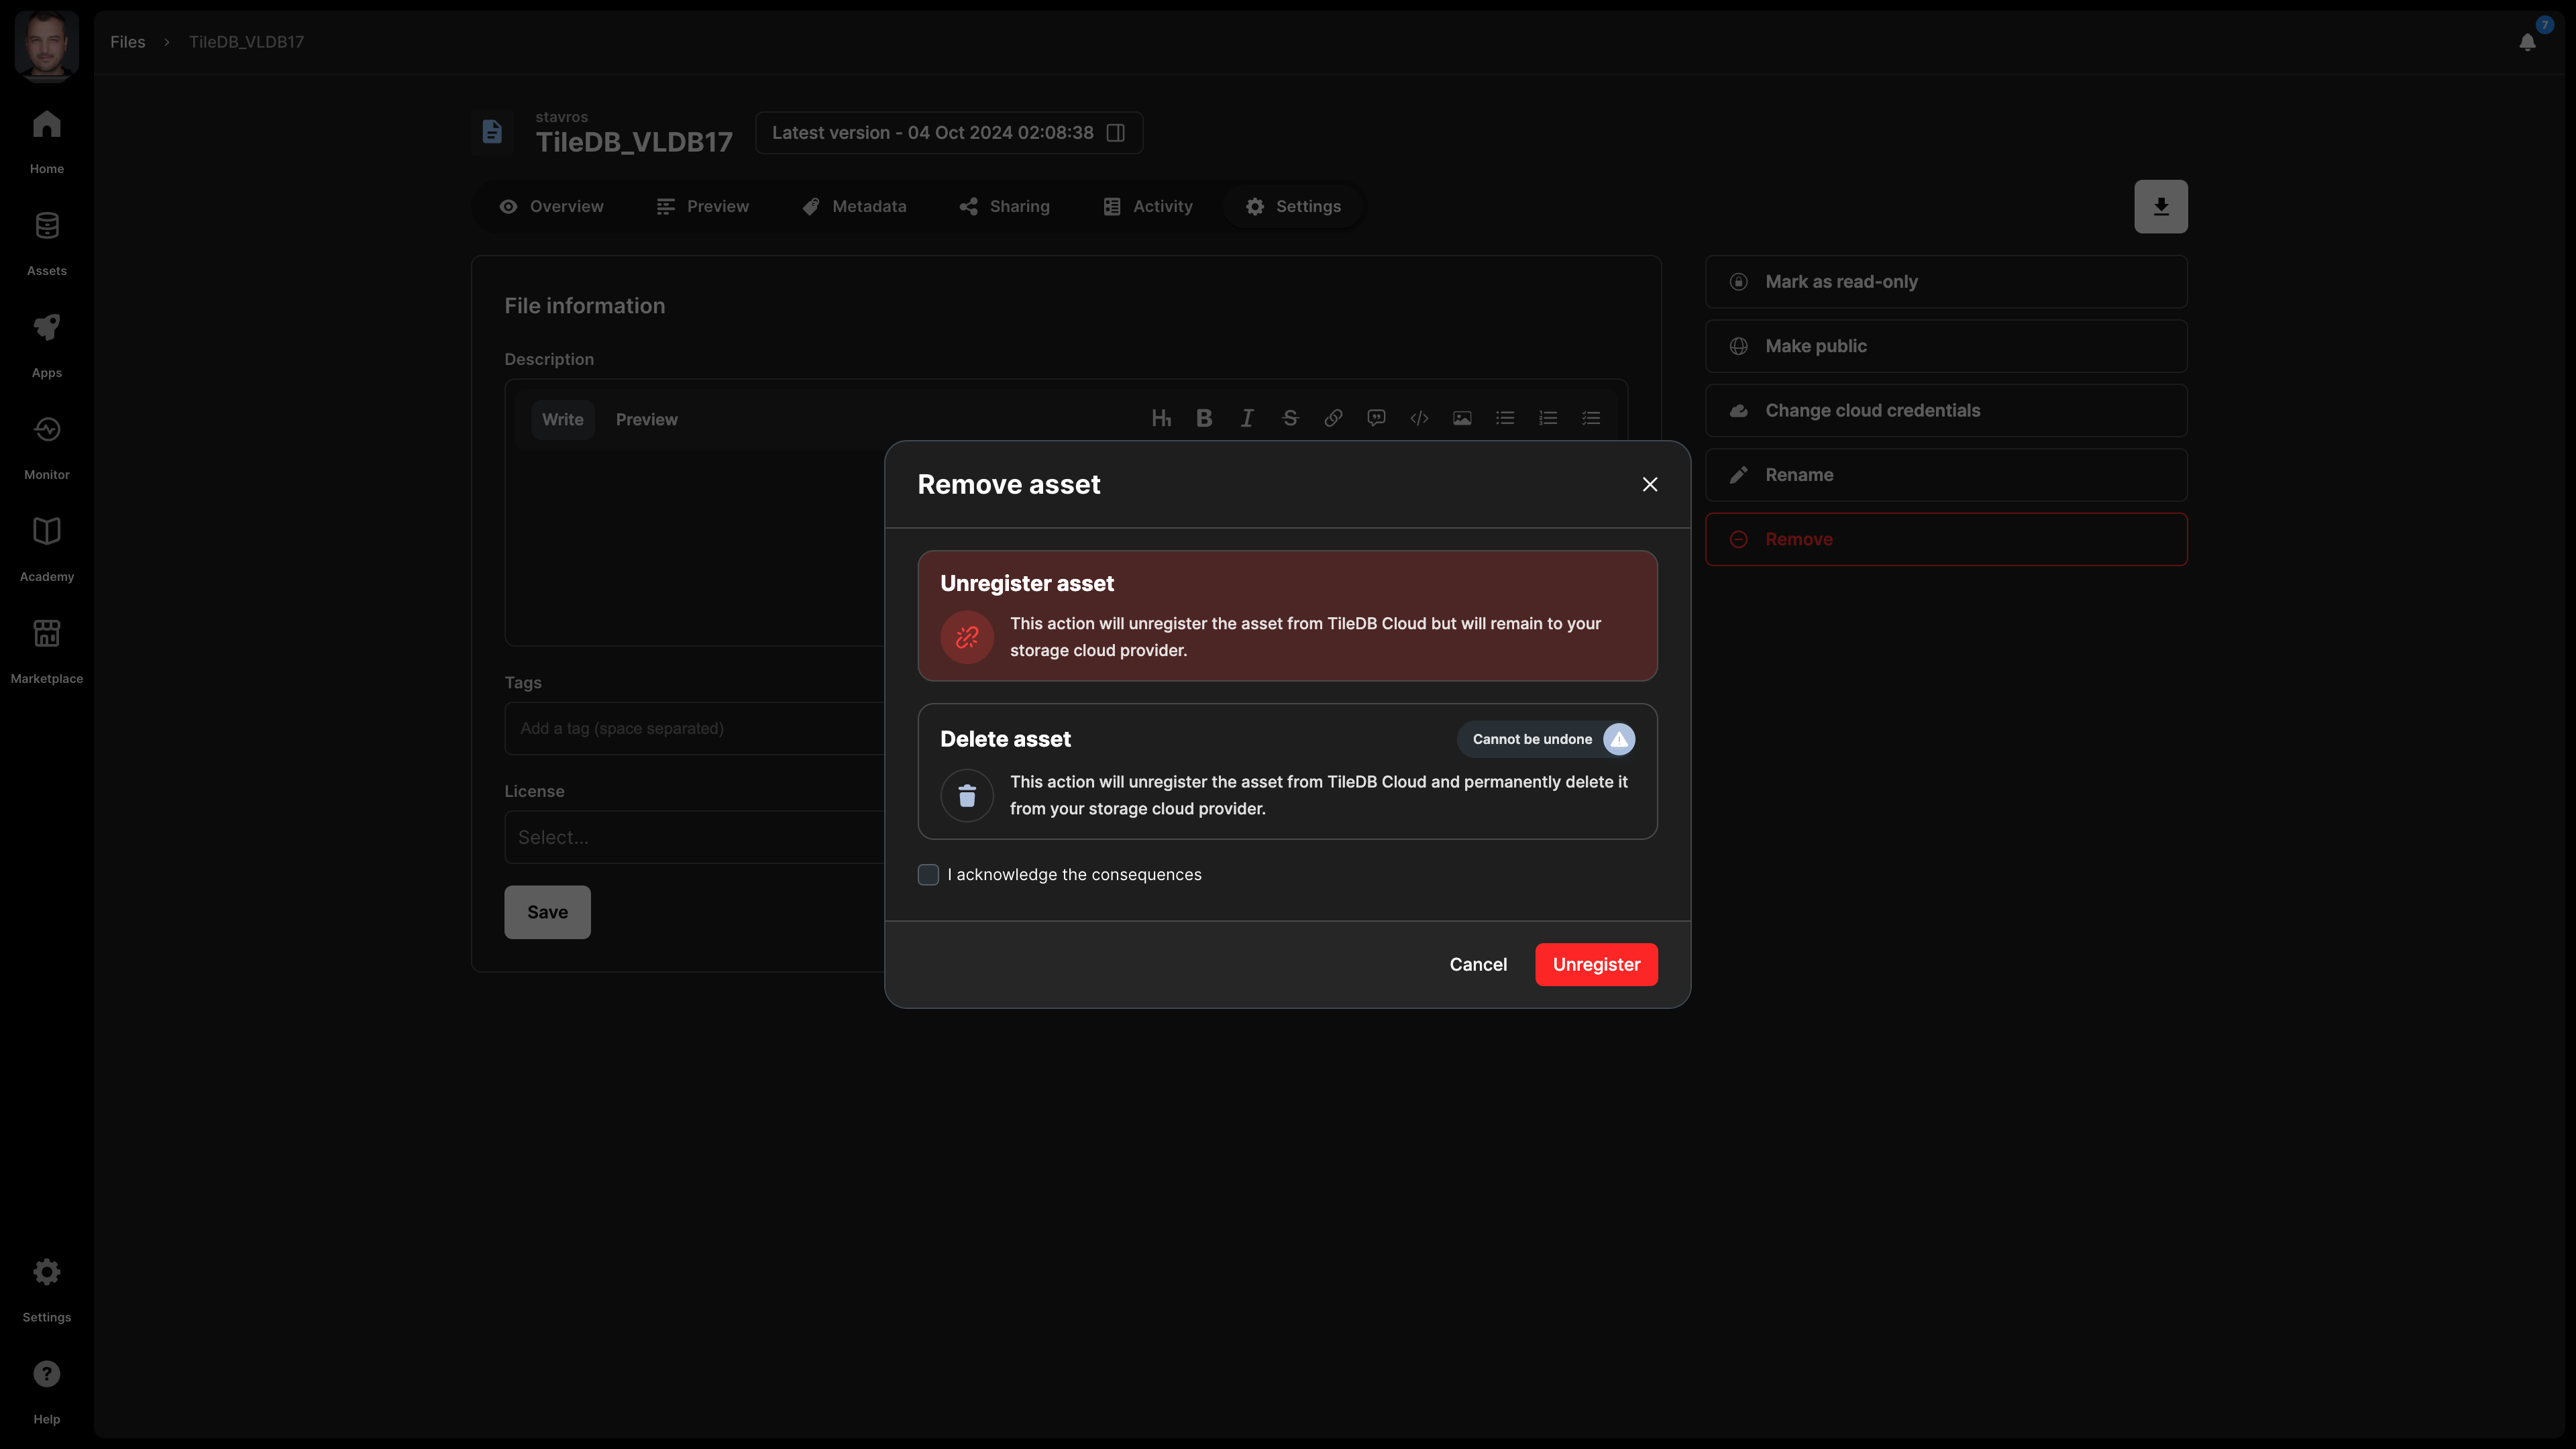
Delete file
When deleting a file, you have two options:
- Unregister: This operation removes the file from the TileDB catalog, but it does not physically remove it from the object store. Since the file will persist on storage, you can add it again in the TileDB catalog in the future.
- Delete: This operation both unregisters and physically removes the file from storage. Note that this operation cannot be undone.
You can delete the file from the Settings tab, which will prompt you to choose between one of these two options.
You can also programmatically delete or unregister the file as follows:
# Unregister a file
tiledb.cloud.asset.deregister(uri="tiledb://<account>/<file_name>")

# Delete a file
tiledb.cloud.asset.delete(uri="tiledb://<account>/<file_name>")